WOW! Thats gotta suck but its better than smashed tanks and things of that nature. Sorry man.
Quick easy solution is grab a 50cc syringe, fill the reservoir, crack the bleeder on the longest line and PULL the fluid down from the top. Fill the Reservoir and repeat on the other side. Once done filling the lines, now you use the lever to build pressure and pressure bleed them. Look here Post #7 -- Click!
BRAKE BLEEDING, CALIPER AND PAD INSPECTION
The process I use to bleed brakes:
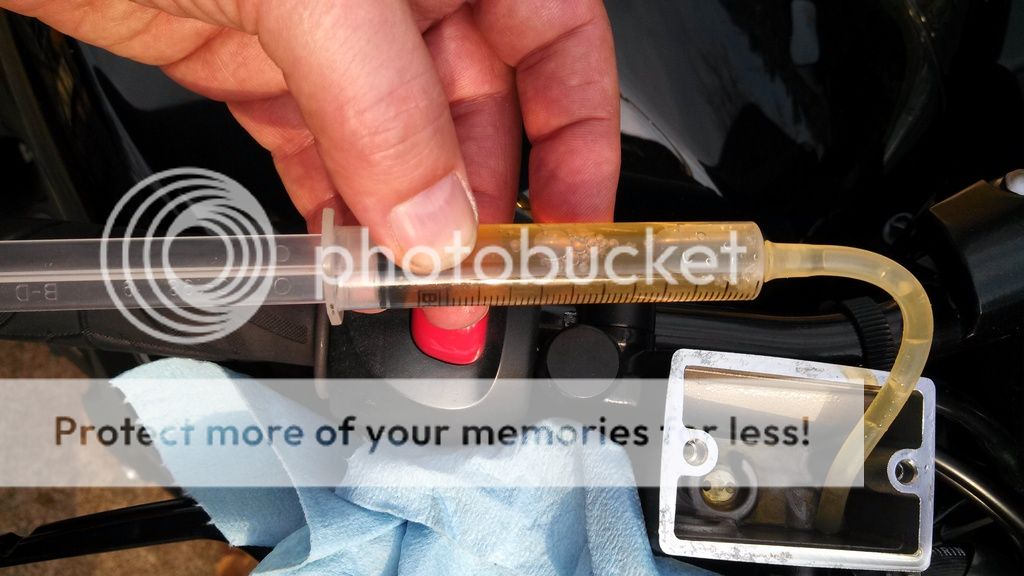
Tip number one - buy a syringe and some soft tubing. Preferred is silicone as it can stretch to any size fitting you might encounter and it very pliable. When it comes time to do a brake flush, simply suck out the old fluid, clean out the reservoir and dump in the new DOT 4 fluid. Note: A turkey baster will work to remove old fluid too. Our goal here is to NOT MIX old and new as its more fluid to pump out.
- NOTE: Always use Fluid from a NEW UNOPENED CONTAINER!!!
The reason being, once the seal on the container is broken, the fluid begins absorbing moisture. Also, If it possible, perform brake repairs/bleeding on low humidity days!
PROCESS:
- Crack the bleeders to insure they can be loosened and then snug them down FIRM. Fit a long section of hose to the bleeder and into drain pan.
- Clean MC lid, remove it, remove old fluid (clean inside and seal if dirty). DO NOT PUMP lever when fluid is removed....
- Fill MC w/FRESH FLUID, install cap/lid.
- Pump lever/pedal and hold lever down with pressure.
- Crack the bleeder and continue applying pressure to lever. When the lever bottoms, seal the bleeder promptly.
- Repeat above steps until clean fluid is coming out. WATCH THE FLUID LEVEL! Don't allow the level to get low or it will force air into the lines!
- Do both sides if applicable.
- On the final bleed (both sides), seal the bleeder before the lever reaches bottom. This prevents air from entering the system.
- Fill MC to correct level, install lid and clean everything spotless!
- Repeat once a year using NEW DOT 4 fluid!
NEW LINE INSTALL:
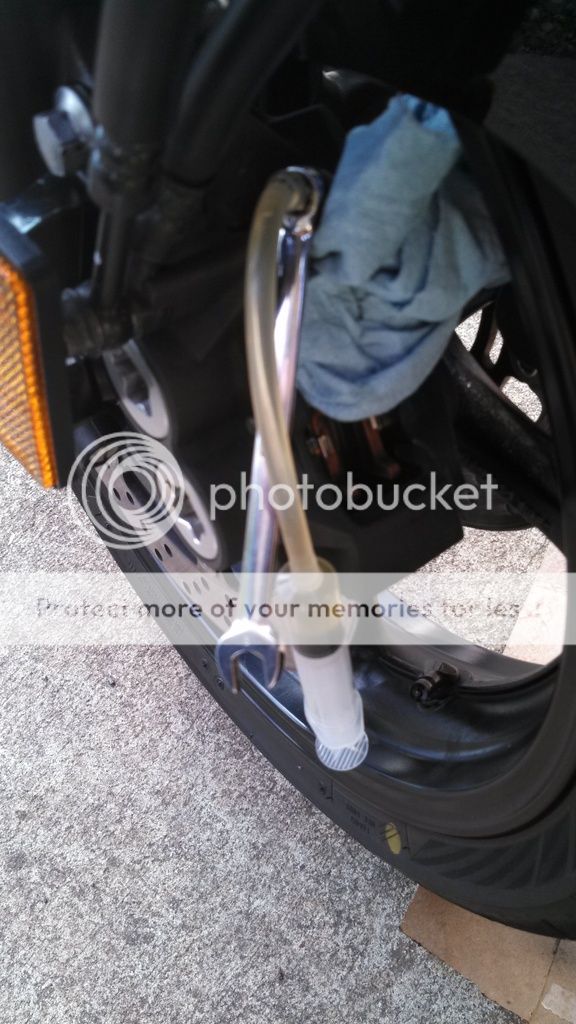
If you've installed new lines and have allot of air in the system, use the syringe and open a bleeder. Connect the syringe and pull back on the
plunger to pull fluid through from the reservoir.
- BEGIN AT BULLET SECTION above to obtain a firm lever!
Use a syringe to remove old fluid! It's way better than pumping it through!
Click here to view the original image of 1024x576px.
If you have a long hose, run it straight into a pan or bottle. Here I was in pinch and just let it fill up the syringe.
- Do not get brake fluid on anything as it eats paint and will/can dull powder coated items too.
- ** DO NOT LET THE MC reservoir go empty and suck air or your brakes will be all mushy and you'll have to start the bleeding process over!! **
***********************************
Additional tips:
IMO Vacuum bleeding never gives a solid feel. Pressure bleeding forces the trapped air under pressure to condense into larger bubbles. As the bubbles increase in size, they often move to the top where the bleeder is and can be removed.
To assist the trapped air bubbles in making their way out of the brake system, use a dead blow hammer or a firm block of wood and tap on the caliper striking towards the ground. DO NOT TAP INLINE WITH THE
CALIPERS PISTONS ESPECIALLY on FLOATING
CALIPERS! If you choose to tap that way, do so gently you can damaged the disc and induce air into the system. This small shock (hammer tap) can remove trapped air bubbles. The momentary shock helps them condense and make their way out of the caliper.
Don't leave marks or damage anything. Your tapping too hard if this occurs!
Note: The rear of both S1 and S2 FZ6's are floating calipers. The front of the S2 models are fixed 4 piston calipers. S1 front calipers are floating
calipers.
***********************************