Smoked Integrated LED Tail-Light

SANGER_A2

Super Member
Joined
Oct 12, 2008
Messages
1,528
Reaction score
27
Points
0
Location
Southampton
Visit site
I've wanted one of these for ages, but wasn't willing to pay the high prices of ClearAlternatives etc. When I saw a brand new on Ebay for £27 I jumped at the chance and ordered a smoked on straight away. There were no instructions however and I had to make it up as I went along and bodge it a bit. You get what you pay for really!

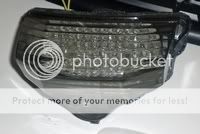
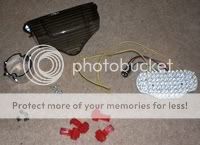
Here is what you get in the kit, a smoked tail-light cover, the light itself, a ring of plastic for their awful fitting system and some crimps to wire in the indicators:-

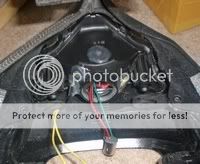
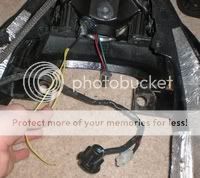
The first step is to get the original tail-light unit out and take off the stock red cover. You reuse the stock reflector housing with this kit. You can buy some replacements where you get the whole unit, these are much much easier to fit and I would probably recommend one unless you are pretty handy. A lot of people have trouble getting the unit on and off the bike. The easiest way to get it off is to remove the seat and side pods, unscrew the four large bolts and two smaller ones underneath that hold the rear part of the bike on. Then you slide the tail-light out from underneath. There are a couple of pictures showing how to do this later on when I put the unit back onto the bike.

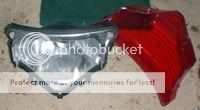
There are just two screws to undo to the the tail-light off the bike. Then you just carefully pry off the red cover from the reflector. Here you can see I have removed the stock cover from the stock reflector unit:-

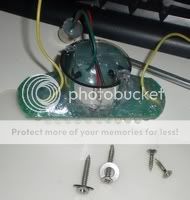
Here is how the ring from the fitting system screws onto the back of the circuit board:-
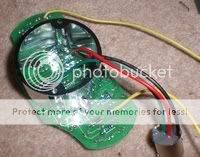

The screws go through the circuit board and screw into the ring to hold it in place:-
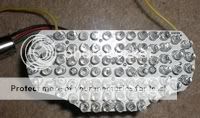

I found that the ring put pressure onto the wires and filed some of it off to leave them space. I drew on with a sharpie first where I wanted to remove the plastic:-
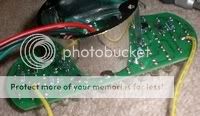

And here you can see where I filed the two gaps for the wires:-
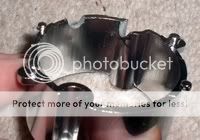

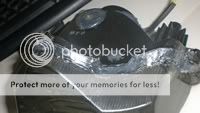
I covered the back of the whole thing using my glue gun for three reasons: 1. to keep the ring in place solidly instead of just with two screws. 2. to ensure that none of the circuit tracks or LEDs vibrated loose over time and 3. to make it more waterproof:-
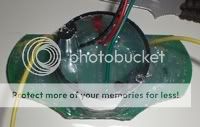

Here is roughly where you have to drill holes in the reflector. There are two holes needed for the screws and two for the wires going to the indicators:-
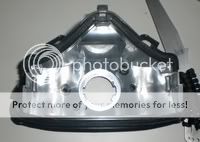

I didn't put the holes in exactly the right place, so they messed up the ring. It was a stupid system anyway and it would probably have fallen to bits after a couple hundred miles:-
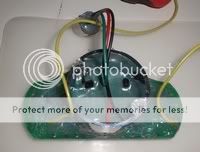
 

SANGER_A2

Super Member
Joined
Oct 12, 2008
Messages
1,528
Reaction score
27
Points
0
Location
Southampton
Visit site
The first step in my ingenious solution to the useless mounting system required longer screws and filling up the edges of the ring with the glue gun so they have something to screw into:-


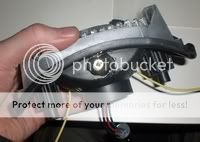
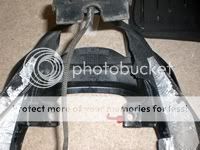
The second step was to run a screw into in at the top and the bottom of the reflector to hold it in place. This works the best and holds it in really solidly. As you can see, I put glue over the top of the screw to stop it getting wet and to ensure it doesn't vibrate loose:-


I was able to angle the LEDs up slightly and use the screws to hold them in place this way so that they shine more into the direction of cagers' faces.

Here is the screw in the bottom before I covered it in glue:-


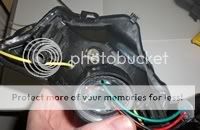
Here is one of the screws using the original mounting holes and you can see how the wires are routed:-


The next setback was that the smoked cover didn't fit exactly into the stock reflector housing. I snapped off two of the stock mounting tabs trying to get it in before giving up. I pulled out the strip of foam that used to be there and ran the glue-gun all around before pushing the cover on. I let it dry and then did another layer of glue around the outside to make it waterproof and hold it in place even more. This looks ugly when the unit is off the bike, but it's all covered up when it's installed.

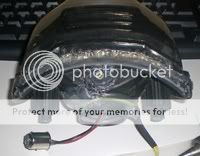
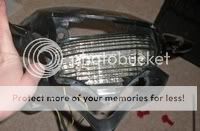
Everything is held in place securely by the glue-gun:-


Here the unit is mostly done:-


And here is another view of the wonderful glue holding large parts of my bike together:-


Here is the direction you go in when putting the unit back on:-


And this is the best angle to slide it into place:-
 

SANGER_A2

Super Member
Joined
Oct 12, 2008
Messages
1,528
Reaction score
27
Points
0
Location
Southampton
Visit site
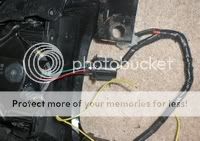
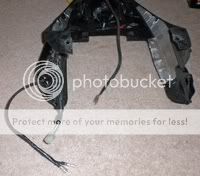
There are now just two wires coming out of the unit that connect into the indicators and the bulb connector that powers the rear/brake light:-


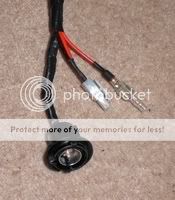
Here you can see the socket the bulb will plug into. There is also an additional connector I wired into the brake light connection I made a while ago. This plugs into the brake-light on my Givi top box:-


Here the bulb connector has been plugged in:-


I decided that I wanted even more lighting at the rear and that I would buy a second brake light to wire in underneath the integrated one. There will be details posted on that next. It will plug into the white Tamiya connector shown to get the ground connection and the 12 volts that is activated when the brake-light needs to come on. The second, single connector will provide power the 12 volts for the always on power. This is just a generic car connector the same style as the horn uses:-


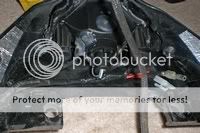
There is a lot going on in this picture. The white plug in the bottom left with the three wires going into is the stock connector to the tail/brake light. The longer wire below that will connect to the indicators to enable the indicators built into the new tail-light. I covered it in flexo-wrap for protection and looks. The wire in the centre of the picture provides power for my R&G LED number-plate light that came with the fender eliminator:-


Here is a close-up of the back of the tail-light. You can see the extra connectors on the right that the second tail-light will plug into. You can also see how I routed the cables going to the indicators on the left:-


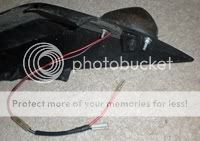
I wasn't going to mess with the stock wiring loom, so the extra connectors for the tail-light had to be built into my indicators themselves. here you can see one of the finished ones. The connector is just another generic automotive connector:-


Here's the unit plugged in:-


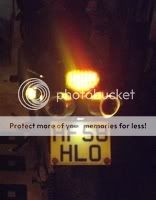
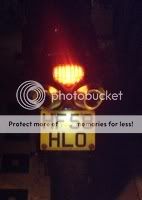
And here's a rubbish picure showing it while the indicator is active. It's as bright as the indictors themselves:-
 

SANGER_A2

Super Member
Joined
Oct 12, 2008
Messages
1,528
Reaction score
27
Points
0
Location
Southampton
Visit site
Here is a nice picture from above. It's shining slightly upwards instead of directly horizontally for better visibility:-


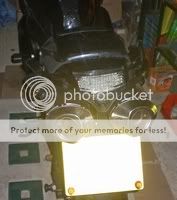
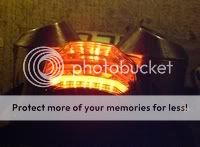
Here's a nice picture showing it working (not braking):-


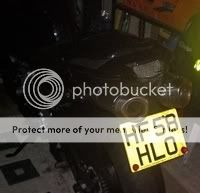
And here is a nice view from the side:-


And a closeup showing it looking sexy:-


I love it. Really really bright and I'm not as worried about people not noticing my indicators now when I'm turning right. The braking and tail-light is brighter than the stock one and it should last forever. Looks much nicer than stock too whether it's on or off.

All of these pictures don't really show much. The best way is with a video. My camera doesn't work too well at night, so the quality is pretty poor, but you can see how it works. I may make one in the day-time later too:-
[ame=http://www.youtube.com/watch?v=-WPYA-KaWOc]YouTube - Yamaha FZ6 Fazer with integrated LED taillight[/ame]
 

Mexi-can't

Biker dude
Elite Member
Joined
May 27, 2009
Messages
438
Reaction score
12
Points
18
Location
Colorado
Visit site
I just ordered the same unit last week. My old FZ6 had a Clear - clear alternatives unit on it and I wanted a smoked on this one. Good job on the silicone around the wires. One of my yellow blinker wires eventually broke right at the solder joint on the circuit board, I think if it had been covered in silicone like you did it wouldn't have happened. :thumbup:
 

KingY

Junior Member
Joined
Jun 30, 2009
Messages
371
Reaction score
1
Points
0
Location
United Kingdon, Birmingham
Visit site
i just got the smoked tail light without the signals inside, i dont like the falshing inside the brake light to be honest, but looks awesome and sets the whole back of the bike off :)

Goodwork mate :thumbup:
 

SANGER_A2

Super Member
Joined
Oct 12, 2008
Messages
1,528
Reaction score
27
Points
0
Location
Southampton
Visit site
i just got the smoked tail light without the signals inside, i dont like the falshing inside the brake light to be honest, but looks awesome and sets the whole back of the bike off :)

Goodwork mate :thumbup:
Me too really. I was looking for one without the signals originally, but because I have flush mount indicators on the rear, I was worried about car drivers seeing them from the back. I've had a couple occasions of signalling and slowing to a stop in the middle road to turn right and car drivers OVERTAKE me!!! :eek: I don't know if it was because they didn't notice the indicators or because they were complete and utter d!cks! Driving like that hopefully they've since died painfully in a car crash though. :ban:
 

Dennis in NH

Member
Joined
Jun 21, 2009
Messages
631
Reaction score
4
Points
0
Location
Southern NH
Visit site
Looks good -- nice and bright back there. I put the brighter 2375 lightbulb back there to help the brightness in back but this is far better.

I really wish there was a way to get rid of the turn signals and maybe put flush mounts but still have equivalent visibility as the stock signals.

Dennis
 

YamahaMAXdRPMs

Jay- Tshirt Inventor Guy.
Elite Member
Joined
Nov 2, 2008
Messages
1,566
Reaction score
33
Points
0
Location
MaryLanD
Visit site
nice write up... i have this in the box waiting to be installed this weekend. the bike is at a buddies house and i need to get over there to do everything. This write up will come in handy! thanks!
 

Kazza

Administrator aka Mrs Prebstar
Moderator
Elite Member
Joined
Jul 18, 2009
Messages
8,796
Reaction score
121
Points
0
Location
Chittering Valley, West Aust.
Visit site
Looks good. I've just ordered the clear though - wasn't that much more expensive than the smoke - for my bike it will look better - AUS$40 extra to me is worth it. The smoke/clear lights look so much better than the stock ones.

Just waiting for it to arrive from Germany .... :cheer:
 

Ridgeback

Wakin up the neighbours
Joined
Nov 25, 2009
Messages
933
Reaction score
7
Points
0
Location
Godalming UK
Visit site
I looked at that one and the German made one without the indicators on e bay.
I'd imagine the latter probably goes together with the usual Germanic efficiency :D but does cost twice as much.
How does that stand with the MOT? I ask because I had a rear LED set up on my XR and got a fail,because it didn't have the dreaded 'E' mark
 

SANGER_A2

Super Member
Joined
Oct 12, 2008
Messages
1,528
Reaction score
27
Points
0
Location
Southampton
Visit site
I looked at that one and the German made one without the indicators on e bay.
I'd imagine the latter probably goes together with the usual Germanic efficiency :D but does cost twice as much.
How does that stand with the MOT? I ask because I had a rear LED set up on my XR and got a fail,because it didn't have the dreaded 'E' mark
Well I don't need an MOT for another two years yet. But when I do I will just leave it as is and hope it goes through. The garage will hopefully err on my side as I bought the bike from them in the first place and will have been taking it to them for servicing every time. They've already told my that the decat pipe won't be a problem during MOT time as bikes don't have to be emissions tested. ;)
 

Kazza

Administrator aka Mrs Prebstar
Moderator
Elite Member
Joined
Jul 18, 2009
Messages
8,796
Reaction score
121
Points
0
Location
Chittering Valley, West Aust.
Visit site
We're lucky in Oz - don't have MOT's. Cops can pull you over for things though, but if you are subtle about what you do to your bike and you're not a squid :squid: there's a good chance you won't be noticed.

The cops are more likely to pull over the guy with shorts, t-shirt and no gloves, than the person fully geared up, IMO.

We had flush mounted LED indicators on the Triumph Daytona and never got picked up for it.

:Flash:
 

Distephano

Junior Member
Joined
Jan 12, 2010
Messages
25
Reaction score
0
Points
0
Location
Wisconsin
Visit site
Just wanted to say thanks for the write up! I brought a similar kit from D2moto for about $35 after discounts, ect. Your write up gave me an idea of what I was getting into.

I ended up not using any screws through the housing, instead using only hot glue around the edge of the board. The whole assembly came out really sturdy and clean looking!

Great mod at a great price if you are willing to put in the effort!
 

SANGER_A2

Super Member
Joined
Oct 12, 2008
Messages
1,528
Reaction score
27
Points
0
Location
Southampton
Visit site
Just wanted to say thanks for the write up! I brought a similar kit from D2moto for about $35 after discounts, ect. Your write up gave me an idea of what I was getting into.

I ended up not using any screws through the housing, instead using only hot glue around the edge of the board. The whole assembly came out really sturdy and clean looking!

Great mod at a great price if you are willing to put in the effort!
Yup. Great value for money compared to lots of the others! Bit off-putting if you're not handy though. ;) I kinda prefer this way as I was able to deliberately point it up a bit to change where it points to.
 

afpreppie04

The Thread Killer
Joined
Dec 30, 2007
Messages
747
Reaction score
6
Points
0
Location
Rio Rancho, New Mexico
Visit site
Good timing on this, I ordered the exact same thing last week and it should be here today or tomorrow, I was wondering what the deal with that ring was, I'll just pull out the old hot glue gun and go to town with it.
 
Top