
SANGER_A2
Super Member
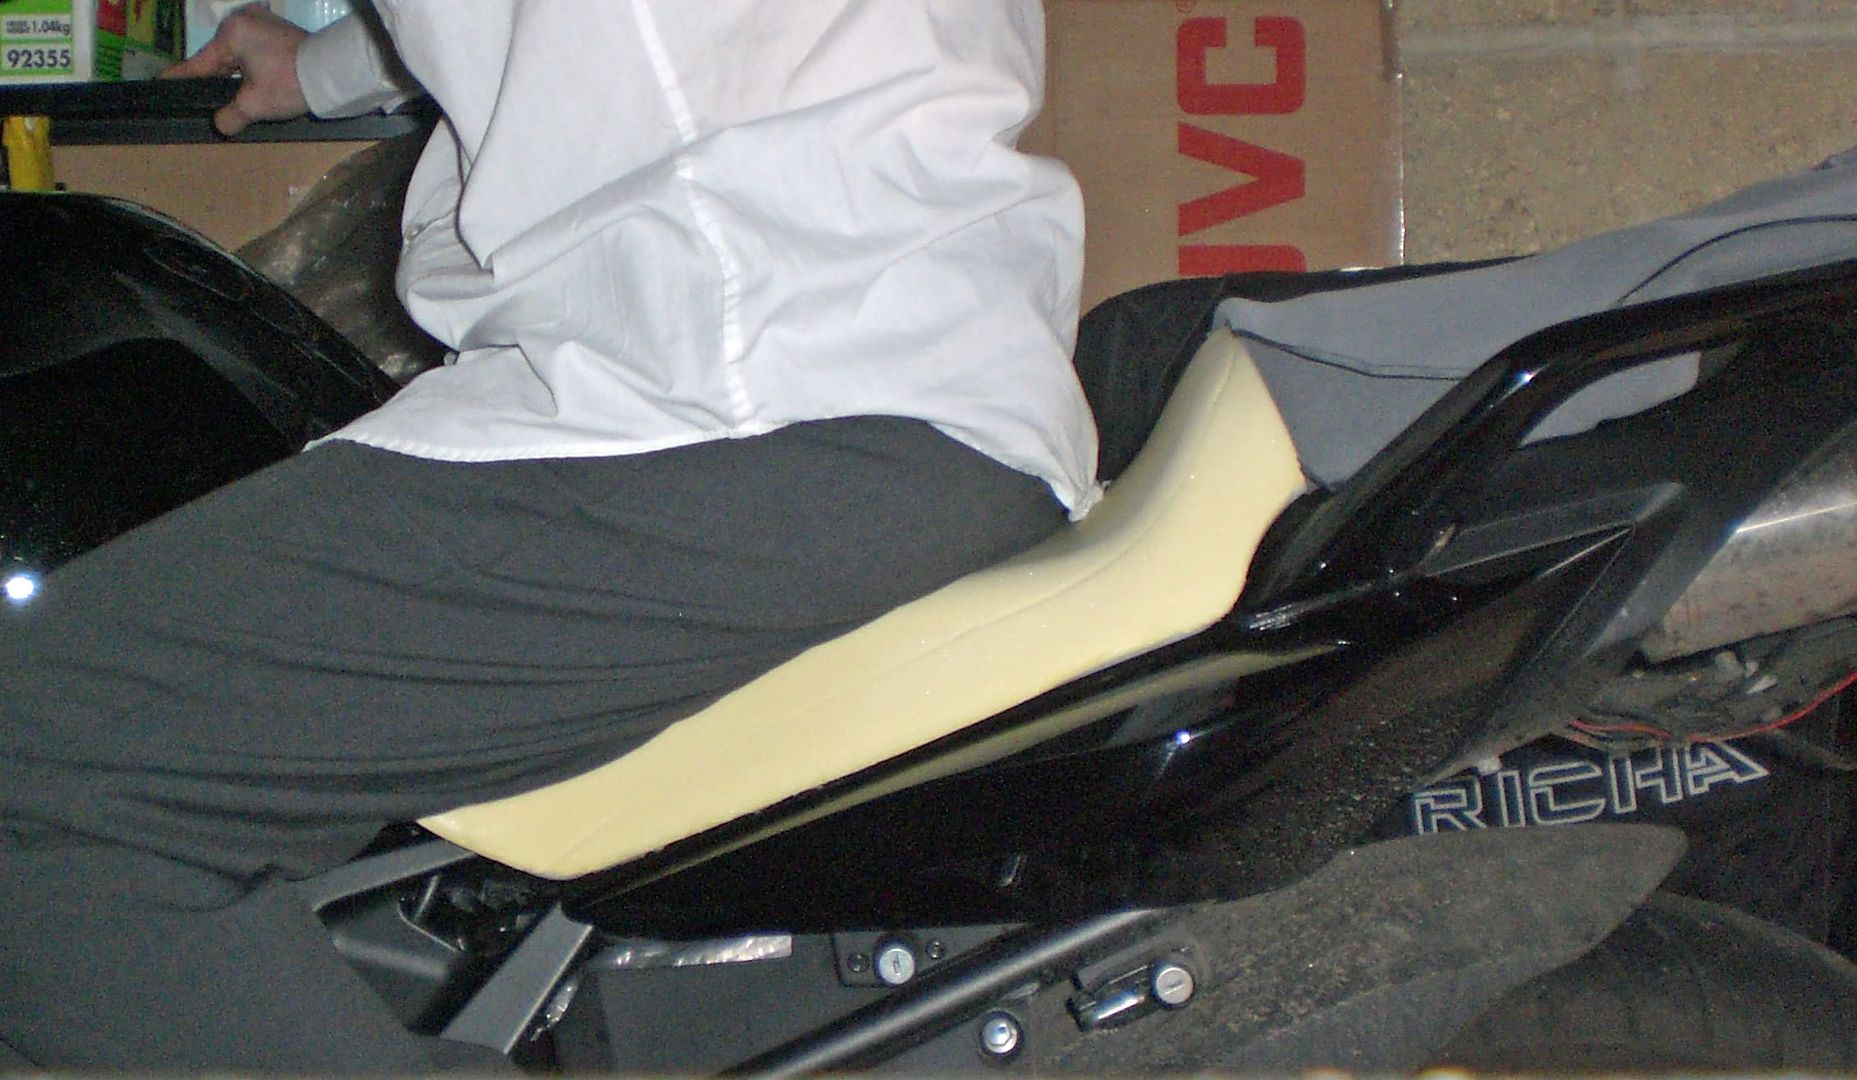
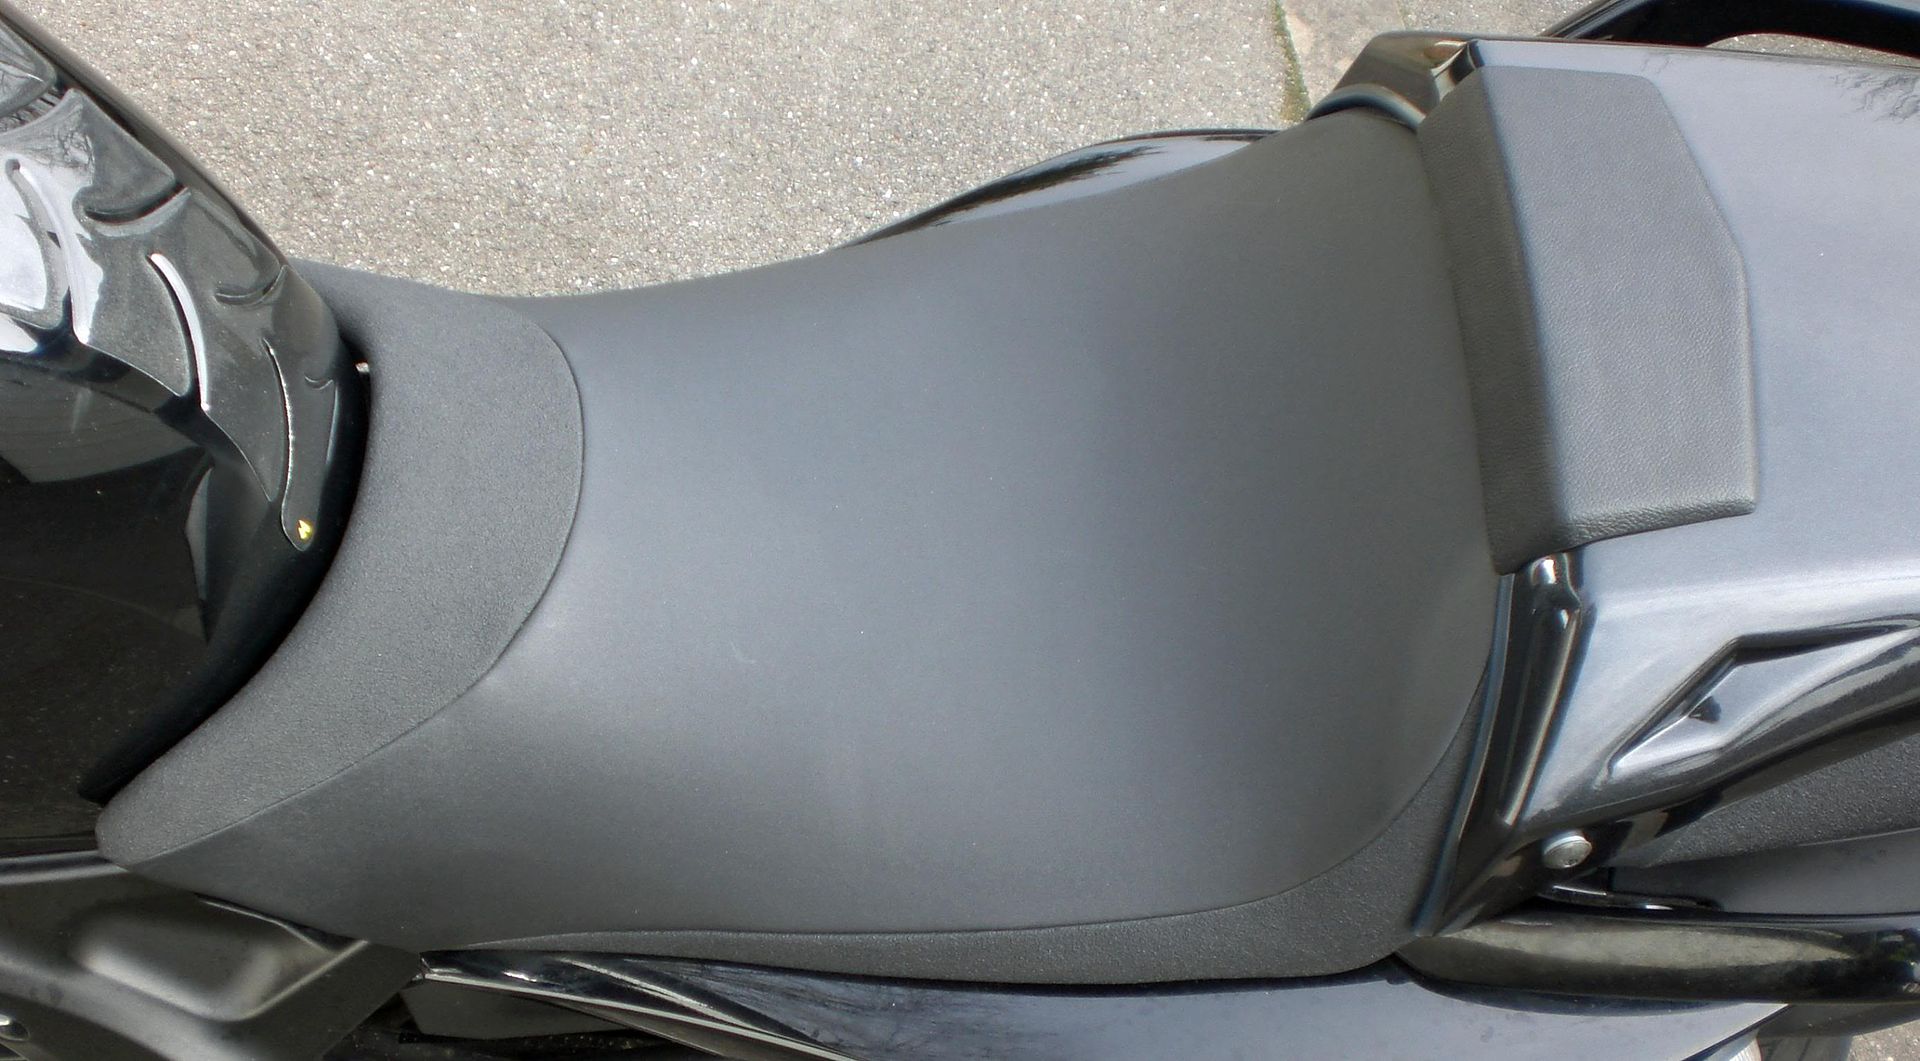
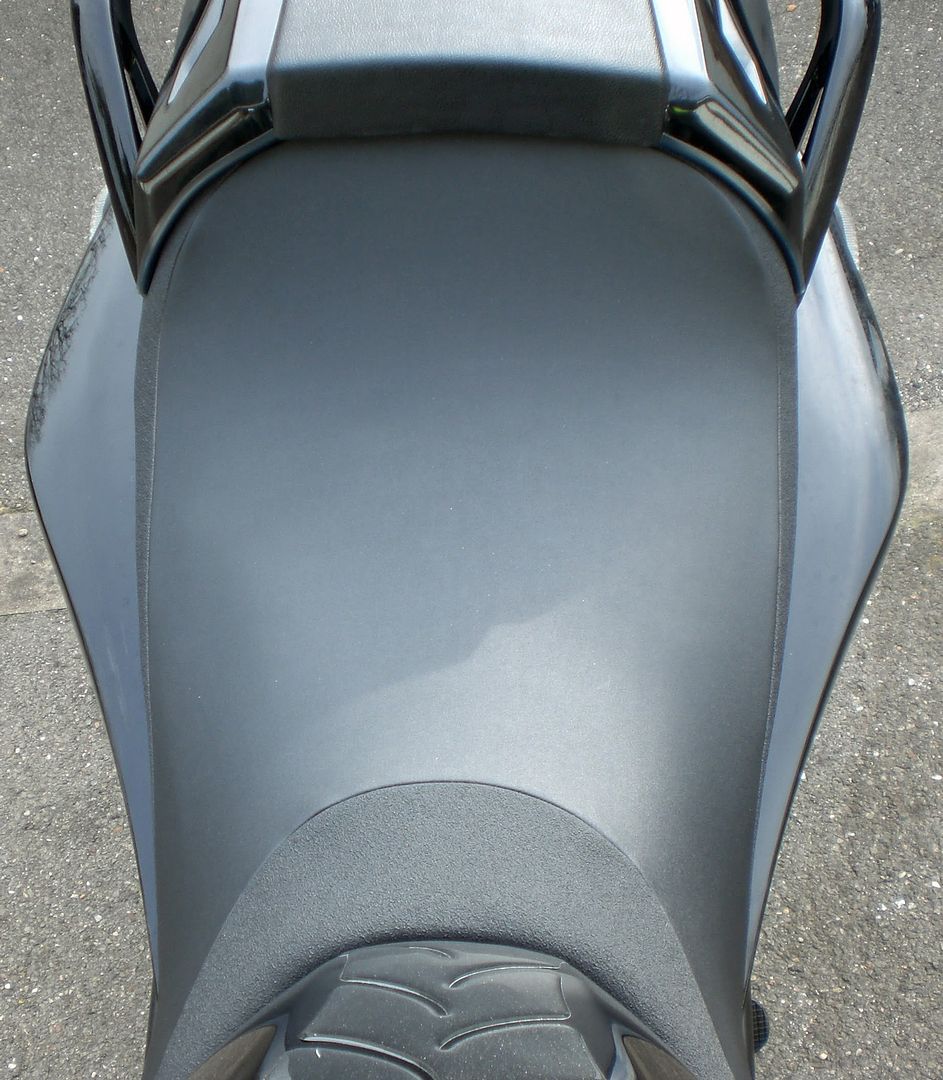
Although the seat on the FZ6 is lower than the GSX-650F, it's still a lot higher than my old GPZ500S and a bit too awkward to park etc as I'm on tip-toes. I decided that instead of paying hundreds for the lowered seat, I'd try lowering mine first as I'd either be selling mine once I bought the new one. I'm very pleased with how it turns out and actually think it looks better than the stock one. And all it cost me was about a fiver for some new heavy duty staples (of which I still have 90% of the packet). BARGAIN!
I wanted:-
Personally, I think I've achieved all of the above now. Read on to see what I did.
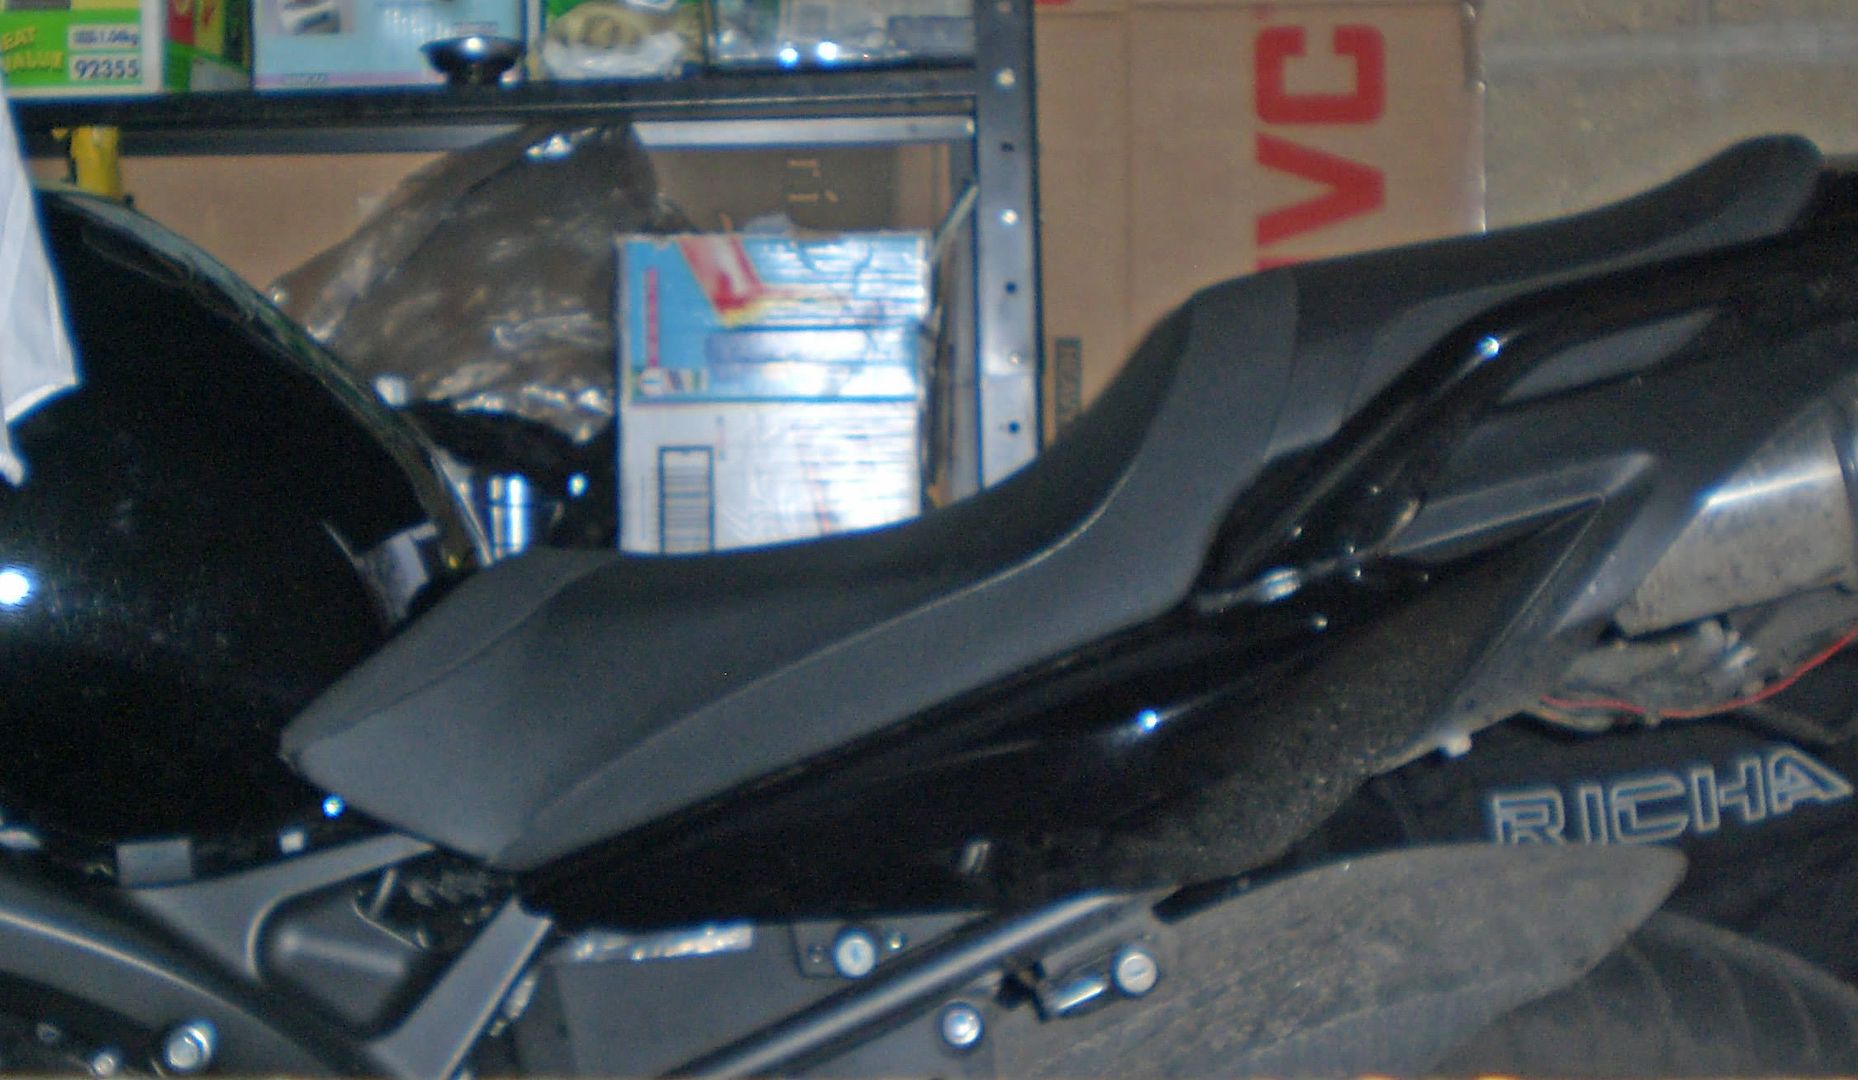
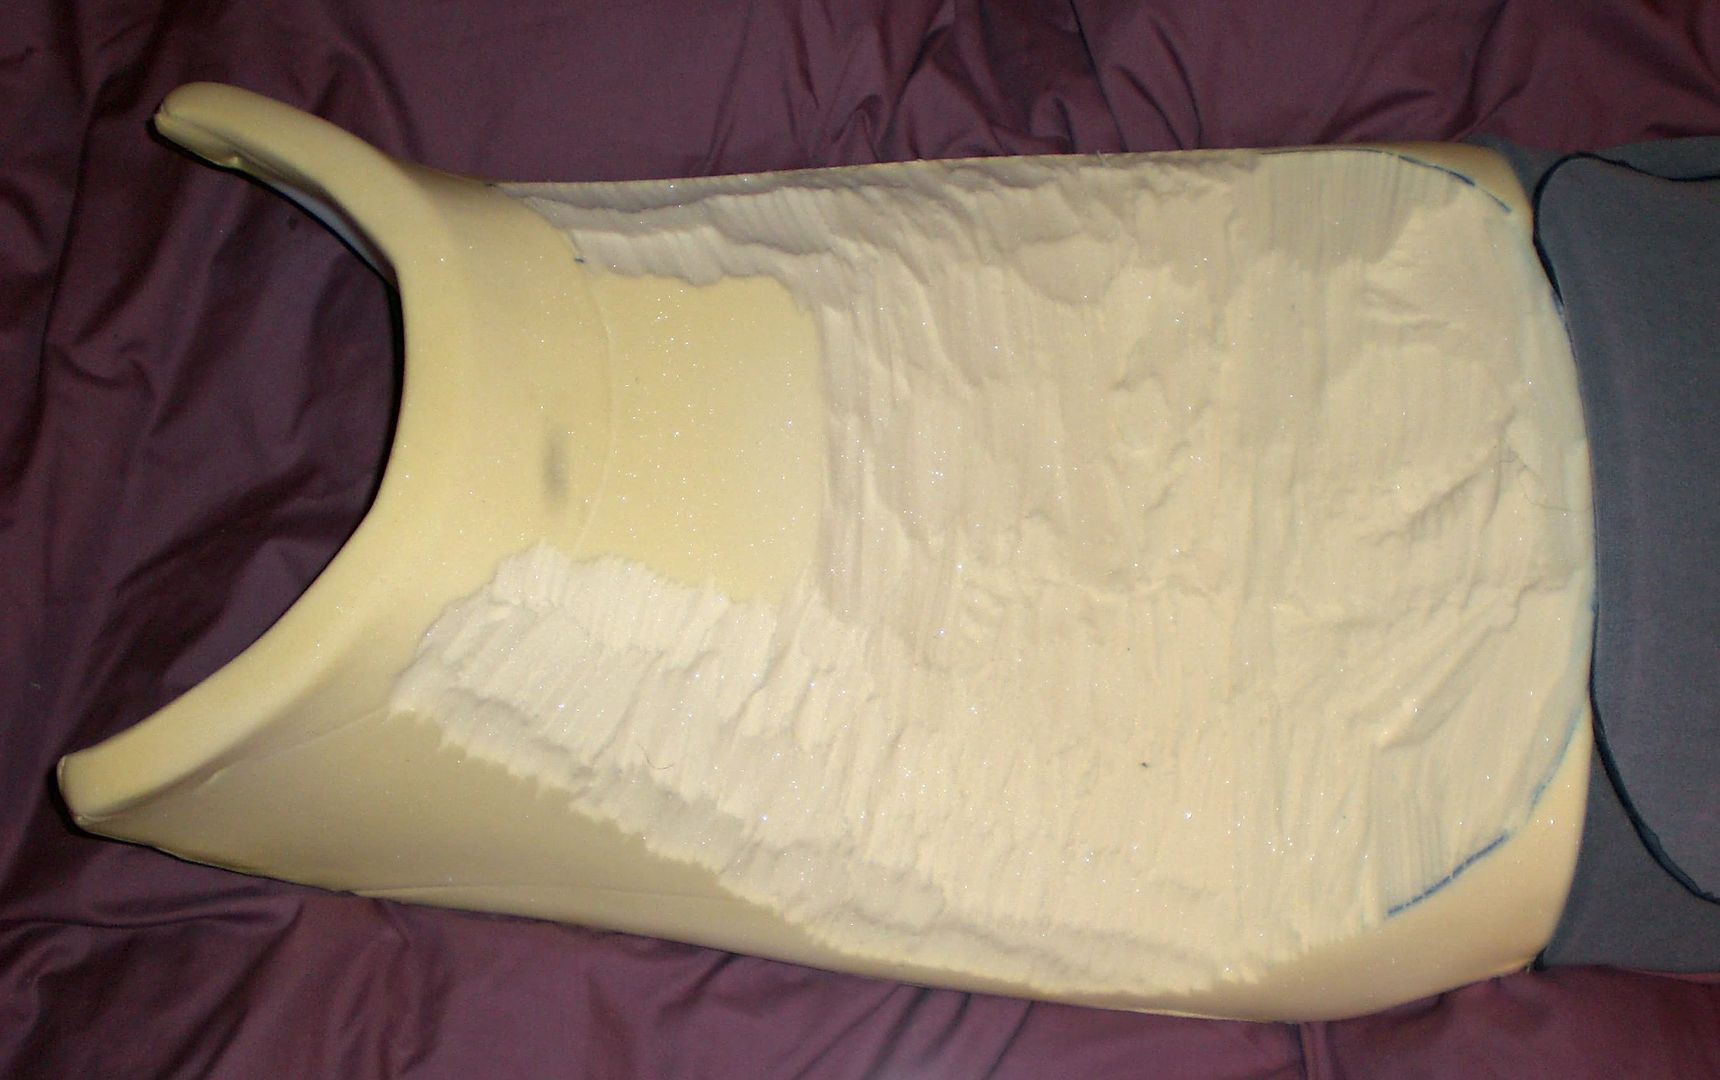
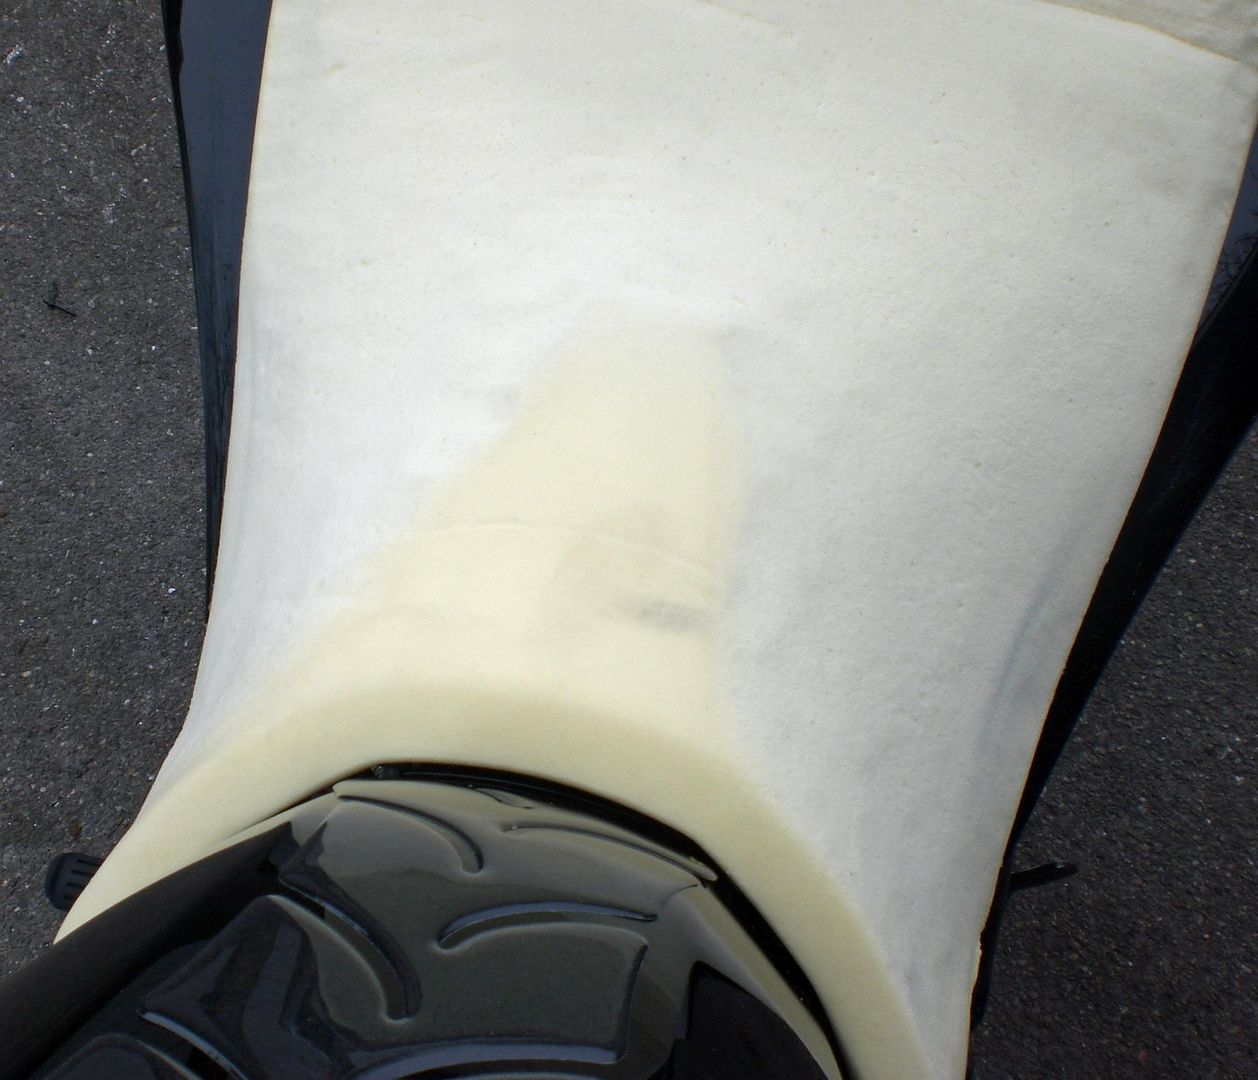
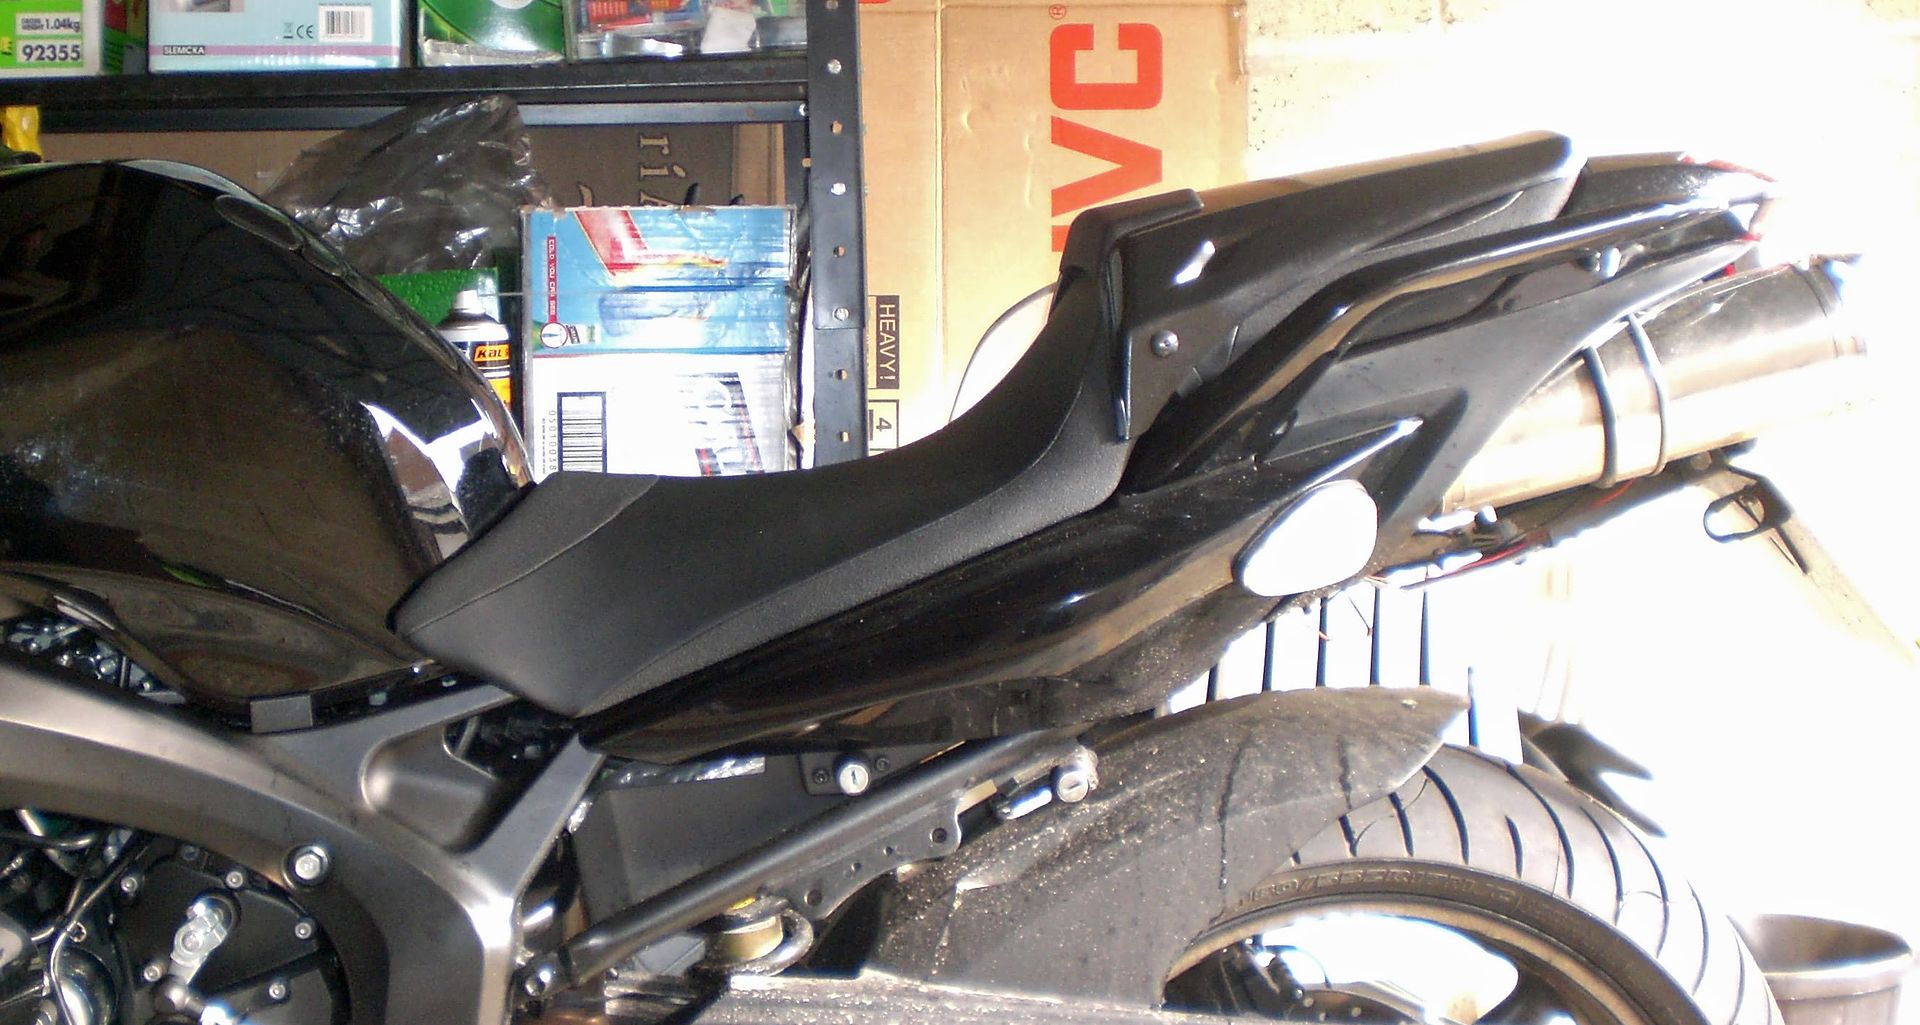
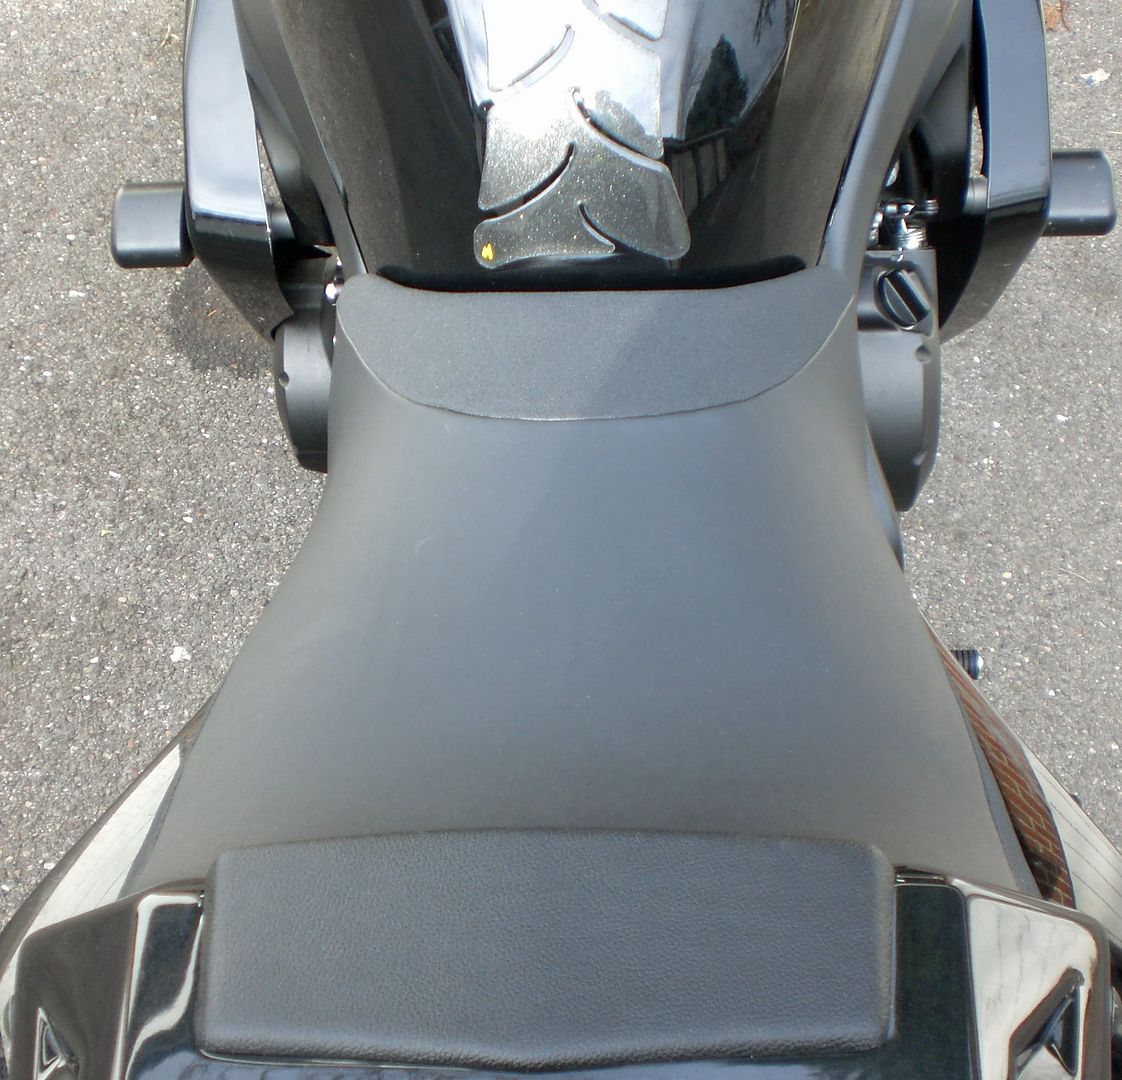
Here is how the stock seat looked:-

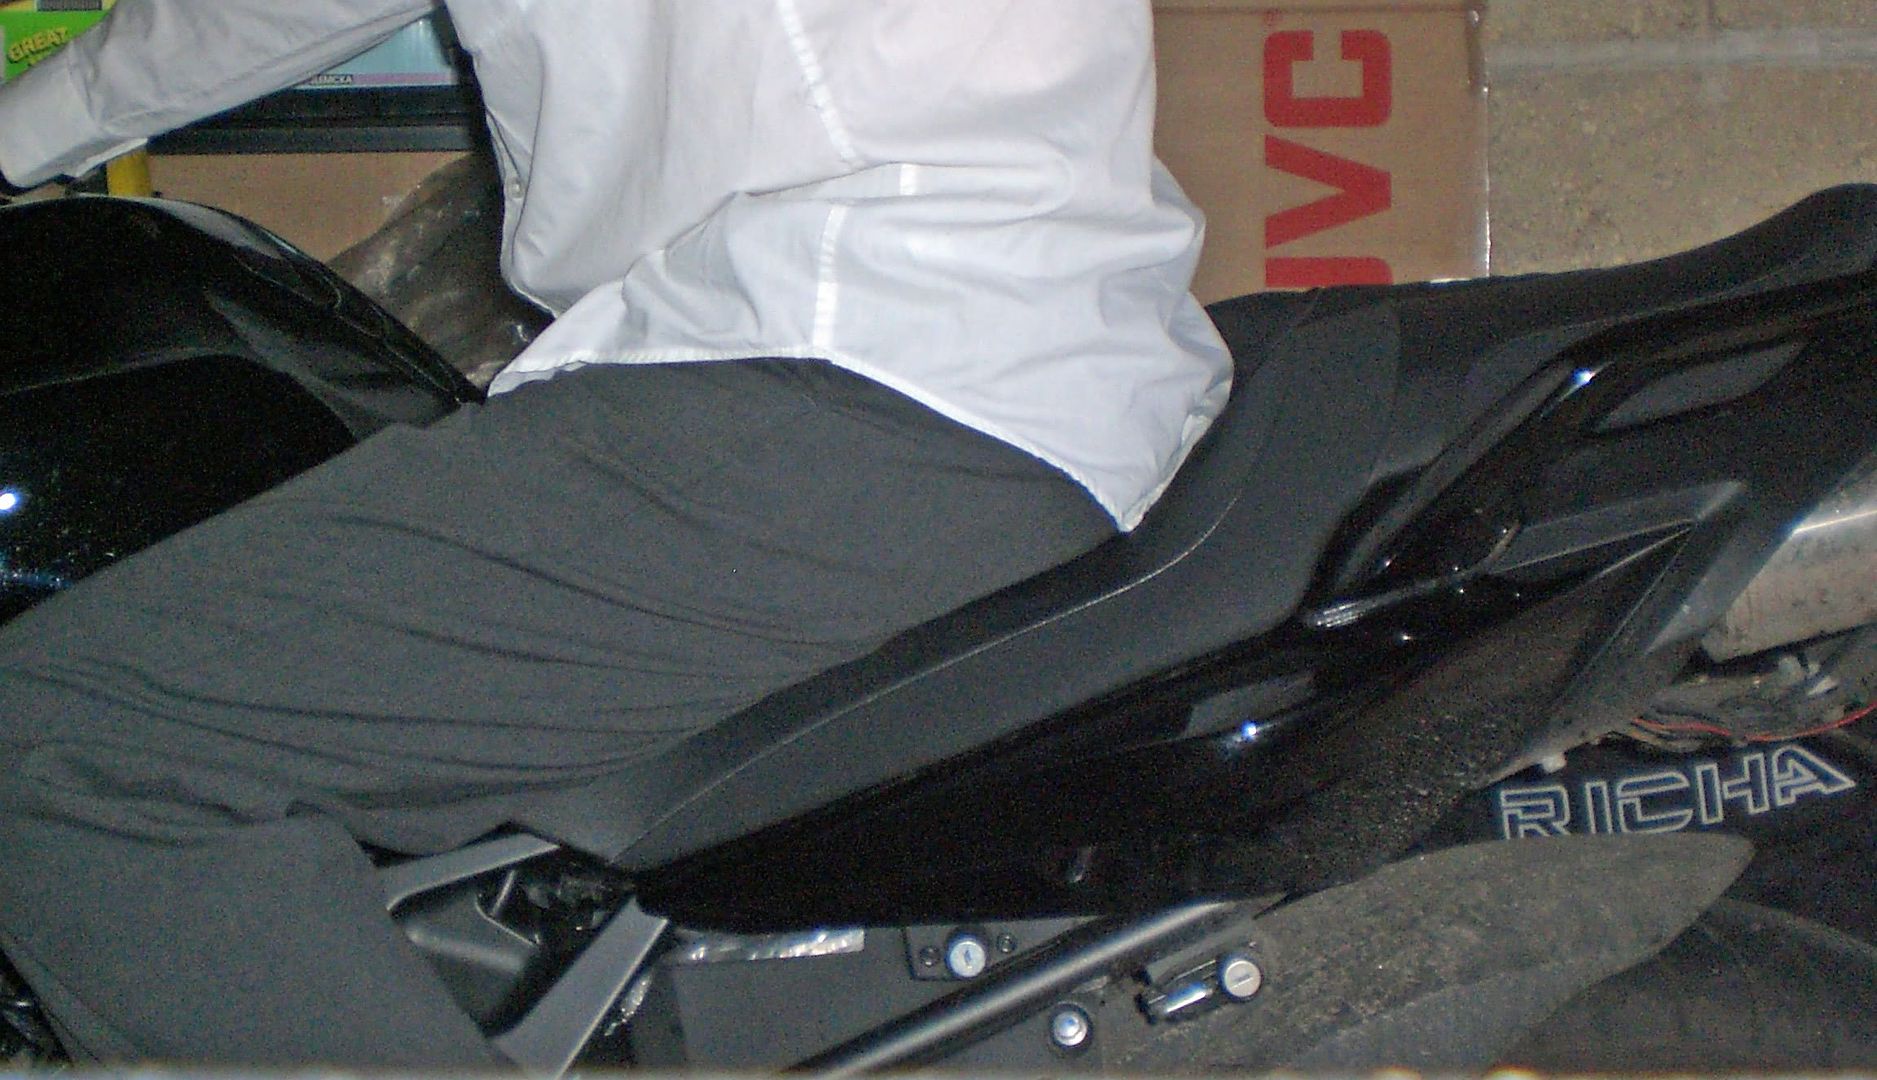
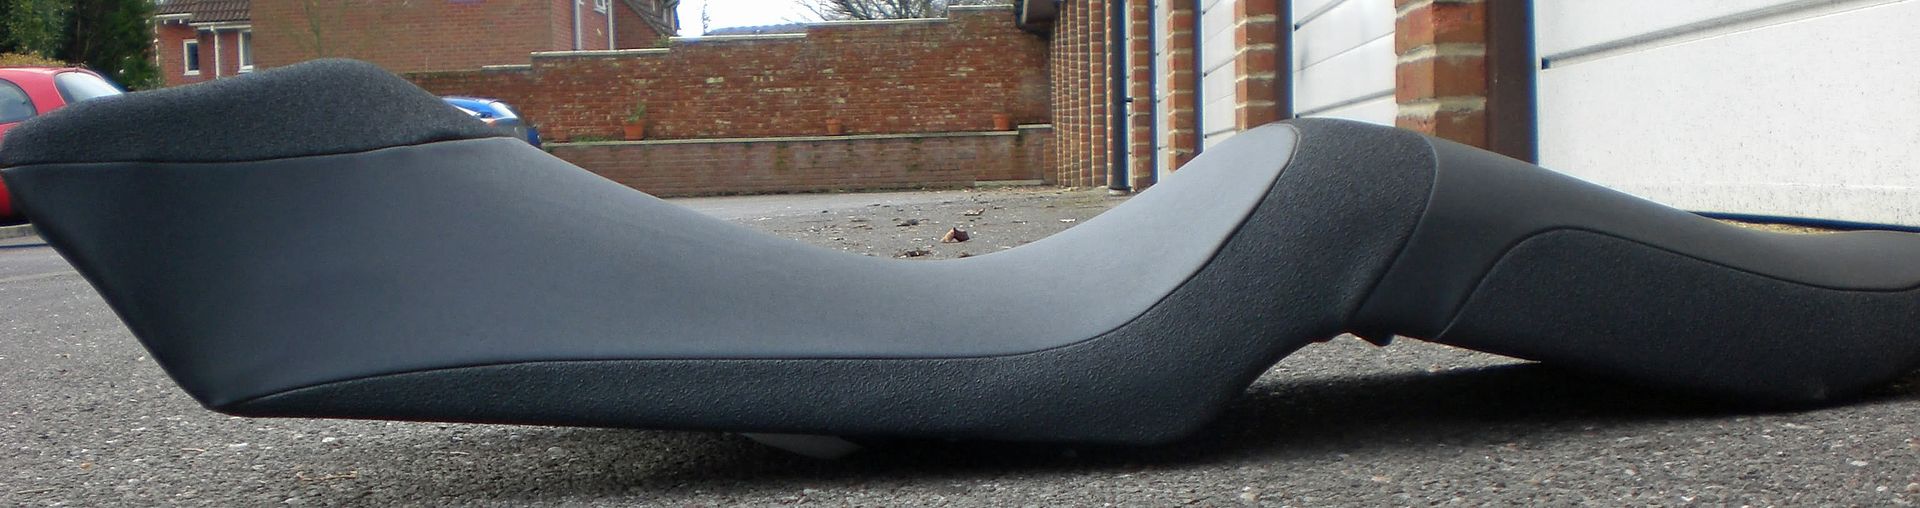
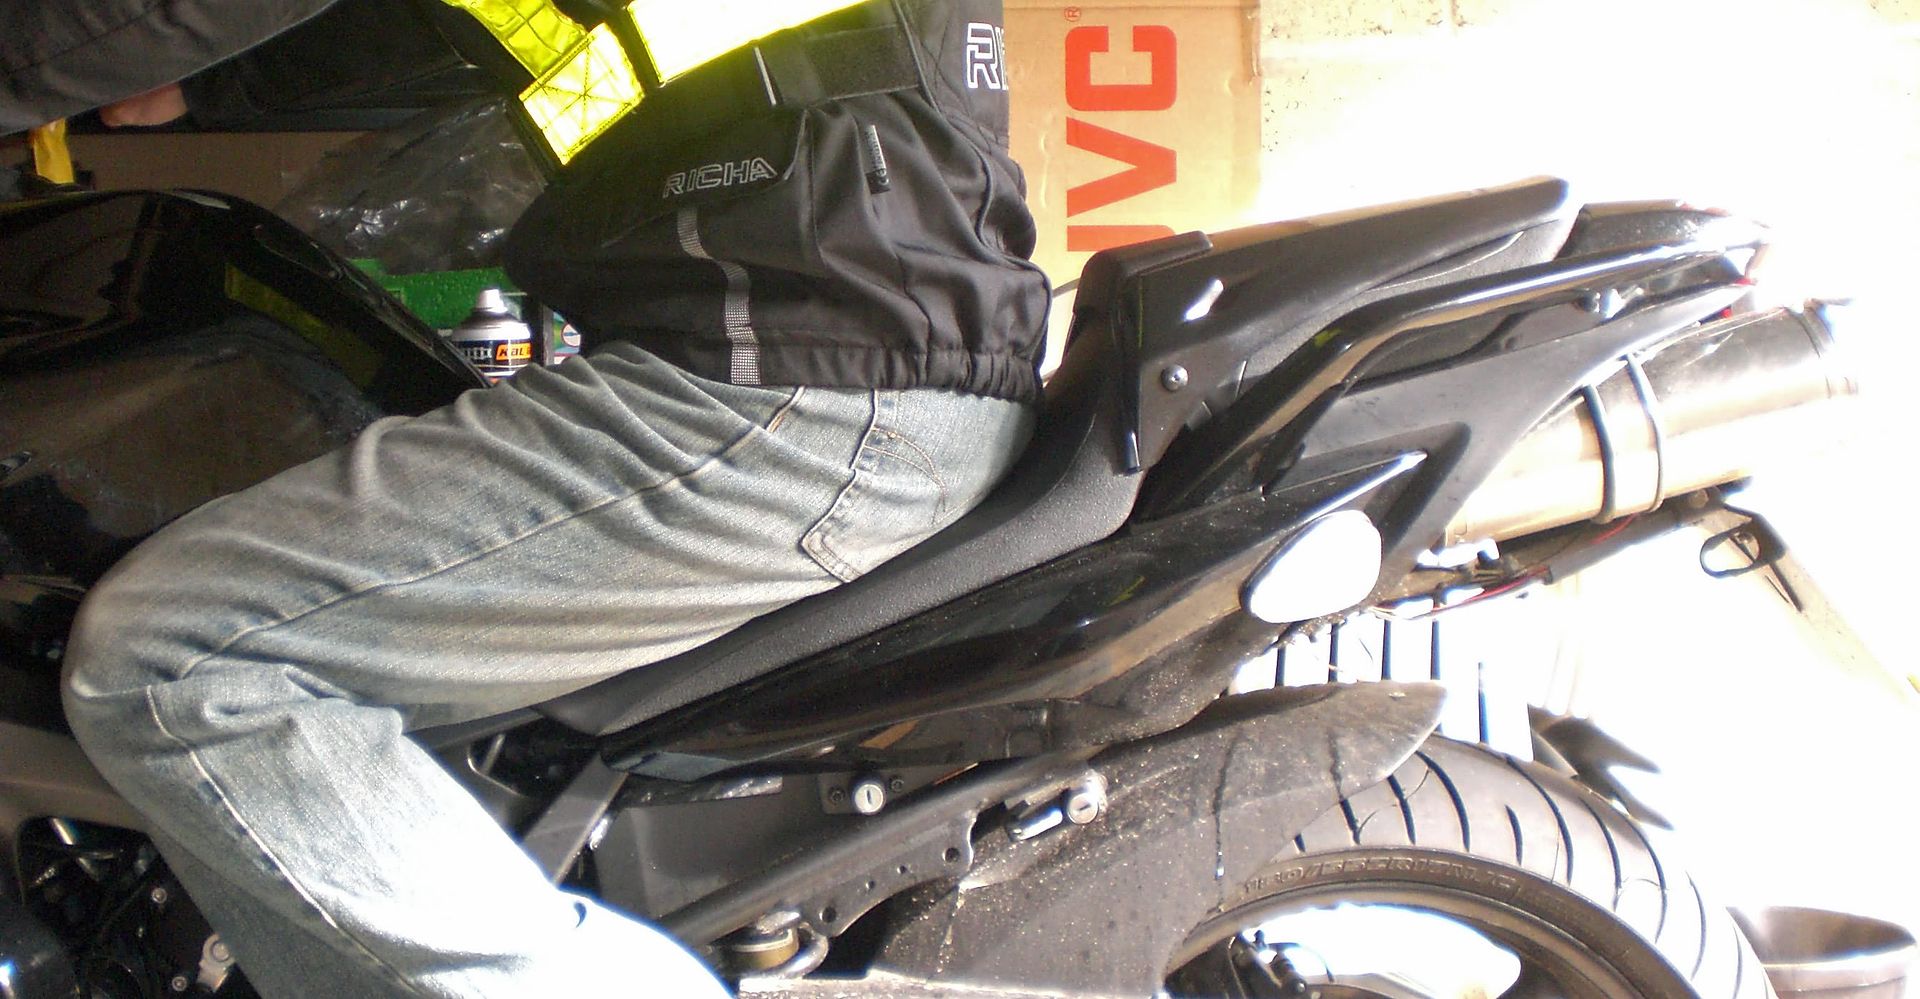
Here you can see my normal seating position. I like to sit far back:-

The first step is to remove the staples for half the seat using a small flat-head screwdriver and a pair of needlenose pliers. Then you peel back the cover covering the part of the seat you're going to modify. Don't take off the whole thing:-

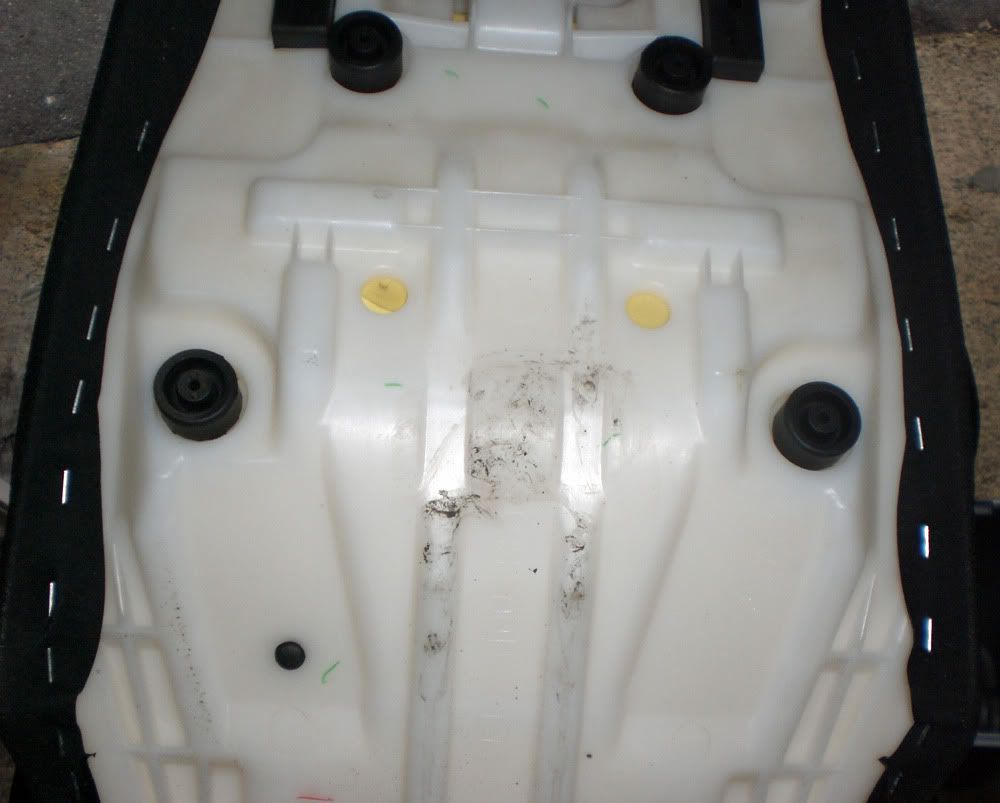
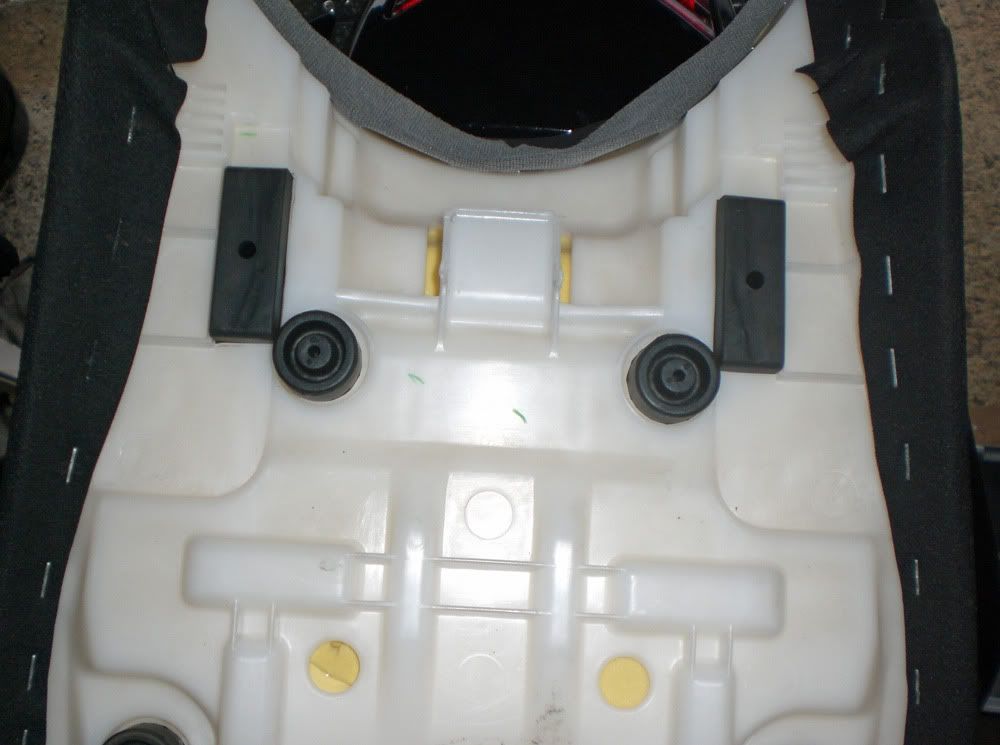
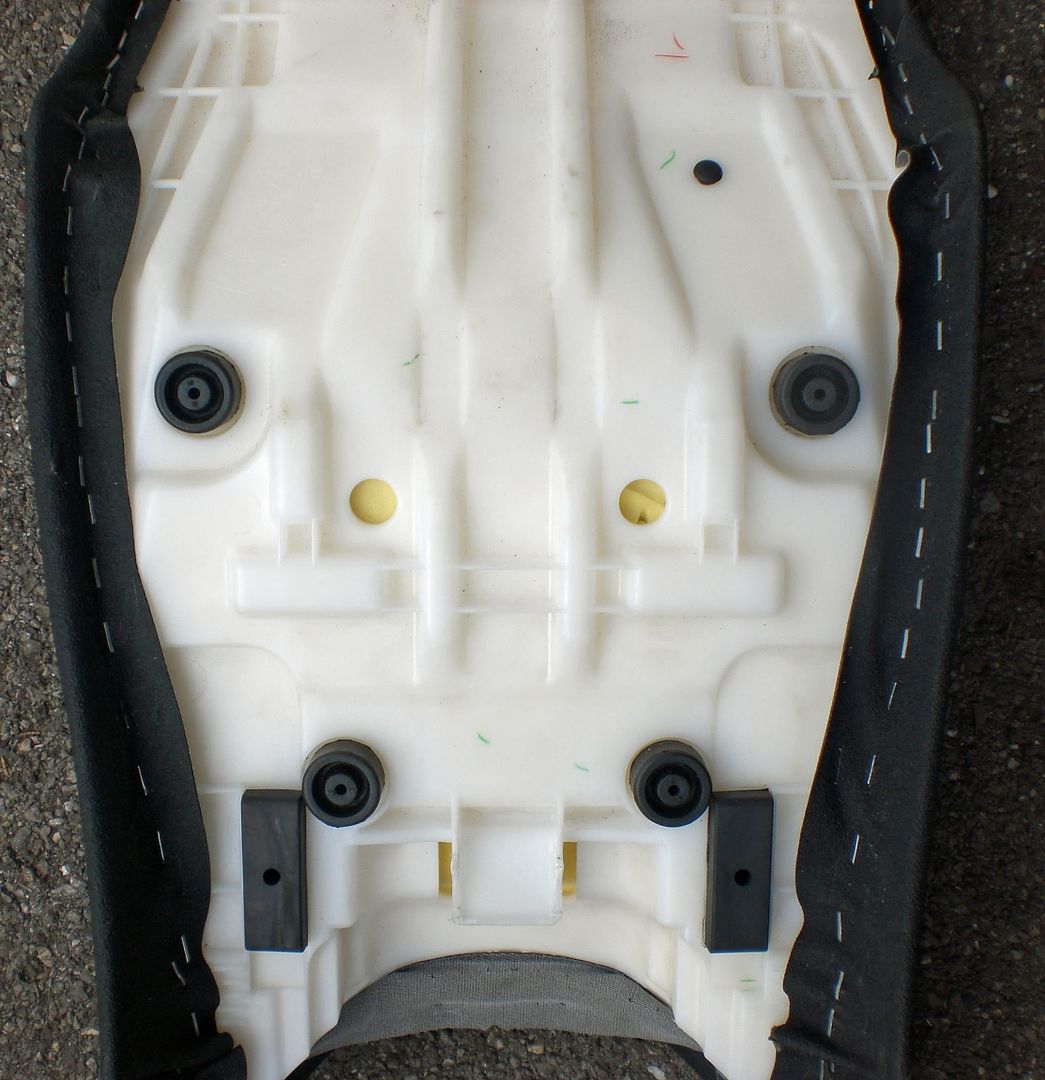
Here you can see the original staple layout:-

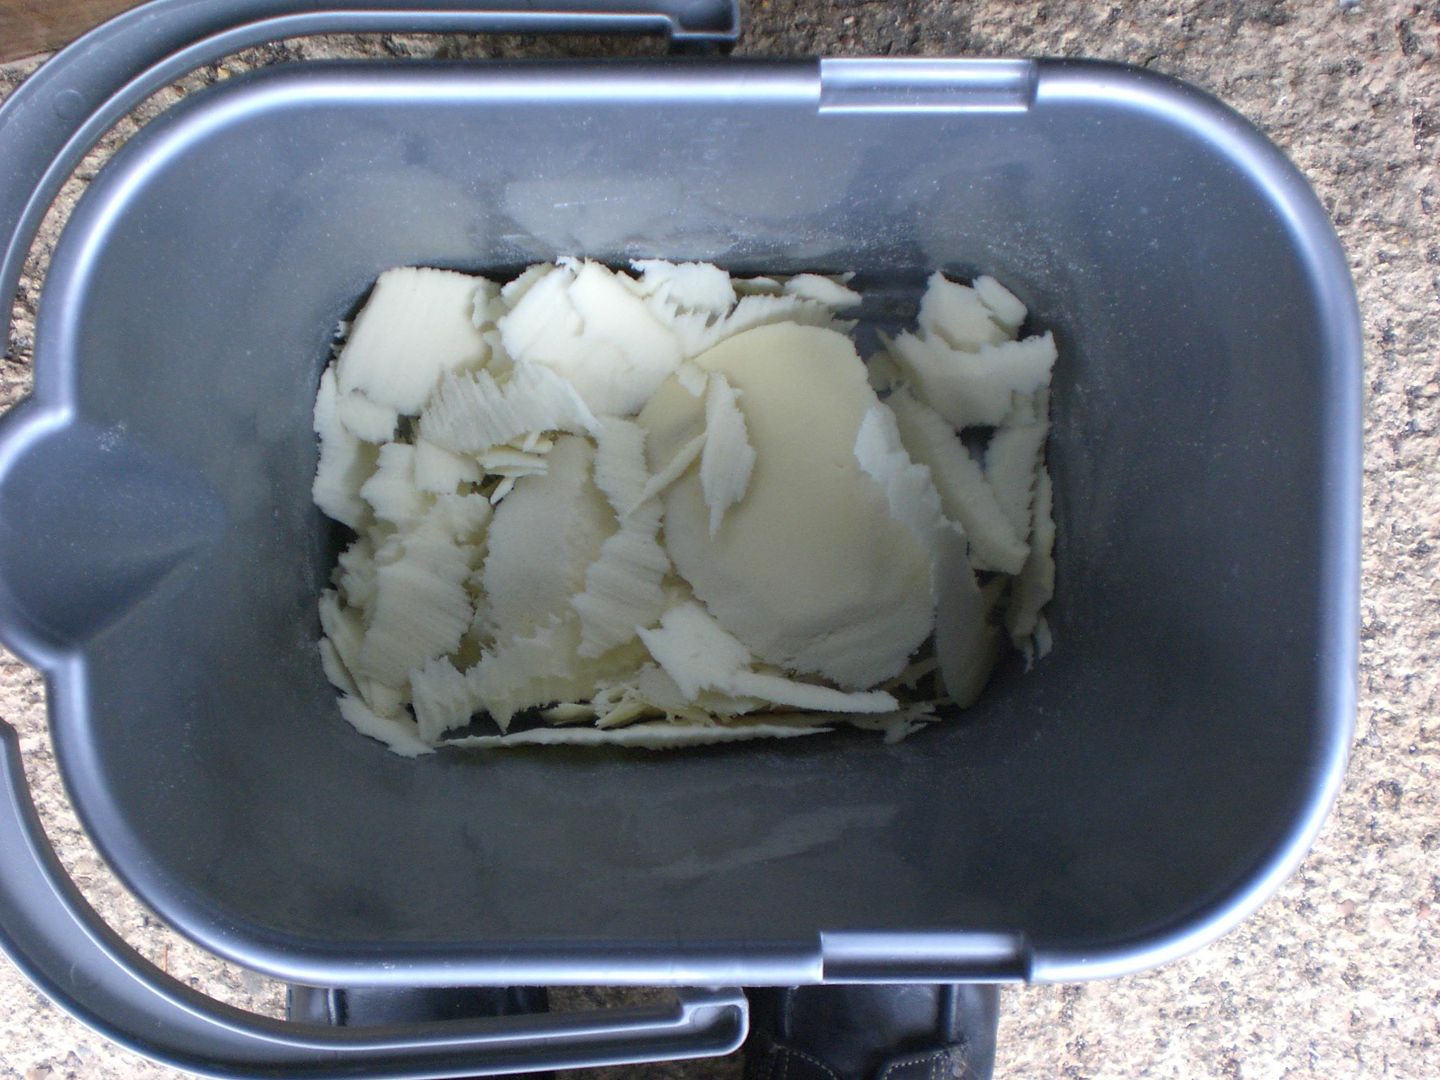
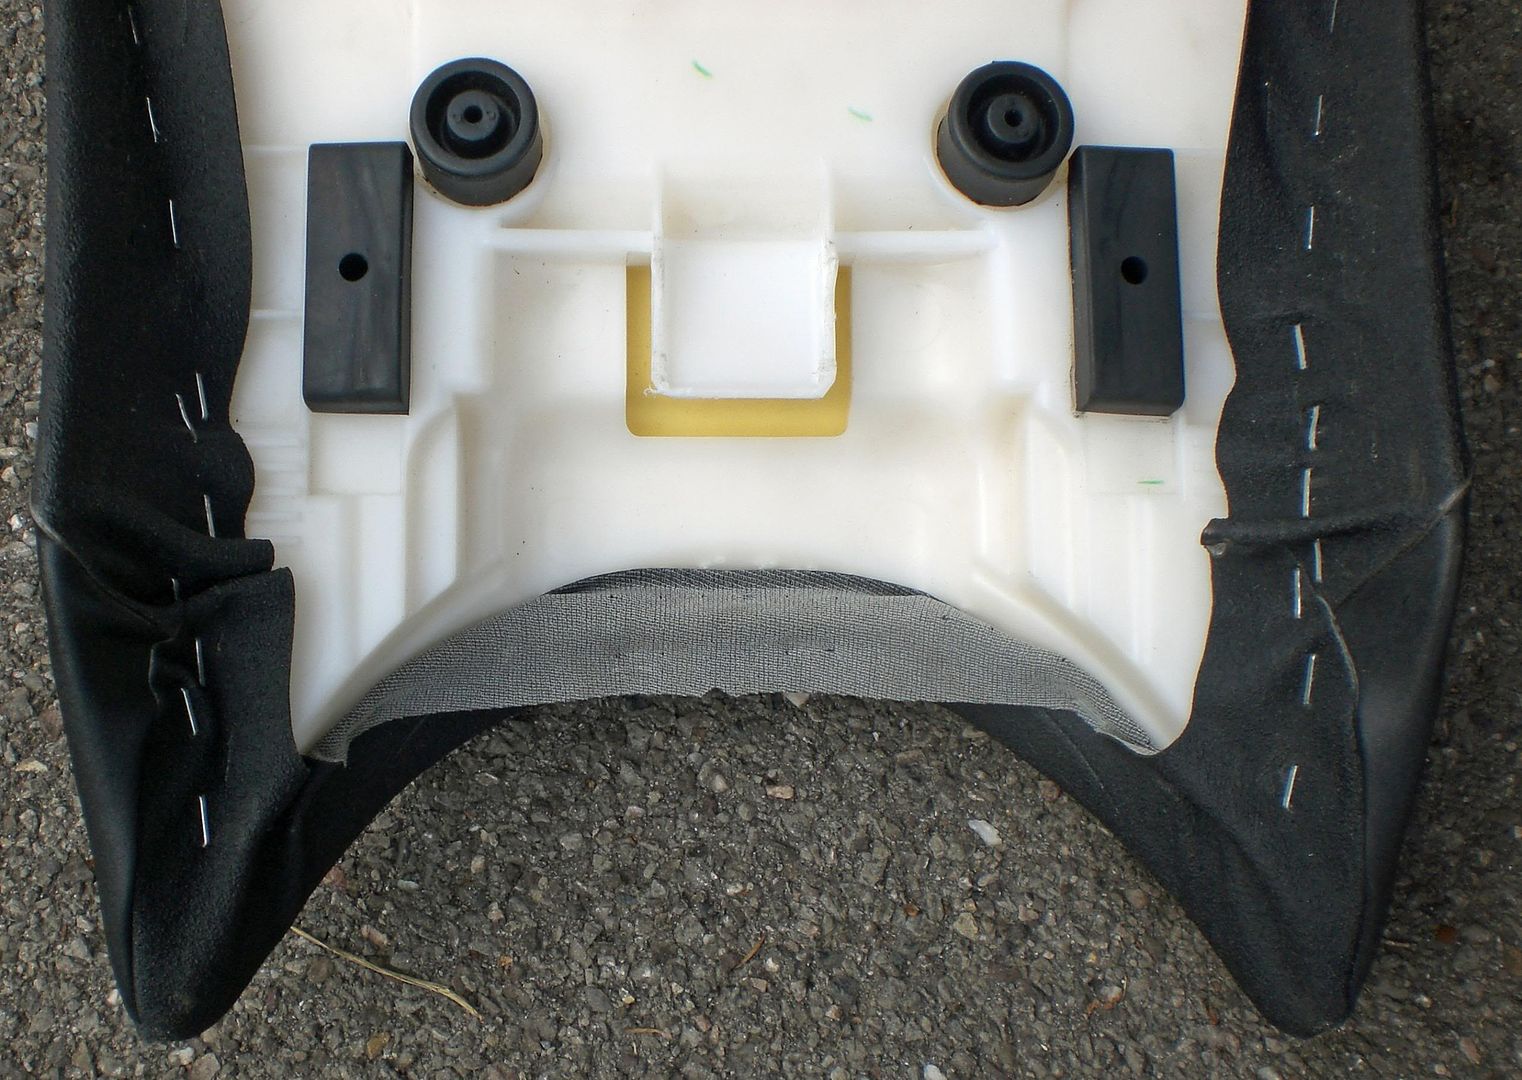
These staples all need removing carefully:-

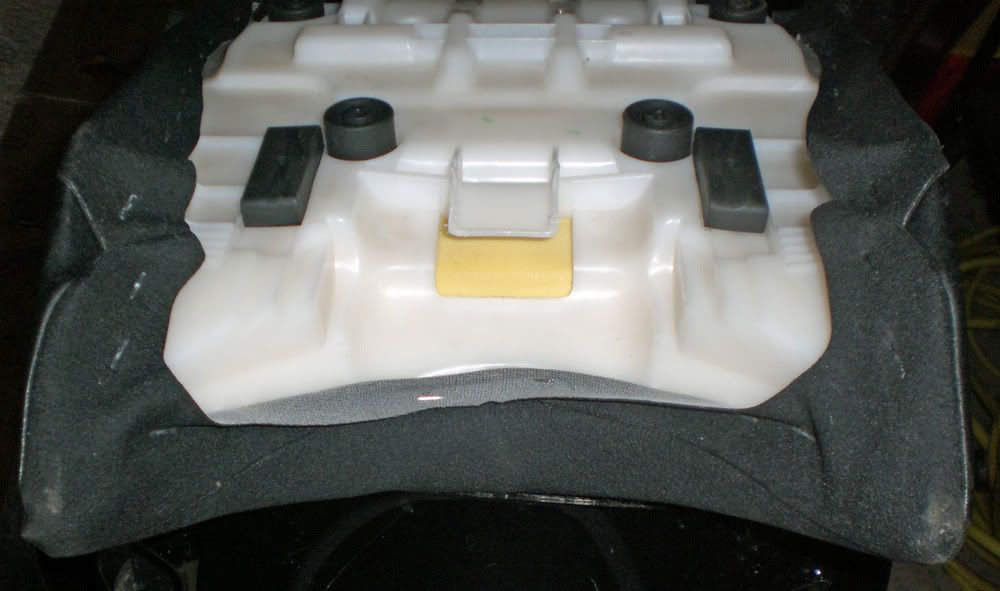
Notive the way that the cover flips over here to protect the tank from the staples:-

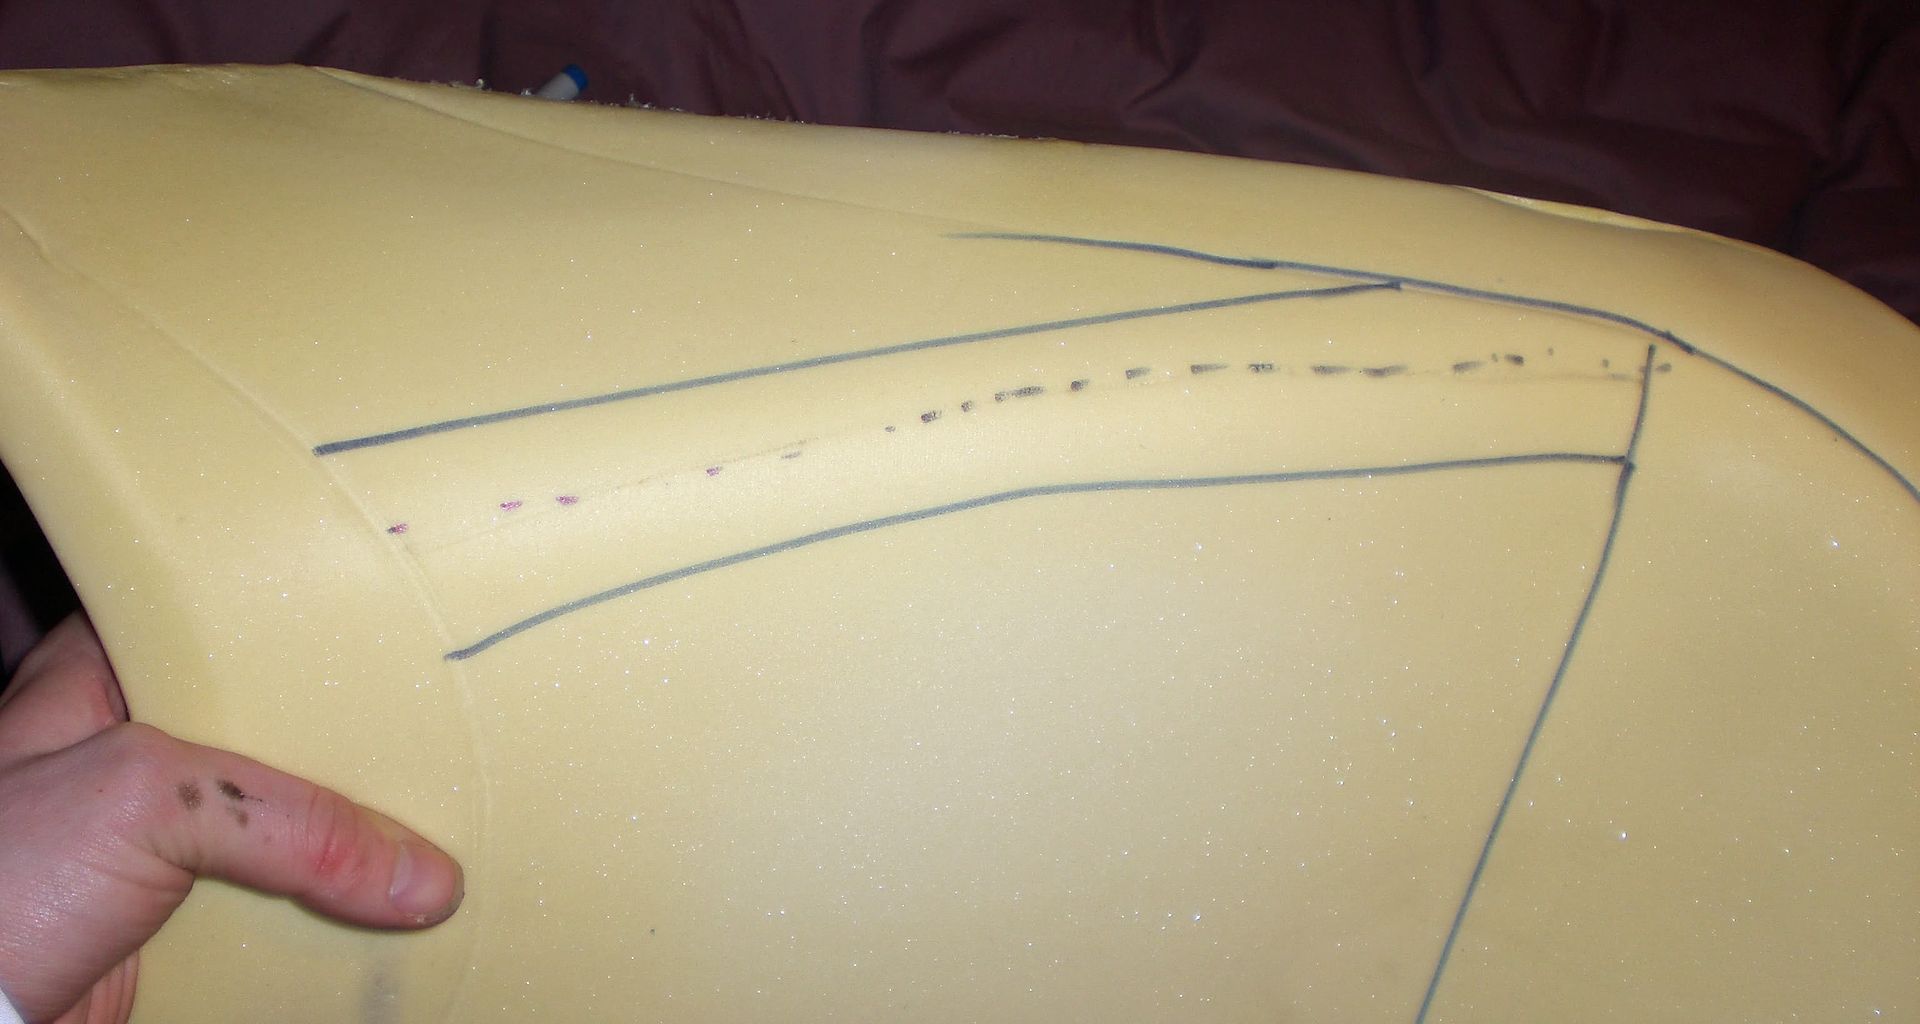
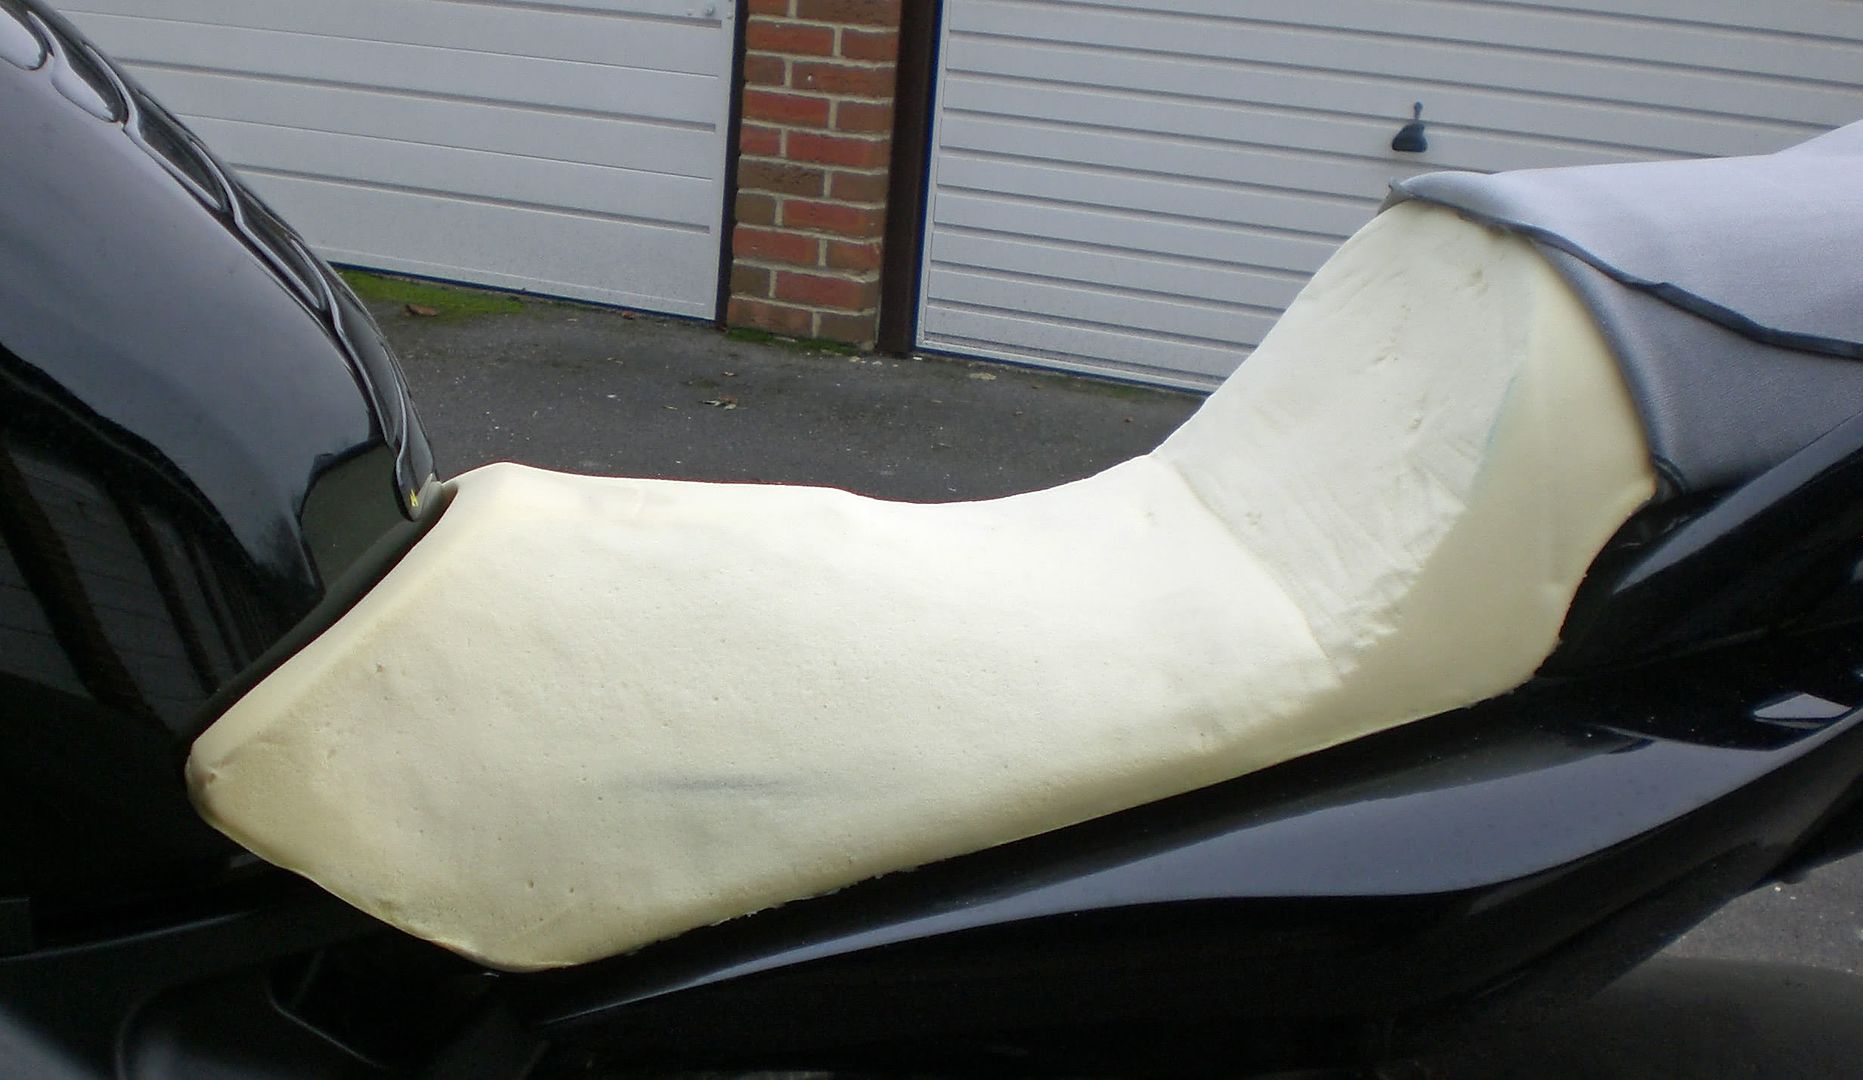
I roughly planned out which bits to cut off. I used the marks left by the seat cover to help me. I decided I needed to reduce the width on the sides, leave a hump in the centre at the front, cut out some of the foam further back to let me sit further back in the seat and reduce the height of the seat further back:-

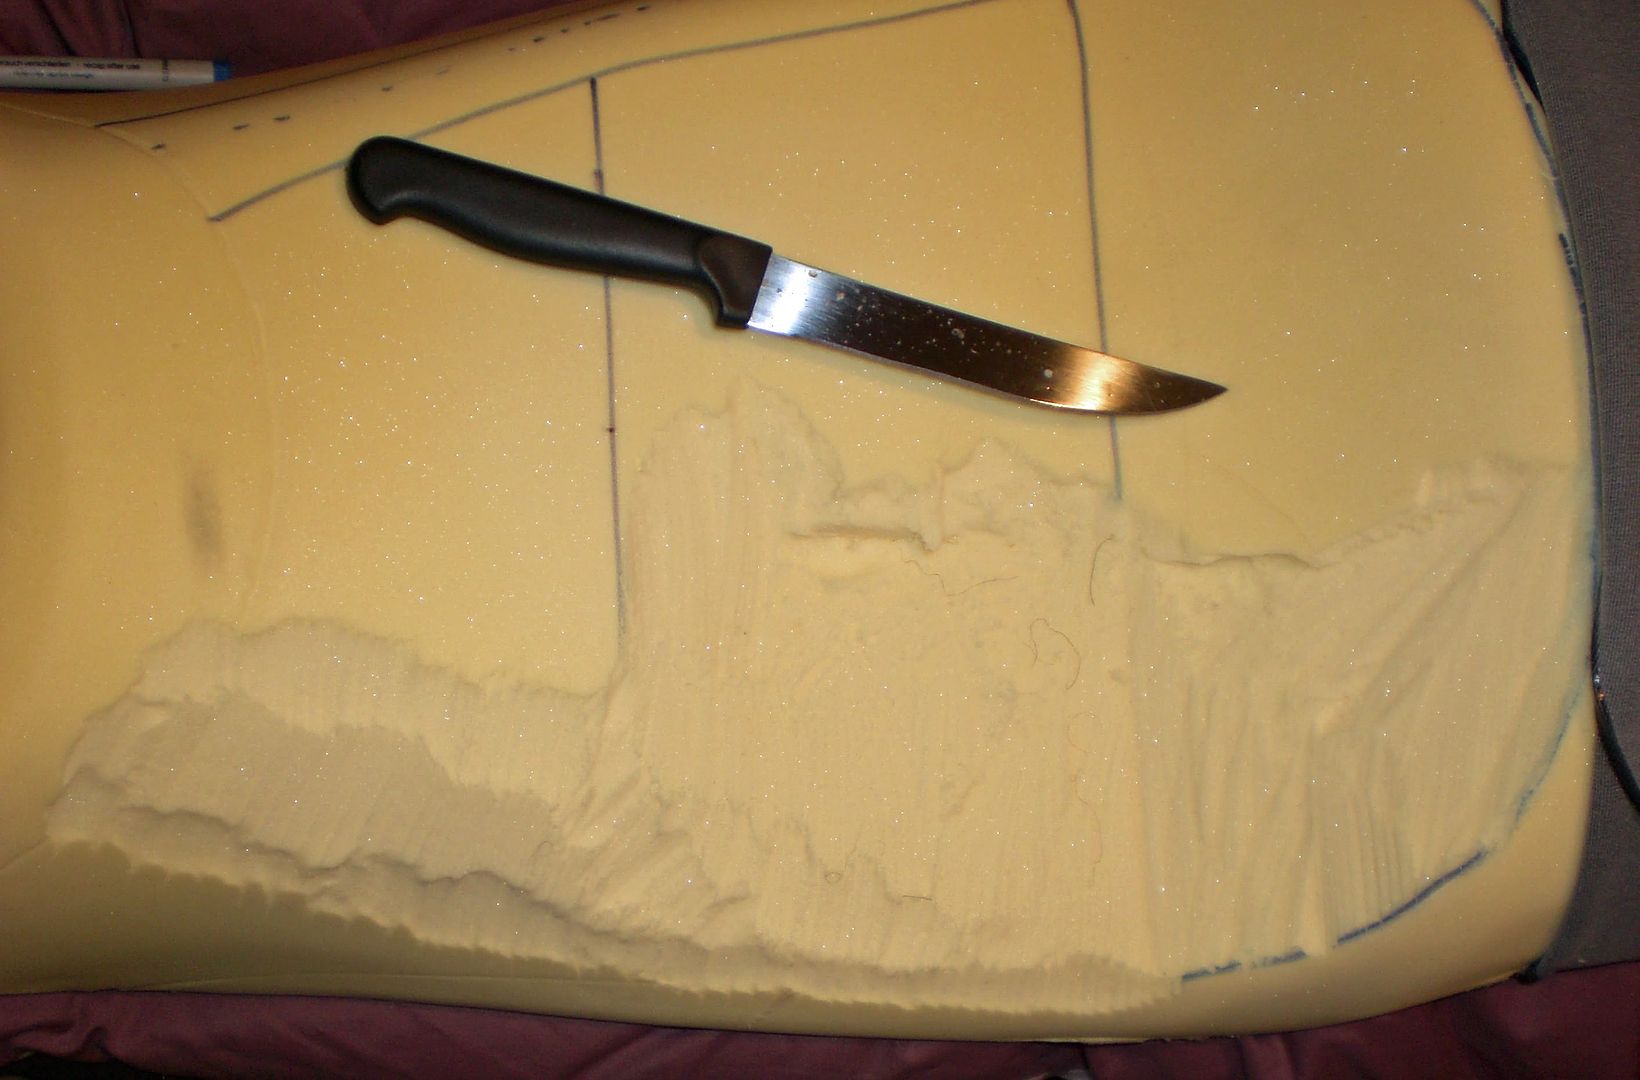
Here you can see the first cut. I used a serrated knife I had in the garage I bought from Tescos ages ago for about £1:-

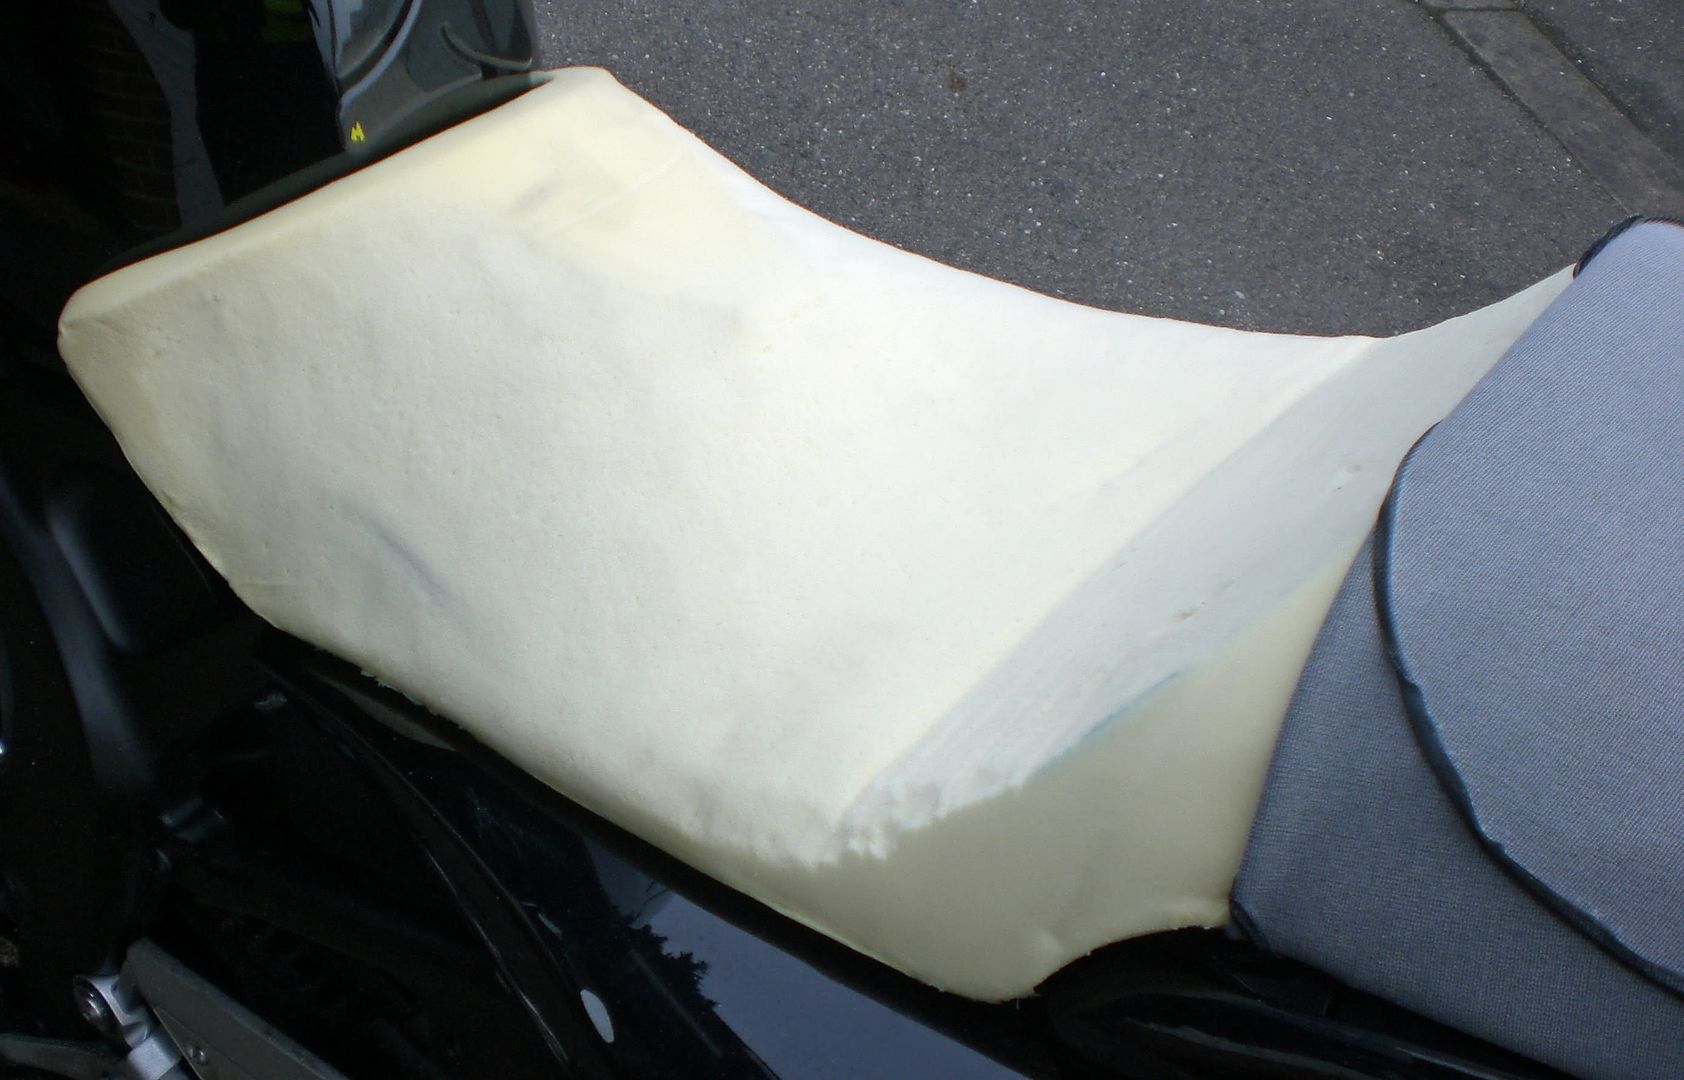
Here you can see the knife and the cutting method. The trick is to move the knife back and forwards a lot and let the serrations do the work for you. Don't force the knife down:-

Here I've taken out very roughly the shape I want on one side:-

I wanted:-
- Reduced height when sat on the bike to feel "safer"
- To be able to sit further back for comfort
- To stop my nads being crushed against the tank
- To stop the seat sloping forwards so much (and see above)
- To have less width on the sides to be able to get my feet closer to the ground
- To have less height on the seat to be able to get my feet closer to the ground
- Still be able to slide around the seat and hang off when needed
- It to not look like crap
Personally, I think I've achieved all of the above now. Read on to see what I did.
Here is how the stock seat looked:-
Here you can see my normal seating position. I like to sit far back:-
The first step is to remove the staples for half the seat using a small flat-head screwdriver and a pair of needlenose pliers. Then you peel back the cover covering the part of the seat you're going to modify. Don't take off the whole thing:-
Here you can see the original staple layout:-
These staples all need removing carefully:-
Notive the way that the cover flips over here to protect the tank from the staples:-
I roughly planned out which bits to cut off. I used the marks left by the seat cover to help me. I decided I needed to reduce the width on the sides, leave a hump in the centre at the front, cut out some of the foam further back to let me sit further back in the seat and reduce the height of the seat further back:-
Here you can see the first cut. I used a serrated knife I had in the garage I bought from Tescos ages ago for about £1:-

Here you can see the knife and the cutting method. The trick is to move the knife back and forwards a lot and let the serrations do the work for you. Don't force the knife down:-

Here I've taken out very roughly the shape I want on one side:-
Last edited:


") I'd recommend it to anyone. For anyone thinking of doing this, there are loads of sites and videos on the Internet about how to do it.
I'd recommend it to anyone. For anyone thinking of doing this, there are loads of sites and videos on the Internet about how to do it.