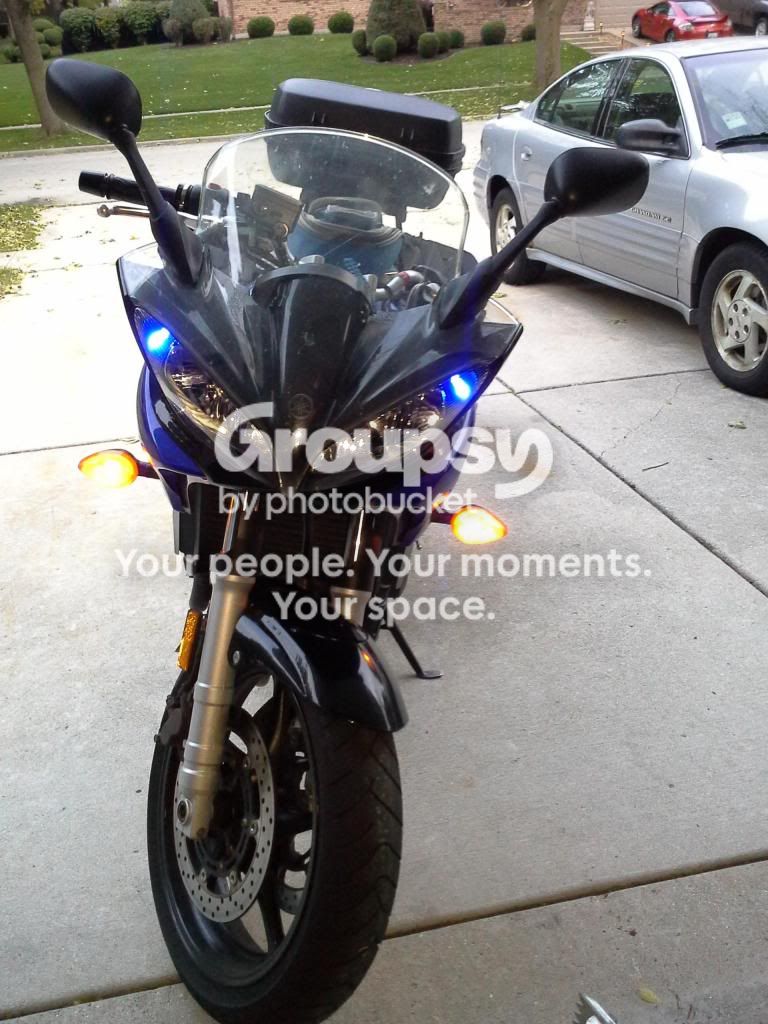
None - I did my own thing.
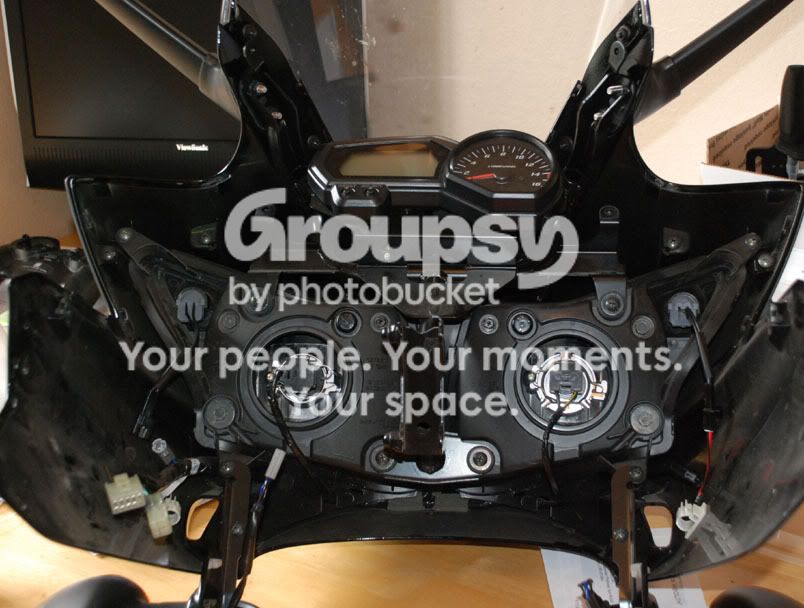
After I pulled the inner panels off the fairing to gain access and saw that only 2 12mm bolts hold the WHOLE FAIRING on, I disconnected the 2 wire harnesses on the left and removed the 2 bolts taking the whole thing inside! So much easier to work on! I'm guessing that took like 5 minutes or less! Seriously I spent more time staring at it than working on it.
Tools:
- OEM allen wrench
- 10 and 12 mm socket and ratchet. 10mm to check that your mirrors aren't falling off!

- soldering iron
- a drill capable of holding 1/2" bit perhaps a 9/16" would do in a pinch (hole size is 0.550")
- lighter to heat shrink tubing
Materials:
Tape
Zip Ties
Solder
Pod lamp socket from Yamaha PN 5PW-84312-00-00
Connector to yamaha pod lamp (sorry no PN, I had one laying around that locked into it!)
194 lamp or equivalent LED (
LED Products | Super Bright LEDs)
Steps:
1) remove inner panels L & R, 2 bolts each by gas tank
2) remove inner panel center section 6 bolts, remove panel
3) disconnect the 2 wiring harnesses, inner left panel
4) remove the two 12mm bolts holding the main support. The whole fairing comes off in 5min.
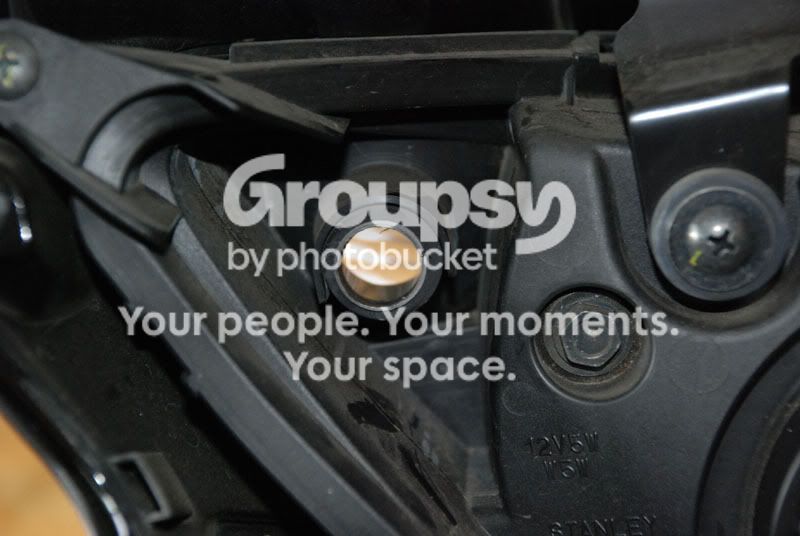
5) drill the pod lights out using 0.550" drill. Or drill to 0.5" and ream it over to 0.550"
6) insert yamaha pod lamp holder PN 5PW-84312-00-00 with 94 series incandescent lamps or LEDs. I used LEDs PN: WLED-xHP5: LED T10 Wedge Base Bulb - WLED-AHP5: Amber @5.95ea
7) Decide on use; running lights, blinkers, or runners that blink (see below)
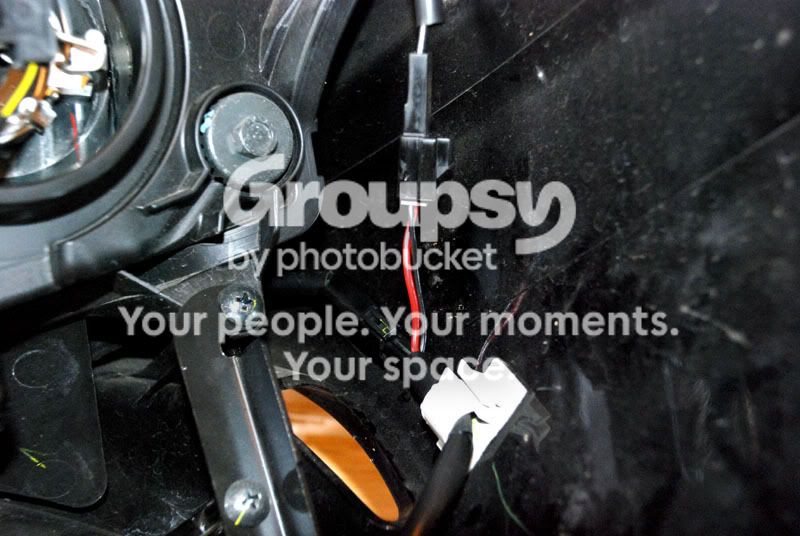
8) splice in what you need and seal it all up with shrink tubing. I soldered mine on as I don't like the pinch type wire taps.
Hint - when drilling fire up the vacuum and try to suck the loose particles out or pull the main bulbs and vacuum them out. If these bits of plastic stick to a bulb they could cause it to crack and fail.
My choice was Running lights active with key.
I spliced into the turn signal indicators between the stalk and the connector.
Black = ground (-) & Blue +12V when key is on. I did not tamper with the harness in the fairing. The indicator stalks are easily replaced so I tapped into them.
That's about it. check all the screws in fairing for tightness and put it back together.
If you want them to blink ONLY and not be running lights, hook them to the Dark Green (+12 blinker Left) and the Chocolate Brown (+12 blinker Right). Black is still ground. Remember the front lights have three wires.
If you want them to blink AND act as running lights I suggest you install a two micro relays but others have been known to float the ground using the BLUE wire as (+) to the lamp and the L or R Green/Brown as a floating ground (must have incandescent bulbs in the front or rear for this to work. ALL LEDs and this will require 2 small relays.
Drilled the hole:
Wired the lights:
Installed the LED and plug:
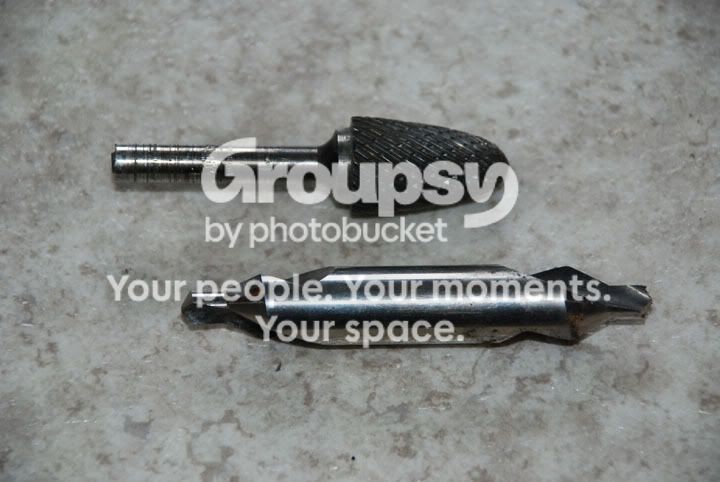
Bits:
For hitting the the middle and straying true to your hole, this center tap bit is where it's at! It's 0.500" so I needed that burr to ream it over just a tad.
Take it Off:
Pulling the whole fairing off is a breeze - don't hesitate, its very painless.