• Welcome to the Yamaha FZ6 Forums. Member registration disables ads and allows you to post and share. Register Here.

Metalic Black paint for add on's

FinalImpact

2 Da Street, Knobs R Gone
Site Supporter
Joined
Mar 16, 2011
Messages
11,135
Reaction score
188
Points
63
Location
USA, OR
Visit site
I have a black 08 and have been playing with rattle can colors for some of the silver parts I wish painted darker.

Here is a combo that seems to work although its dark and snowing a picture of color is of little value. I'll be back with a picture later. I know ->> :needpics:

PLASTIKOTE carries a car color line. One of the colors is #1059 GM BLACK METALIC BC. unfortunately the product is an acrylic lacquer which IMO will not withstand the elements for long without fading and getting flat. In fact WD and Alcohol dissolve it slightly.

To preserve the color coat I applied Dupli-Color ceramic clear coat DE 1636 CLEAR. This is an enamel based clear in semi gloss and its High temperature rated to 500F. but thats not why I bought it. I bought because it semi gloss and ceramic which is meant to be heat cured.

Its a good combo and did you know handlebars fit nicely in the oven!!! Yes, i baked on each thin layer of lacquer and baked on each thin layer of enamel. It doesn't smell like cookies at all but the finish in enamel is no longer soluble by isopropyle alcohol or WD40. . . 200F works nicely!!!!
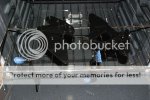
 
Re: Not Cookies. . . .

_DSC4957NotCOokies.jpg

But it is amazing what you find in the oven some times. . . :BLAA:
 
My wife would be pissed if I did that! I did it before in our old oven and she got really mad. Said the oven smelled like old motorcycle parts. I told her I couldn't tell. ;)
 
My wife would be pissed if I did that! I did it before in our old oven and she got really mad. Said the oven smelled like old motorcycle parts. I told her I couldn't tell. ;)

No Worries on that end - lol think solo


How's it holding up? I hate those silver pieces on my bike!

I did the bars a few days before the original post. The stuff is tough. In the short term I'd say its more scratch resistant than the OEM paint.

Process for items with Paint on them already OEM finish etc.:
  • Wipe with prep-sol (removes oils, silicones, grease etc).
  • Wash with detergent in hot water. Further break down any oils. Dry part(s)
  • Scuff with green scotch brite pad
  • Blow off
  • Wipe with prep-sol
  • Heat in oven. Metal only up to 200F, lower if other materials are attached
  • Allow to cool slightly
  • Spray base color coat - return to oven
  • Spray - return to oven
  • Spray - return to oven
  • Cook for at least an hour
  • Spray enamel top coat - return to oven
  • Repeat as needed based upon wear and sun exposure potential.
  • Return to oven to cure for a couple hours at 150F
  • Done!

Mind you it was only 45F outside, so that temp pulls the material temp down fast. That is the main reason the return trips to the oven occurred but being metallic paint its thin and it runs easily. Raising the core temp reduces the application time as the paint flashes quickly.
 
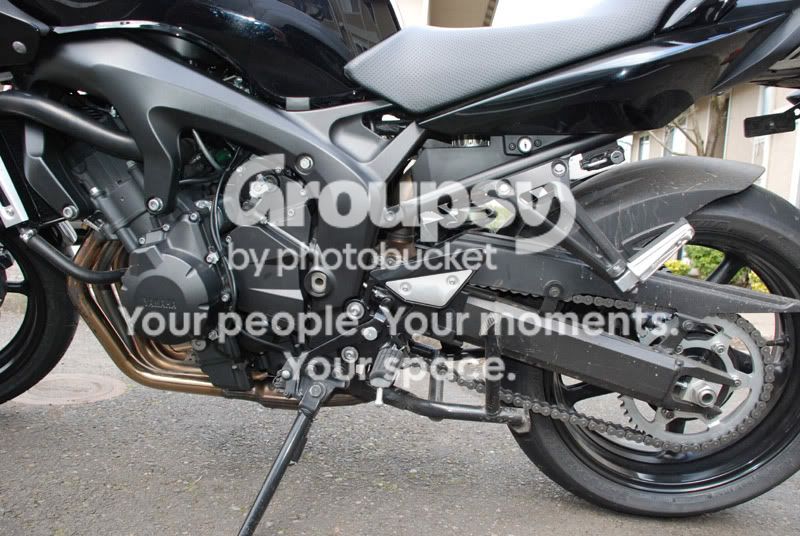
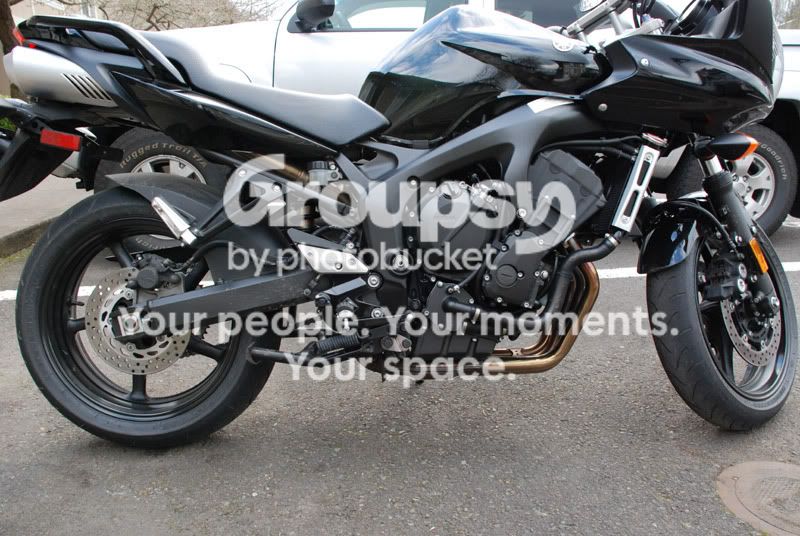
Just a couple of pics from a while ago. . .

DSC_4984RearSetsBlack-1.jpg

DSC_4986RearSetBlack.jpg

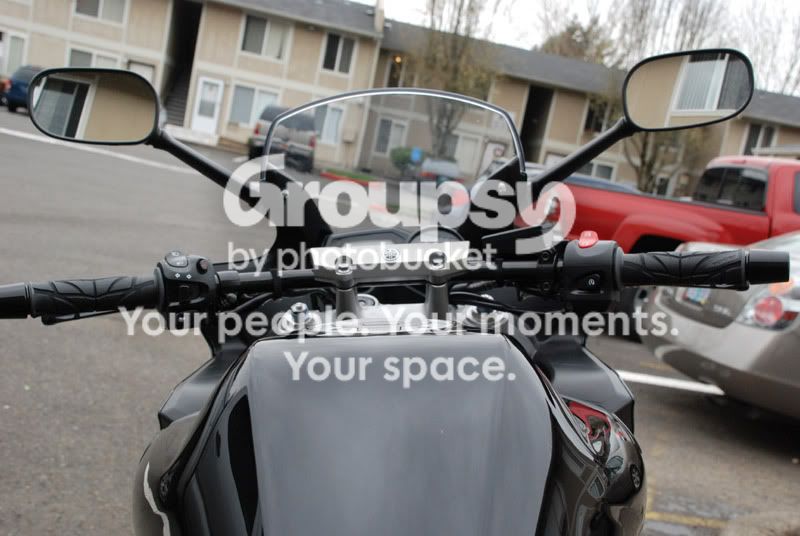
DSC_4995SpiderFZ1Bars.jpg
 
About how long did you leave it in the oven each time? Working on painting a bicycle atm, and would live to get the paint to cure much faster lol.
 
About how long did you leave it in the oven each time? Working on painting a bicycle atm, and would live to get the paint to cure much faster lol.

IMO longer is better as the goal is to get the solvents out of the paint slowly. I'd guess it takes a week for this to occur at 50F.

I did 30minutes between coats and 2 hours at 175F. If your stove can handle it, I'd suggest no more than 150 to 175F max so the solvent doesn't blister as you want to allow it to escape through the paints surface.

Hint: metallic paints run and drip much easier than solids. Because the outdoor temp was near freezing, I could barely fog the color on w/out it running. Having the material temps up in the 105F range made it easy as the paint would flash off in minutes and not run.

Good Luck!
 
Its thread resurrection day... ... ...

Here is a powder coat option. A sample is headed this way in the mail.
 
Last edited:
Great Work!!! I also am not a fan of the tiny little bits of silver on my bike. I can't understand what Yamaha was thinking they do frame, wheels engine black then there is this little silver rear-set area ...looks out of place.

I have a friend who has applied various coatings to firearms and he was the one who suggested doing my black...........after seeing those photos I am doing it...great job.


Ride safe
Grodd
 
No Worries on the Oven, using an industrial oven for the PC. Plus the real oven is self cleaning!:BLAA: << Rattle can parts only
 
I had great luck using a few layers of black camo paint (it's a super matte spray can that they sell at home depot or an auto parts store for a couple bucks a can) and then coating it with one or two really light layers of a matte clearcoat spray (the stuff I used was rustoleum). The clearcoat gives it the same texture as the frames powdercoating but it's definitely not tough. I used it to "de-gloss" the shiny black pieces and everything that was ugly fake metal, didn't match and is a low contact area.

It was a cheap and easy solution and I figured what's the harm on the radiator covers, inner fairings and exhaust cover. If I have rubbing issues I can always sand it down and put on another couple coats. I'll be doing this on my ugly silver forks soon and should have a better idea about the durability on it after that.
 
Just in case anyone wants to know how well the original rattle can held up, here it is at one year later and roughly 6000 miles. My boots tore them up abit on the left set.

attachment.php
 
Apparently I never came back and posted pictures of the PC'd parts...

2013-03-16 Powder Coat Day:

All went well and I got all my parts done. One thing that went bad was the brake lever bushing had a melt down in the oven. I thought it was some kind of bronze bushing but it has some plastic impregnated into and it melted into a pool at 405F after cooking for 15 min. In short I may need a new bushing. :(

Oh - and Yama Black from the guys up there - well its not exactly black. More like Yama Brown! I didn't use it. So I mixed Lazer Black and something that was satin black and got this which is really close to the OEM black as seen by the passenger rear set in the picture.
47119d1363486843-somethin-black-dsc_6484web2-jpg

47120d1363488676-somethin-black-dsc_6499-web2-jpg


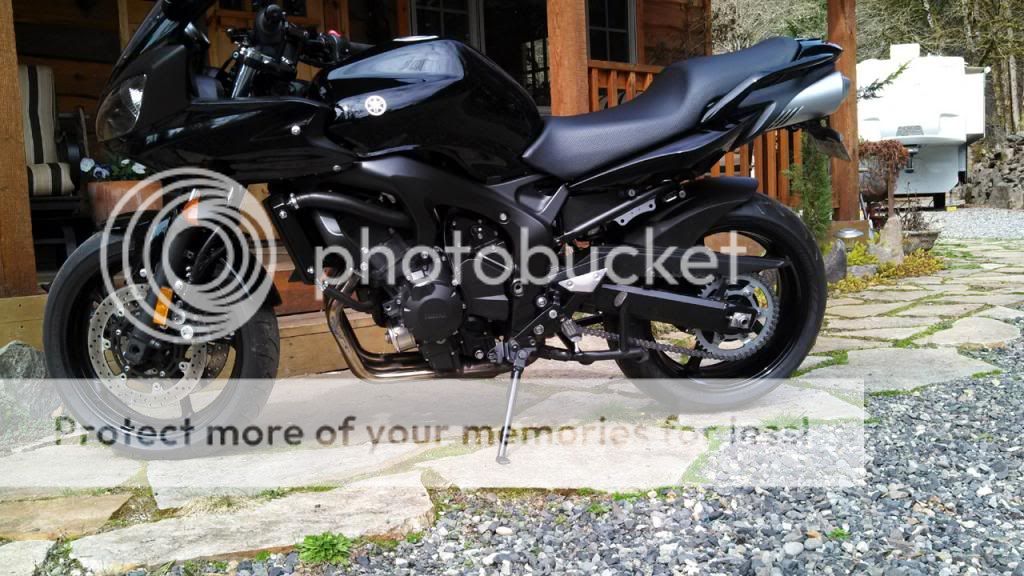
How to fail at indoor photography!!! lol When its all back together and in the SUN, I'll take better pic!!! At least the SILVER TRIPLE IS GONE!!! :thumbup: :thumbup: :thumbup:


From: Something Black

2013-03 /\/\ updates!

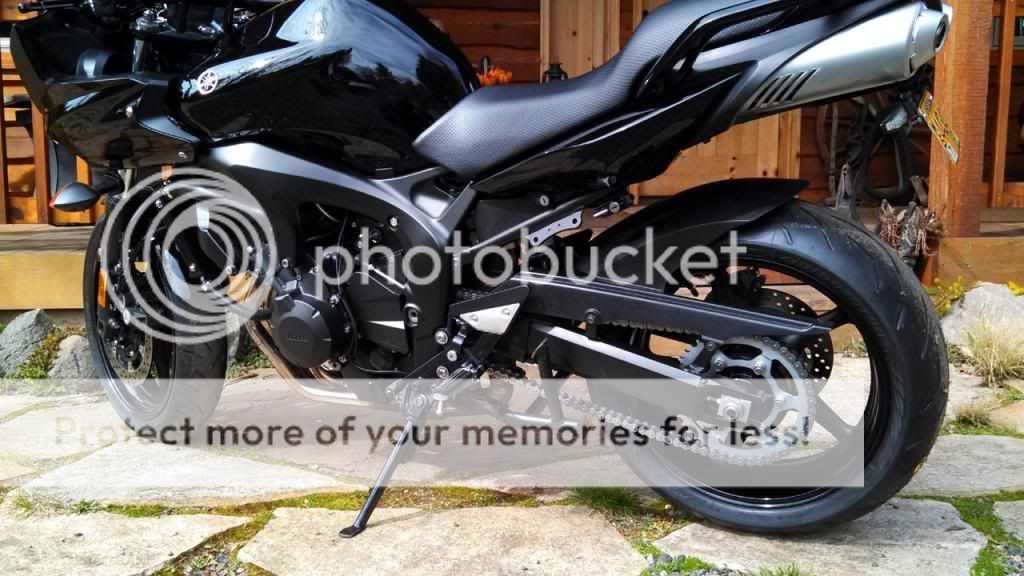
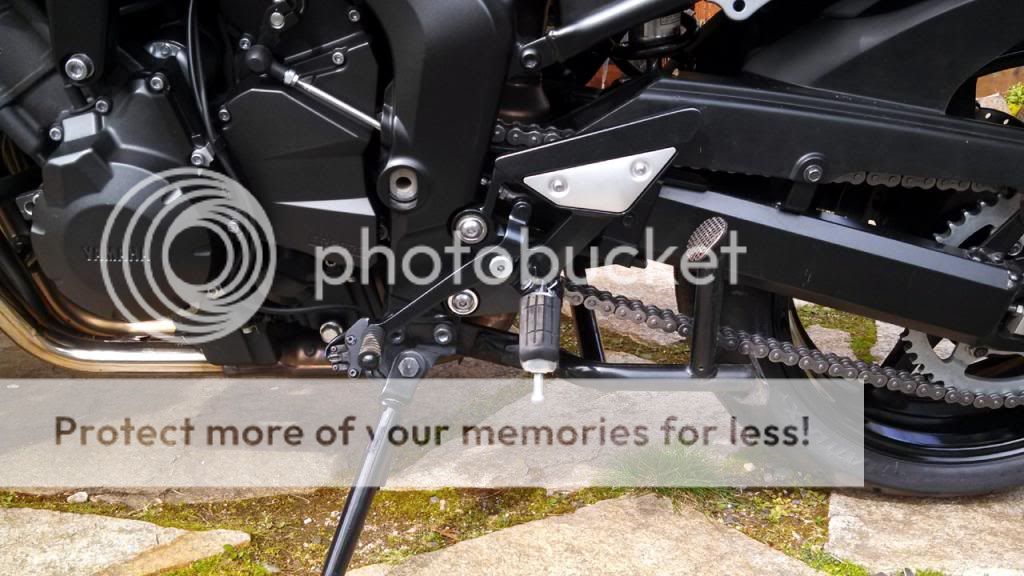
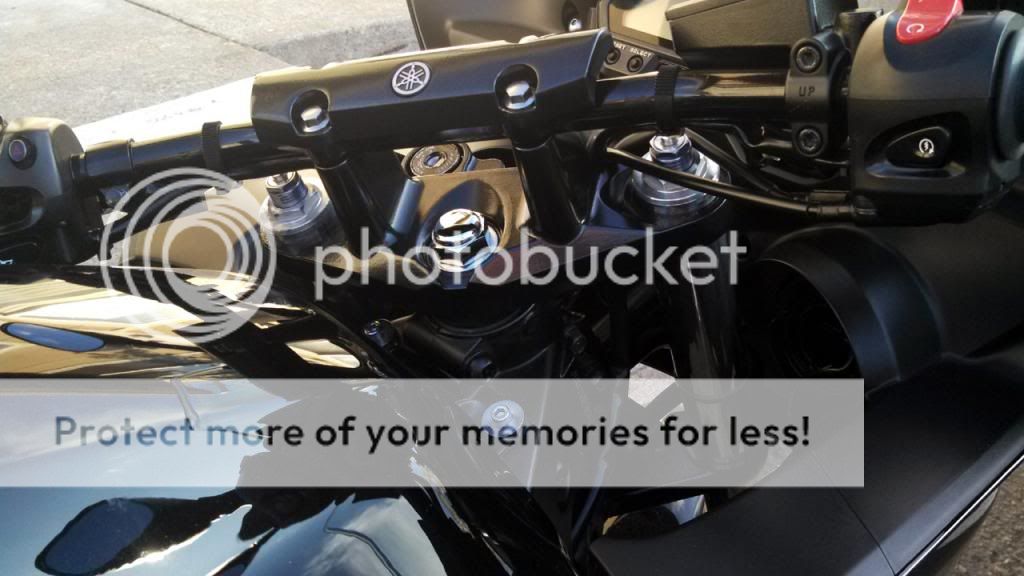
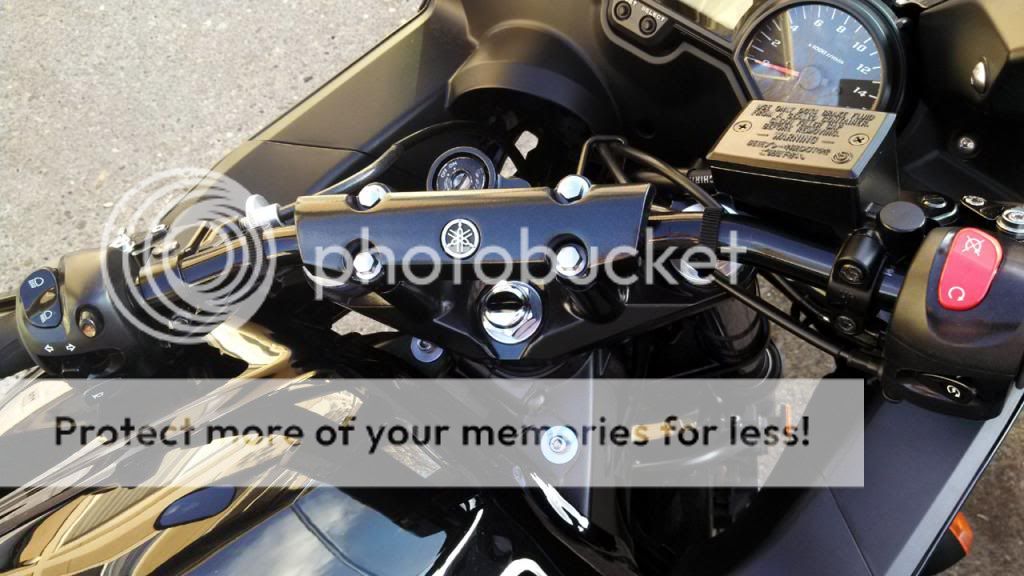
IMG_20130329_145828_368WEB_zps1e1c33d9.jpg

IMG_20130329_145840_051WEB_zpsa8f5418a.jpg


IMG_20130329_145848_352WEB_zps6c9afd08.jpg


IMG_20130329_183720_860WEB_zpsadb0216a.jpg


IMG_20130329_183711_363WEB_zps5ec574df.jpg
 
Last edited:
Just a quick report that baking ones Rear Sets in the Oven at 400F for 15min didn't seem to effect the rubber isolation biscuits. I fully expected them to crap out and fall apart but so far so good.

47119d1363486843-somethin-black-dsc_6484web2.jpg


That busing for the brake lever is another story. It didn't like that at all! lol
 
Back
Top