CCHOUSEKY
Kentucky Wildcat Fanatic
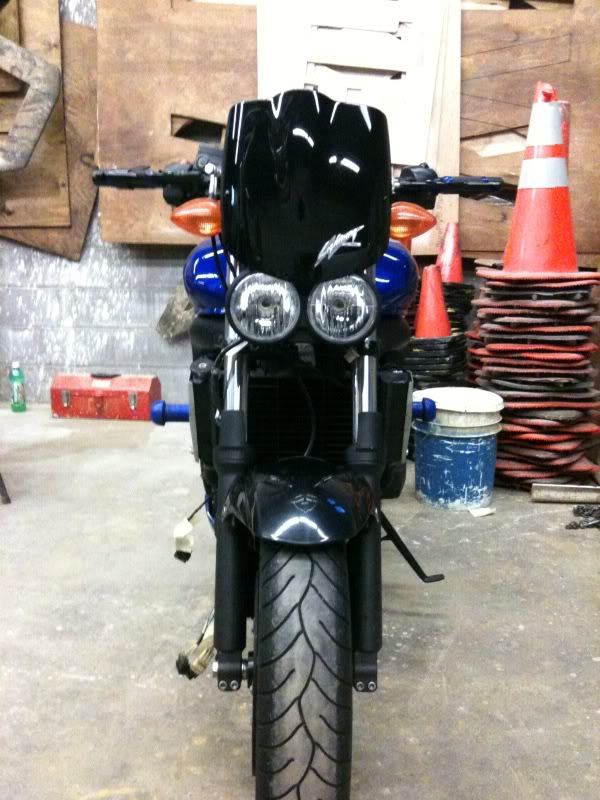
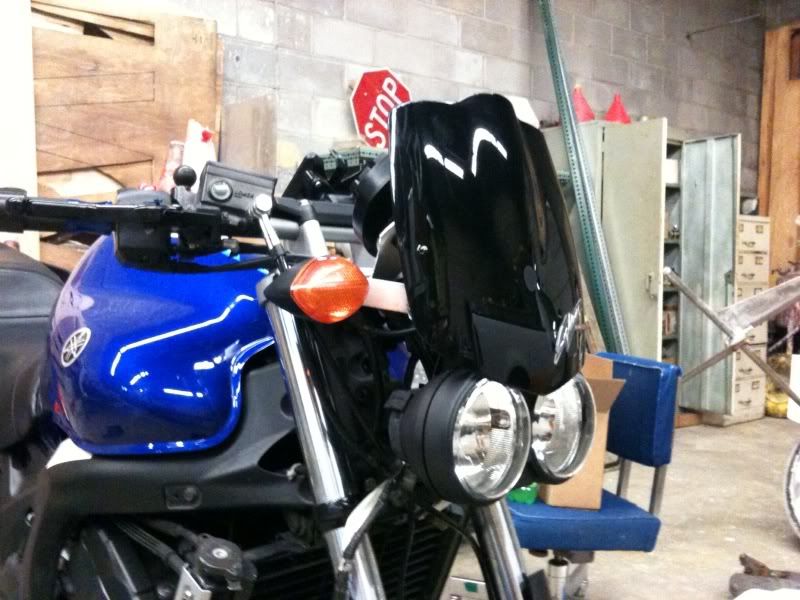
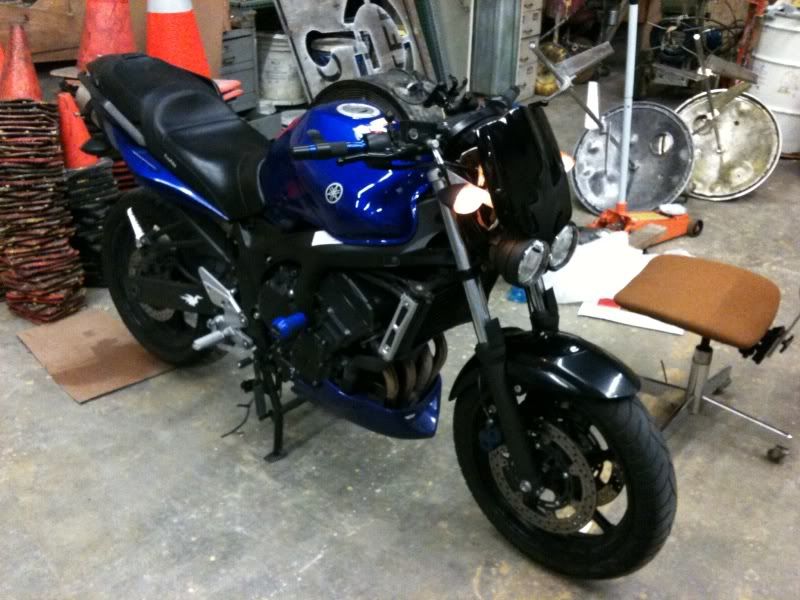
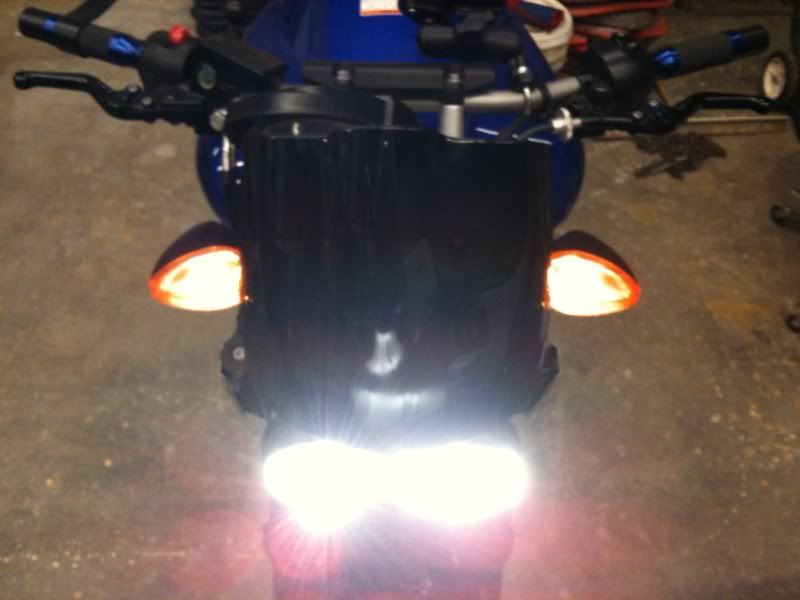
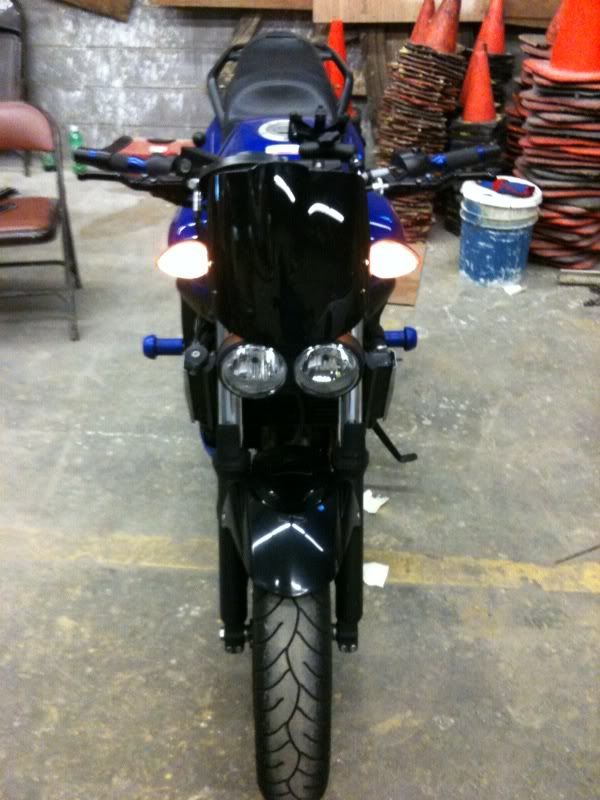
Finally! I'm into the thick of the naked conversion! I got the Buell headlight, mount, and windscreen in today so it was time for the fairing to go. It didn't take as long as I thought (about an hour) and the hardest part was getting the speedo out!
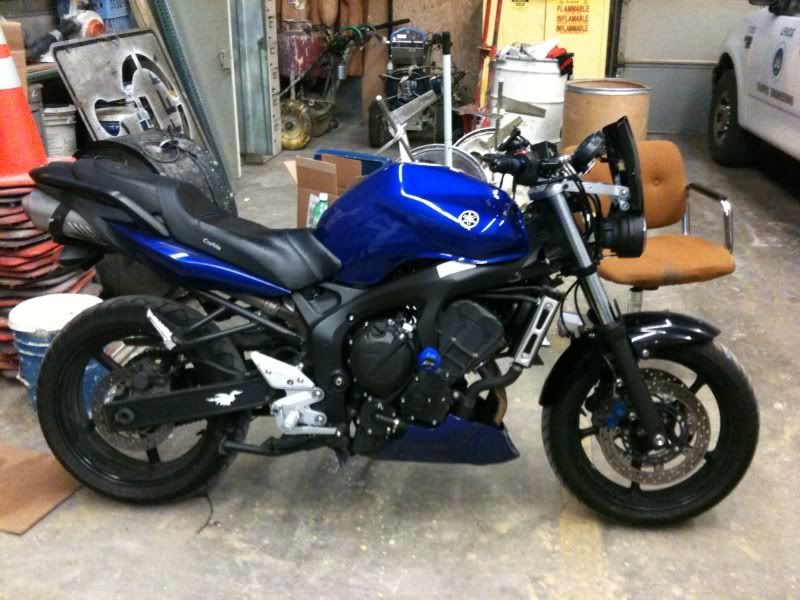
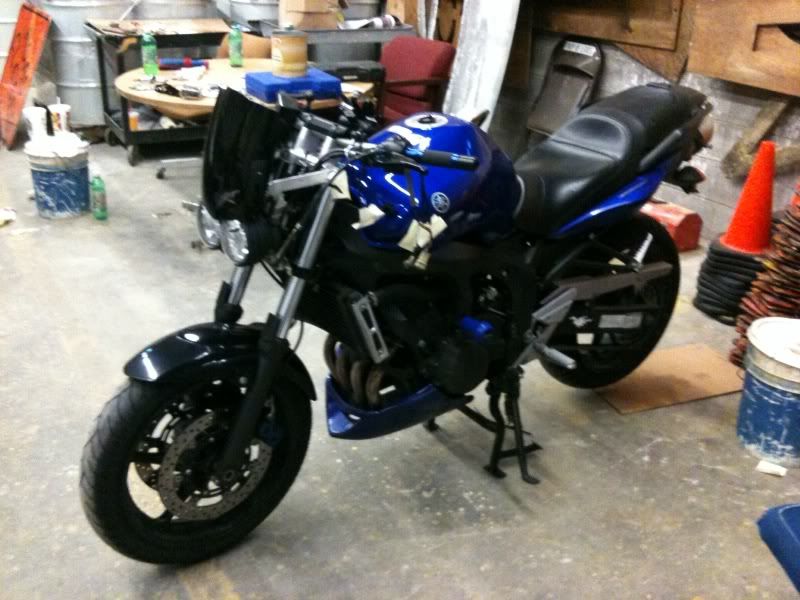
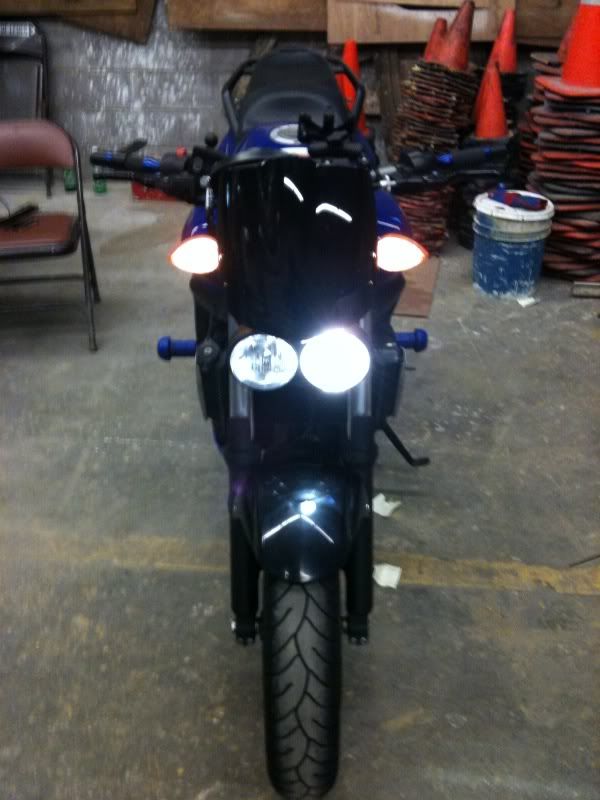
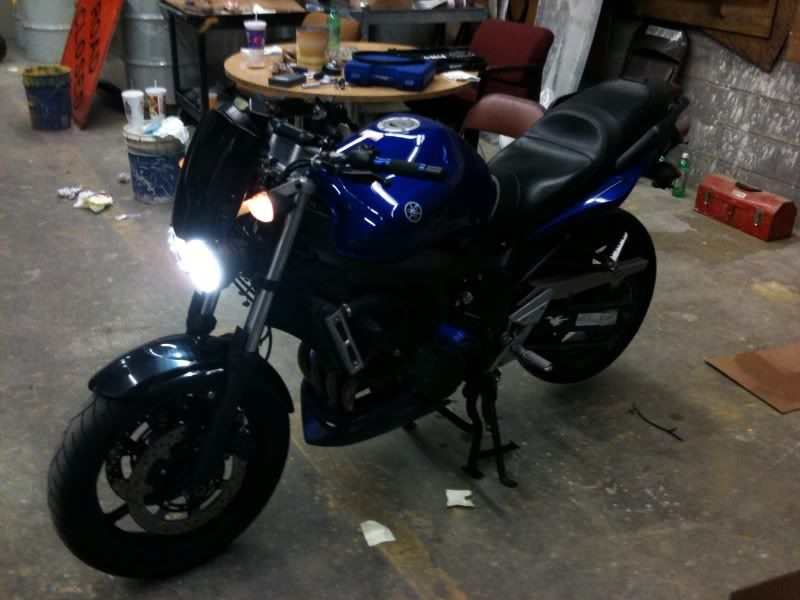
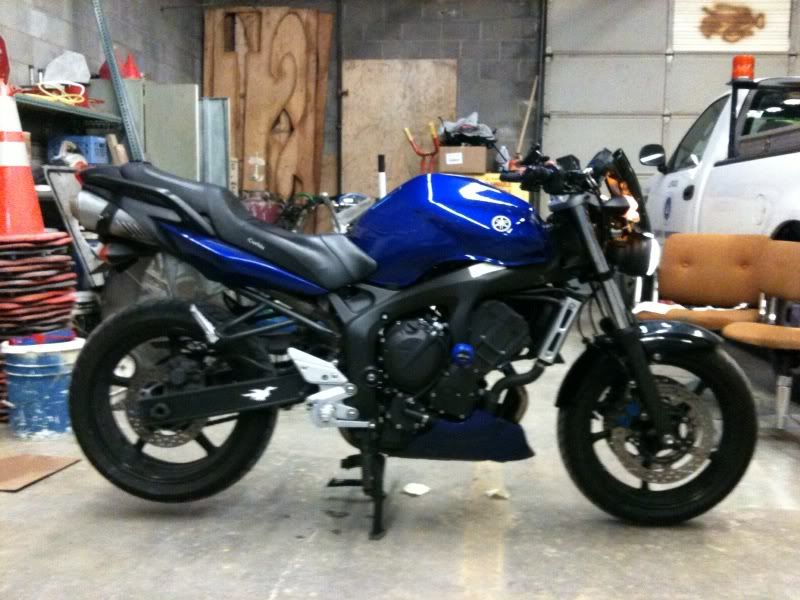
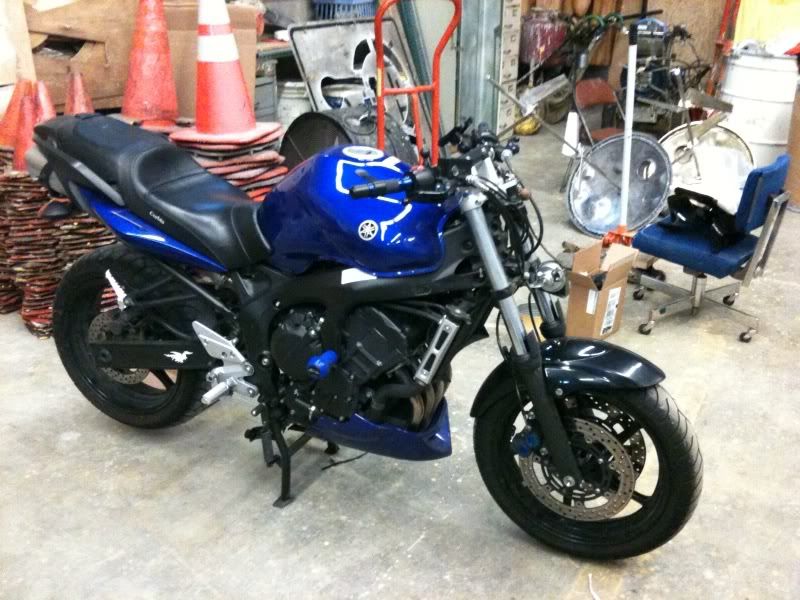
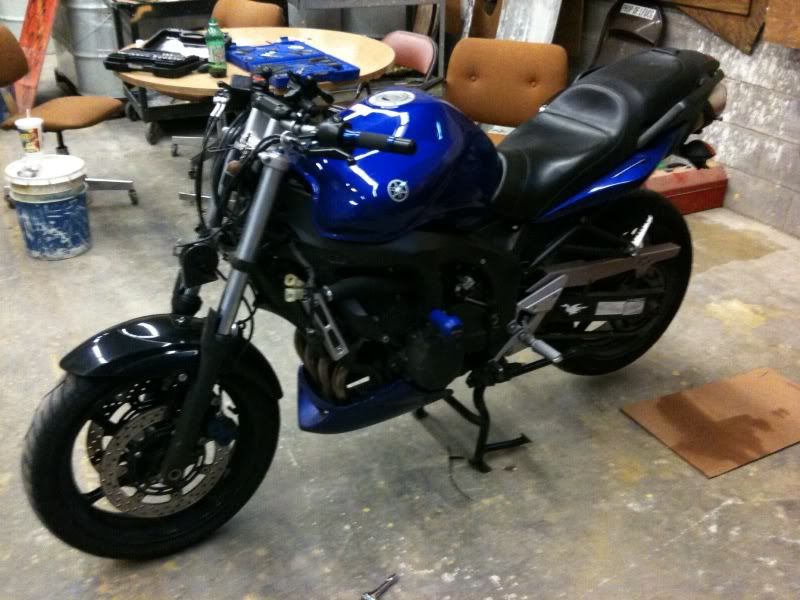
Here's the bike as it sits right now:
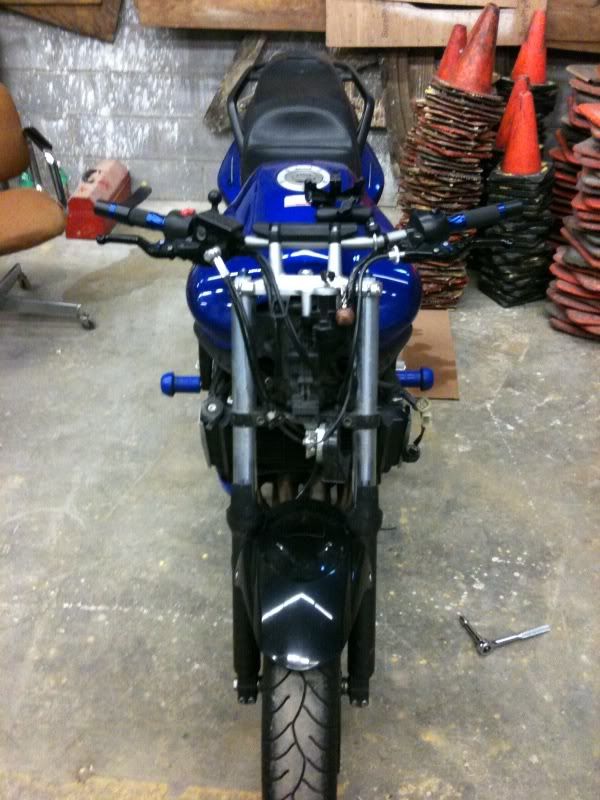
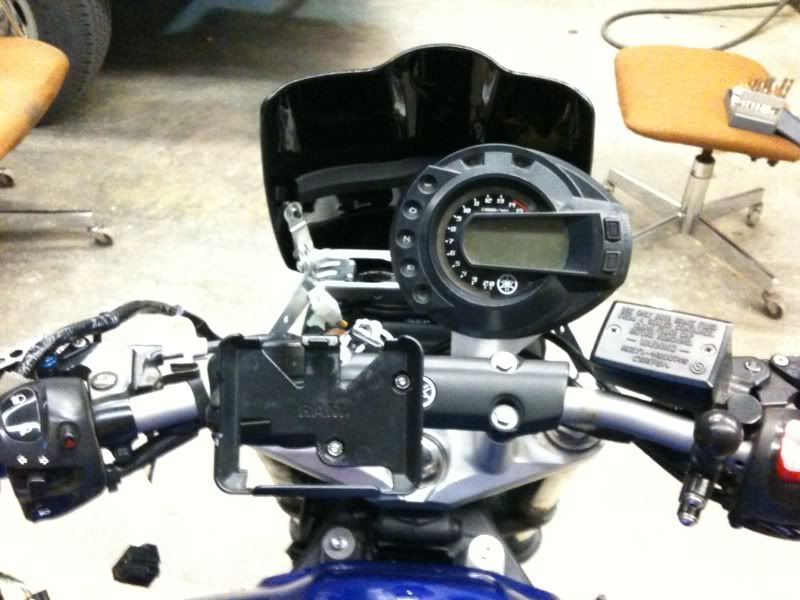
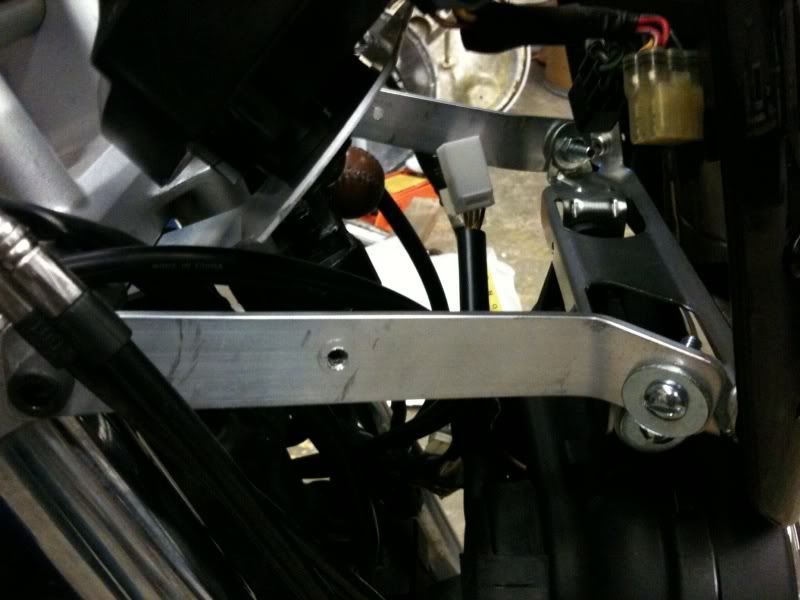
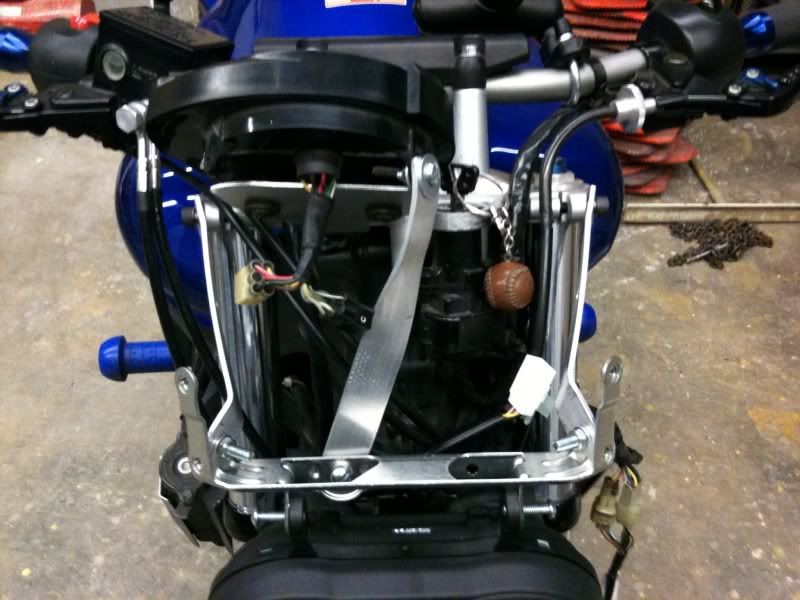
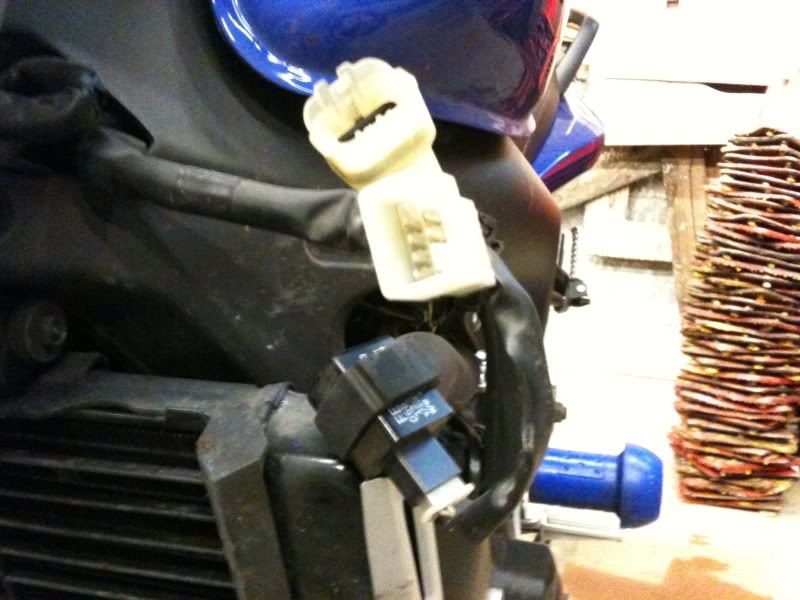
I do have a couple of questions for those of you that have done this conversion. First, what did you do with the (what I believe is) fuse holder for the headlight? This is a picture of it...the small black box at the bottom of the picture:
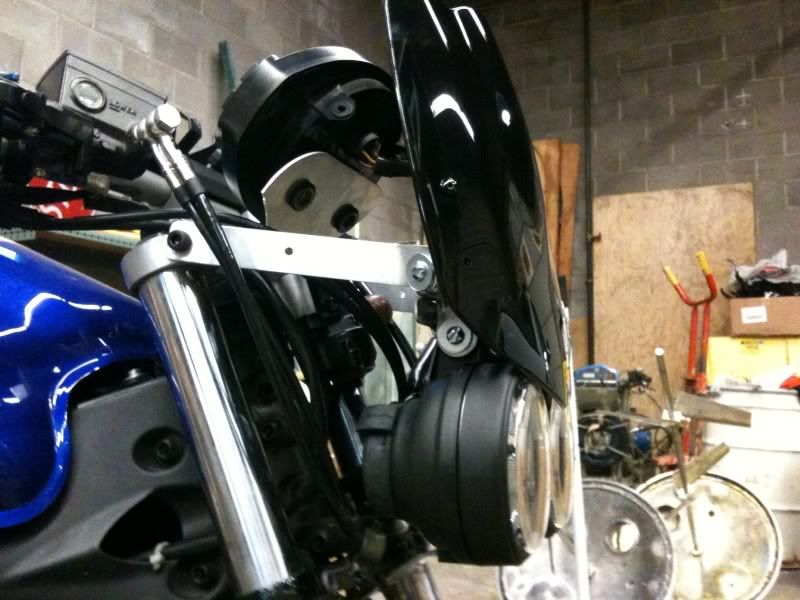
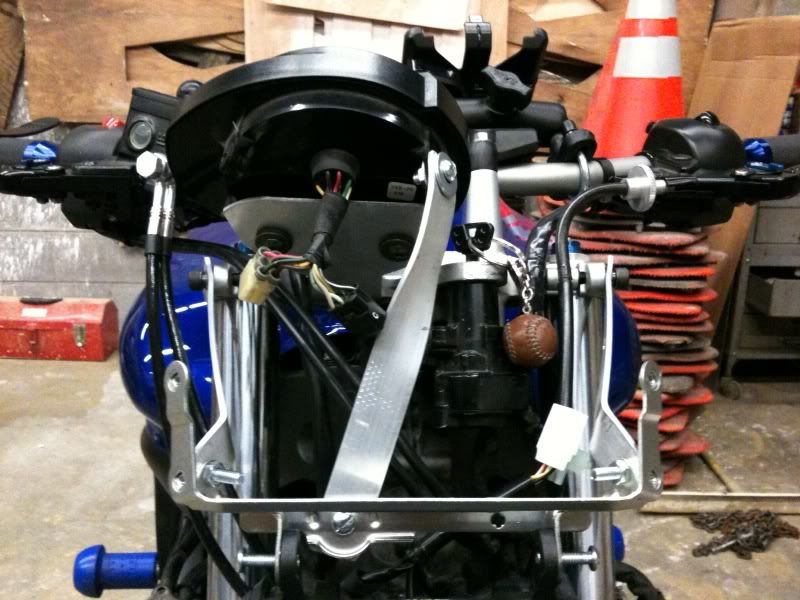
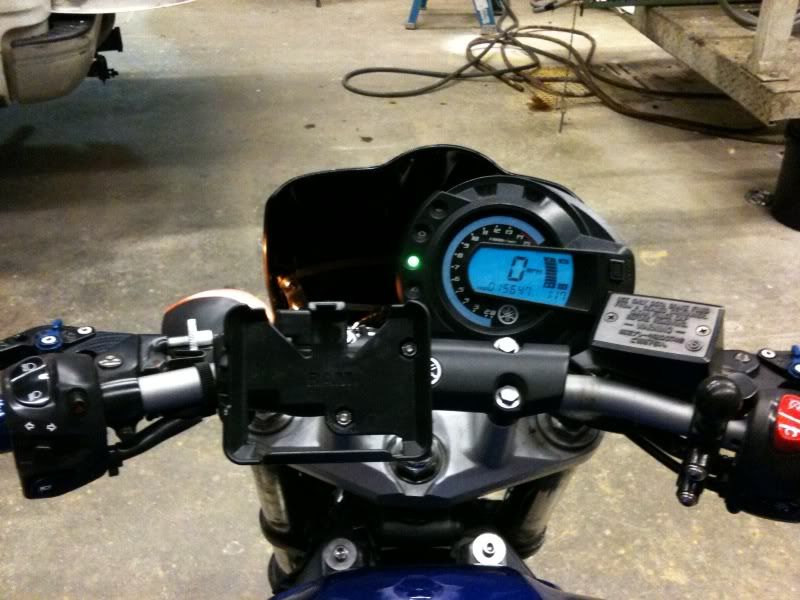
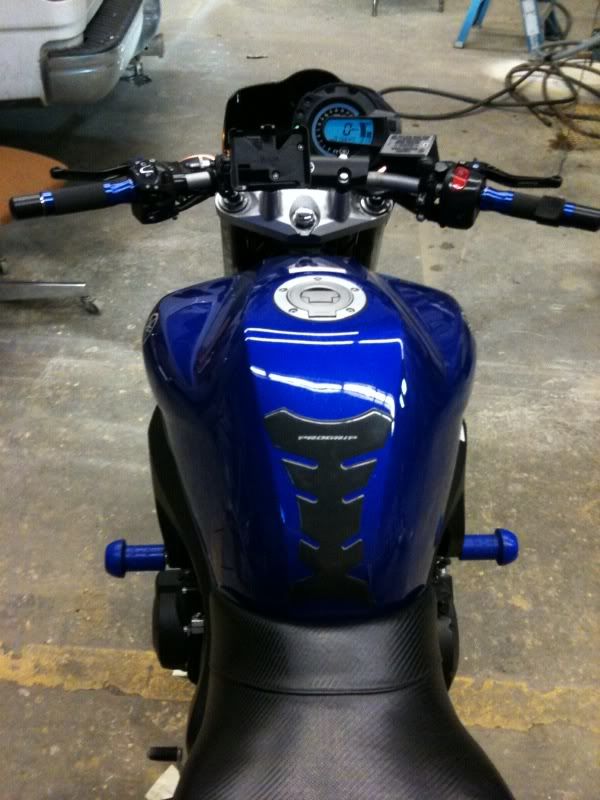
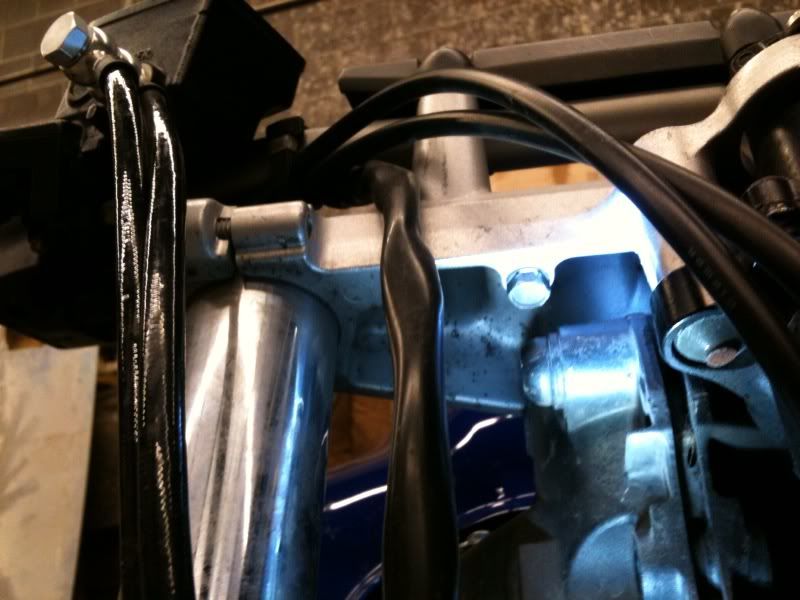
And, I'm going to mount the speedo on a bracket I'm making and mount it under the top triple using the bolt and hole that held the cable guide in place. What I didn't know was that the top triple is a cast piece and is basically hollow, so how did you go about securing it with a second bolt? I'm probably going to make another bracket that connects to the Buell mount, but I'd like to have two bolts under the top triple. Here's what it looks like...and you can see the bolt that's already there that I'll be using:
Any help with those things would be great! I'm so excited to finally get this going!
Here's the bike as it sits right now:
I do have a couple of questions for those of you that have done this conversion. First, what did you do with the (what I believe is) fuse holder for the headlight? This is a picture of it...the small black box at the bottom of the picture:
And, I'm going to mount the speedo on a bracket I'm making and mount it under the top triple using the bolt and hole that held the cable guide in place. What I didn't know was that the top triple is a cast piece and is basically hollow, so how did you go about securing it with a second bolt? I'm probably going to make another bracket that connects to the Buell mount, but I'd like to have two bolts under the top triple. Here's what it looks like...and you can see the bolt that's already there that I'll be using:
Any help with those things would be great! I'm so excited to finally get this going!
 )
)