TofuJunky87
Do you Tofu?
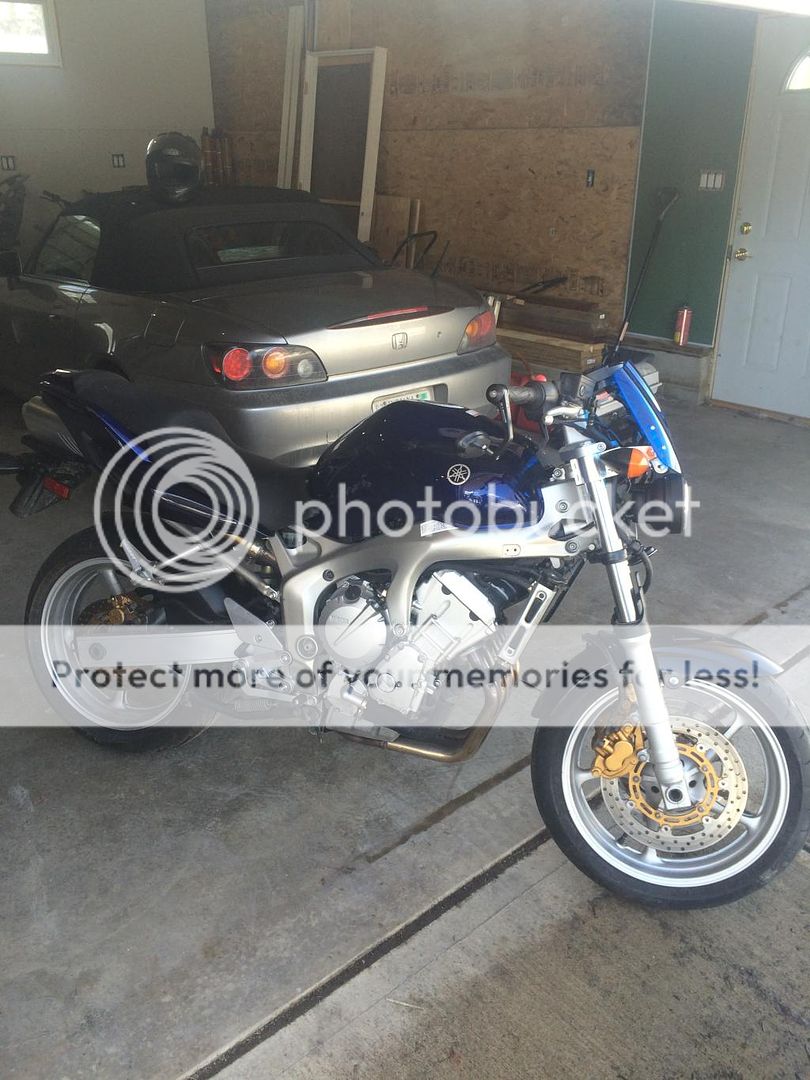
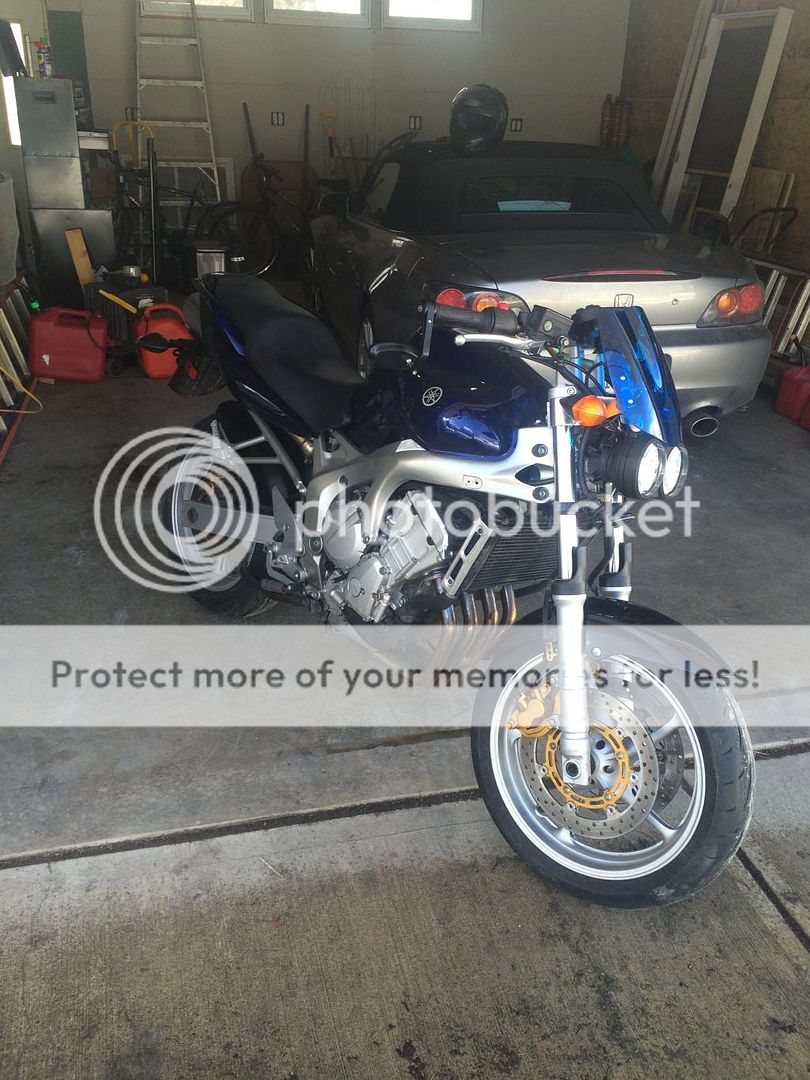
Like above, I don't wish to dampen the effort or enthusiasm but the frame is a stressed member and the impact clearly deformed it from its previous state. Being cast, it does move and flex but usually results in fractures. Adding to that - once stressed and IF you pull in that tweaked section, cast frames often break.
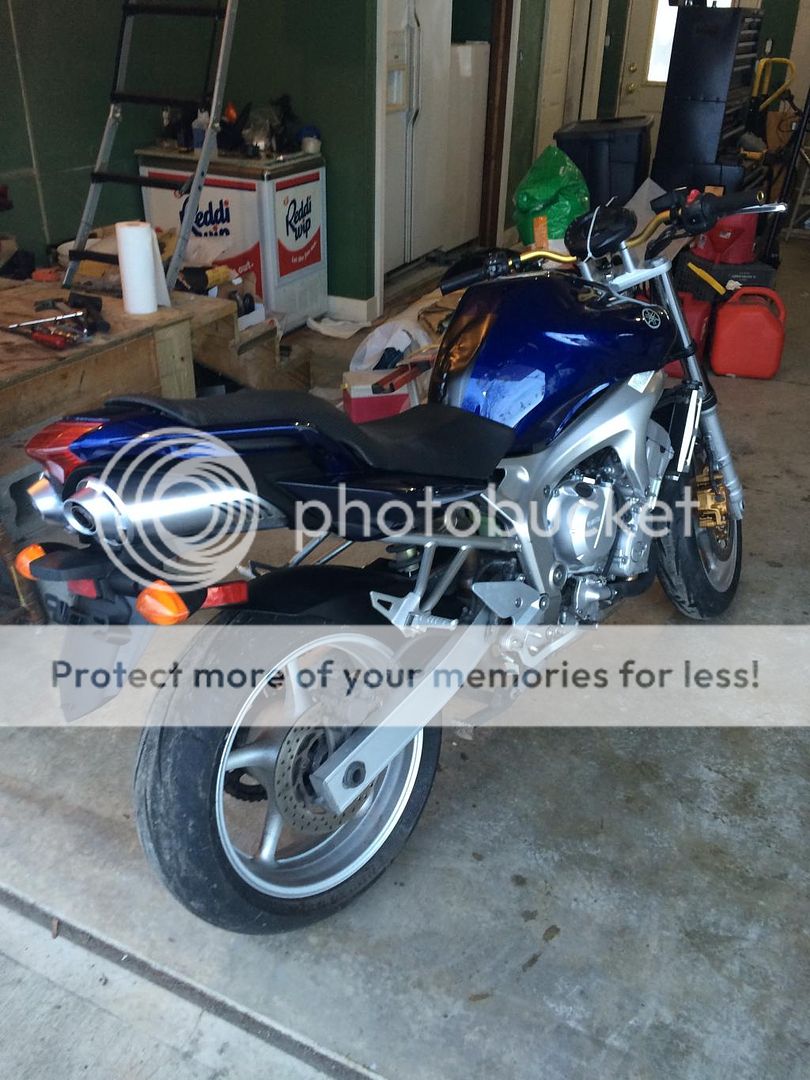
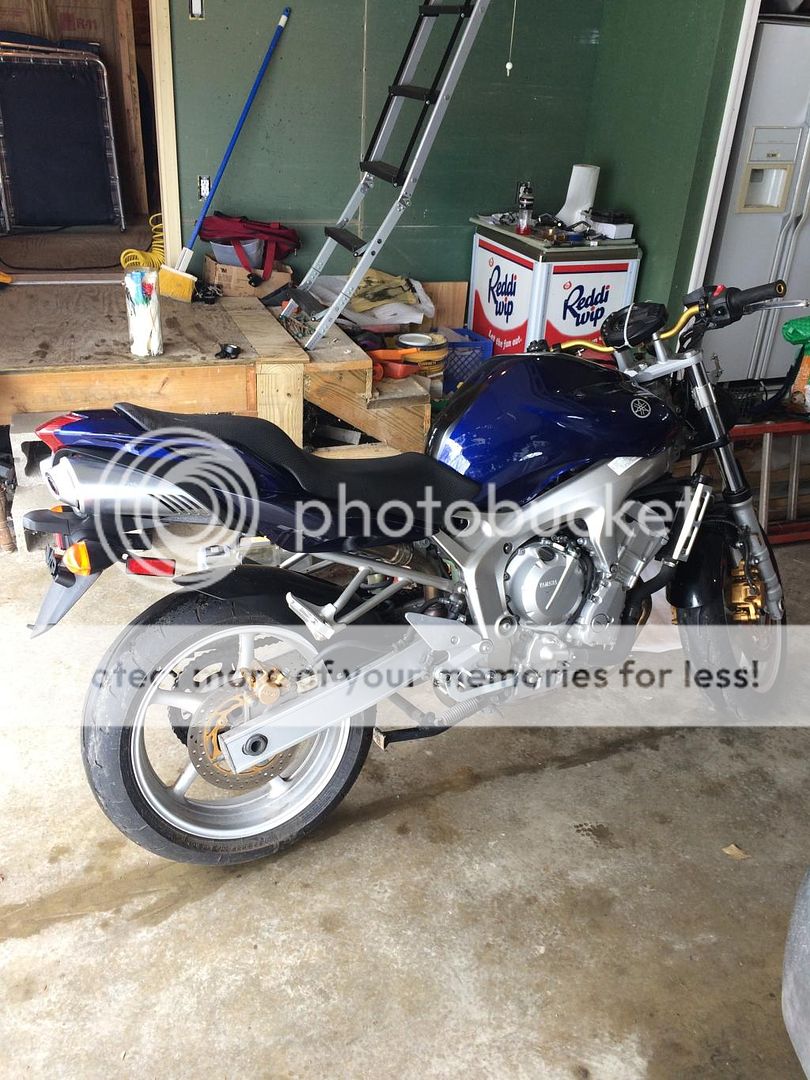
That said, its under stress and once vibrations are added back into the mix its very likely going to crack somewhere. Based upon the angle the wheel was driven back, the engine went left and took the frame with it.
To date we've only seen small stress fractures and crash damage snapping ends off. This is a whole new arena with a section actually being hit and remaining "displaced" from its location.
I'd strongly recommend you find a new frame.
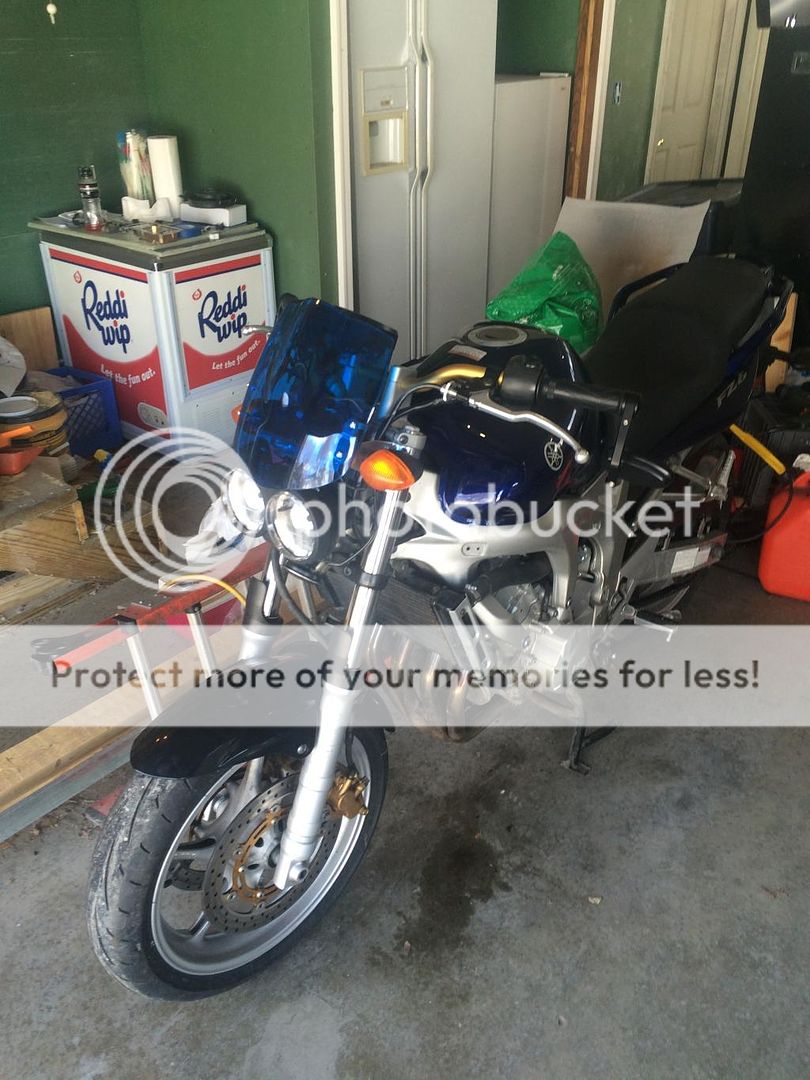
Duly noted. I appreciate the advice from everyone. I am working on a tight budget and so replacing the frame will be out of the question. I realize that the damage to the bike has slightly shifted the motor to the left. The way the frame arm was welded has still allowed me to thread the bolt in. As I said with Motogiro, I will not be using the bolt to pull the arm back in completely or to shift the alignment of the motor back to the right 1/4". Doing this would simply place more stress not only on the repaired arm but on the rest of the frame. Obviously, the frame has shifted around 1/4" and this is now were the engine sets. Pulling the arm in would most likely cause stress fractures to the arm or damage to the frame elsewhere.
That being said, placing a small shim between the arm and the motor will help alleviate its stress when I tighten it fully. The shim will be small enough to maintain the integrity of the bolt to keep it from sheering while still allowing the arm to provide some level rigidity in the face of vibration and torsional forces.
I agree, this is not the best solution and if I had my way, the bike would get a new frame. This is what I'm working with so I'm doing my utmost to see that its successful.
") . You can always make more money if lost but body parts, life are something money can't buy!
. You can always make more money if lost but body parts, life are something money can't buy!