
SANGER_A2
Super Member
I've been lurking for a while and thought it was about time I gave something back. I've had my new FZ6 for a few months now and have done a few mods already that I thought I'd share with y'all.
I'm listing all my mods/upgrades on my website here sangera2.com along with details on my bike and other bits and pieces.
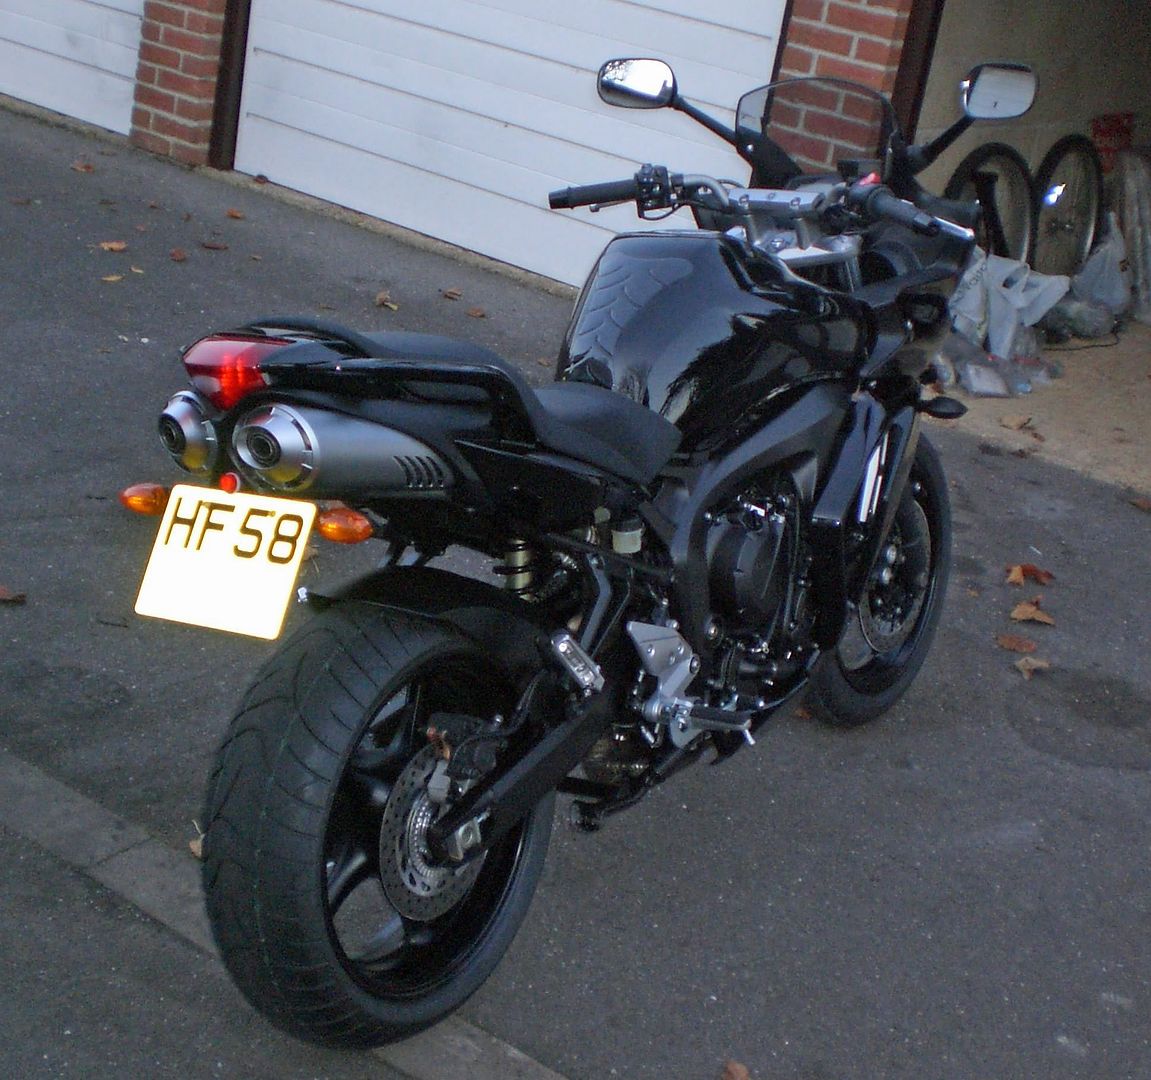
The first is the fender eliminator. I got it fitted new with the bike because then the price was added to the 0% finance deal I got. I ordered the Yamaha one but it was actually made by R&G (don't know if anyone else has noticed this).
At first I wasn't sure if it was worth the £50, but it looks great and if you compare it to the original one, it totally changes the look of the rear of the bike. The number plate is moved up and forwards a great deal from the original position. Also, it uses LEDs for the light and will save me a few watts.
Anyway, on with the pic-whoring. Just click on the thumbnail images to see larger views.
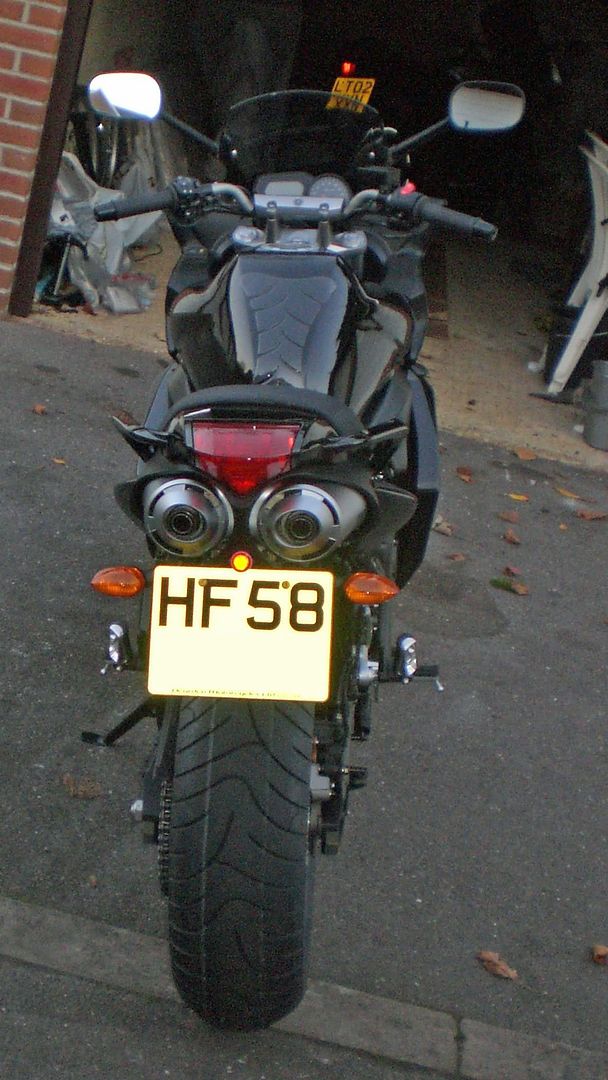
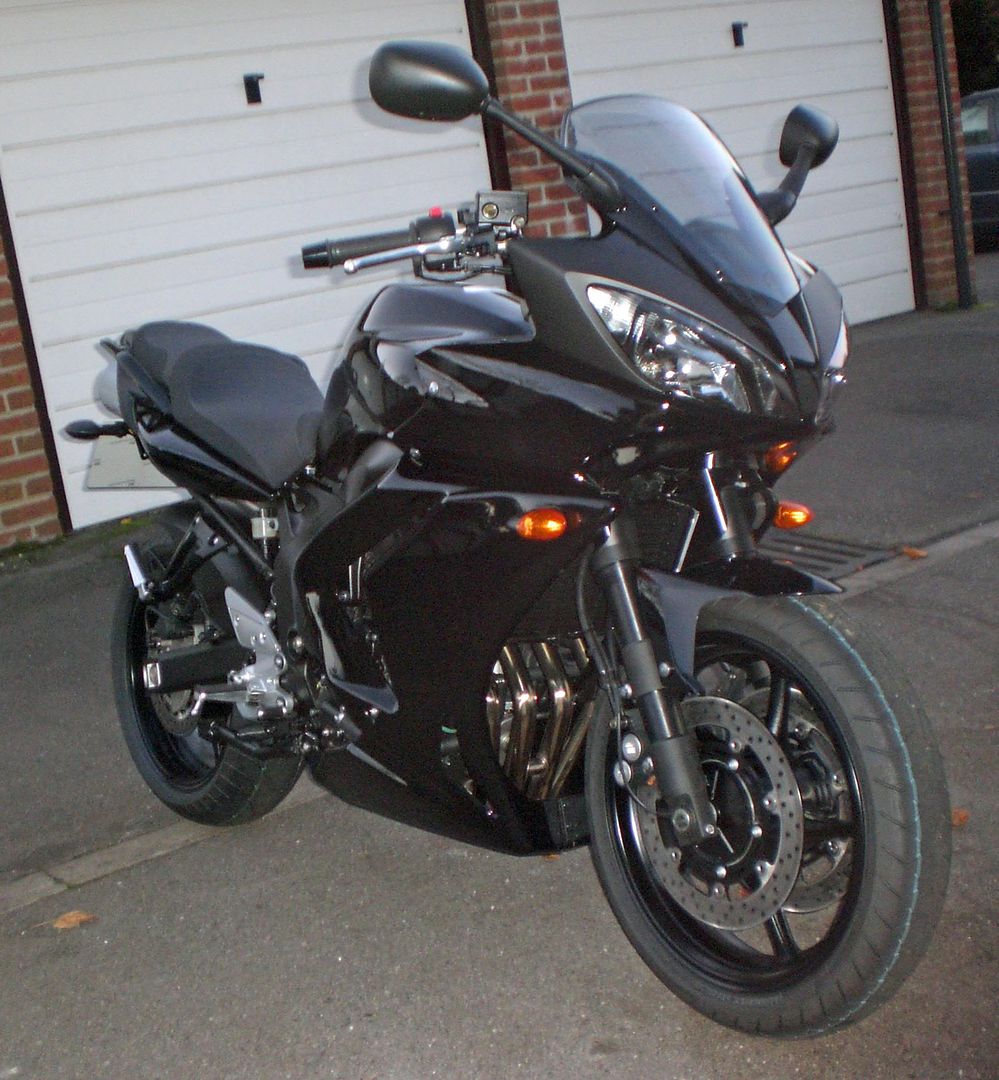
From the rear (the manky white reflecter they stuck on, I've since replaced it with two smaller ones on the number plate itself):-

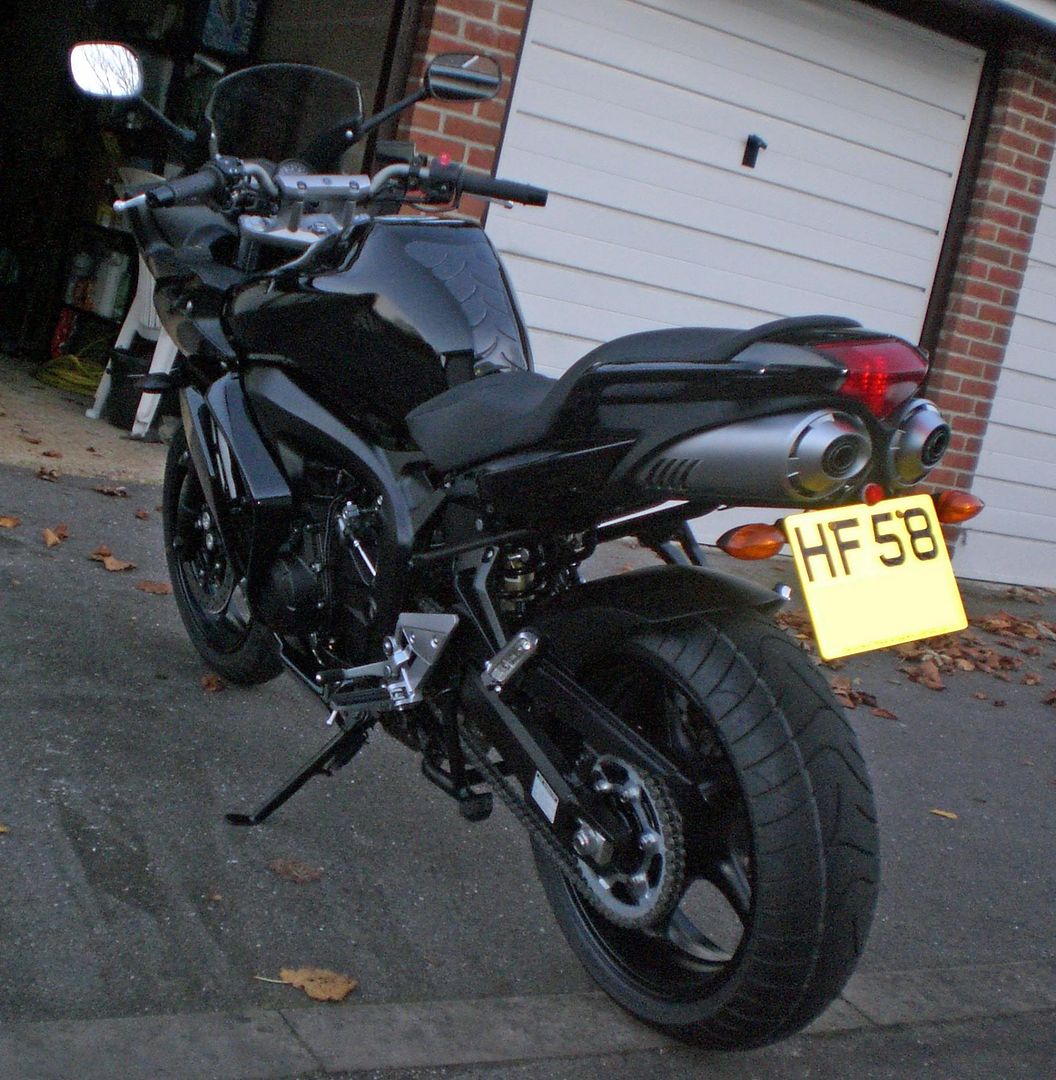
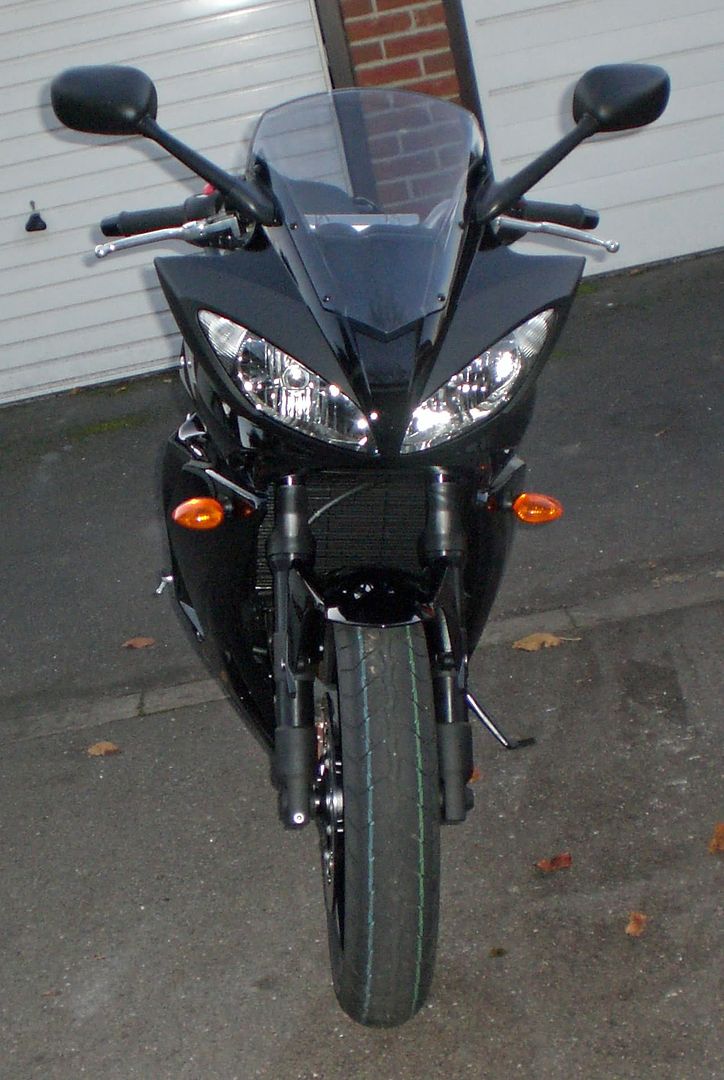
A nice side view:-

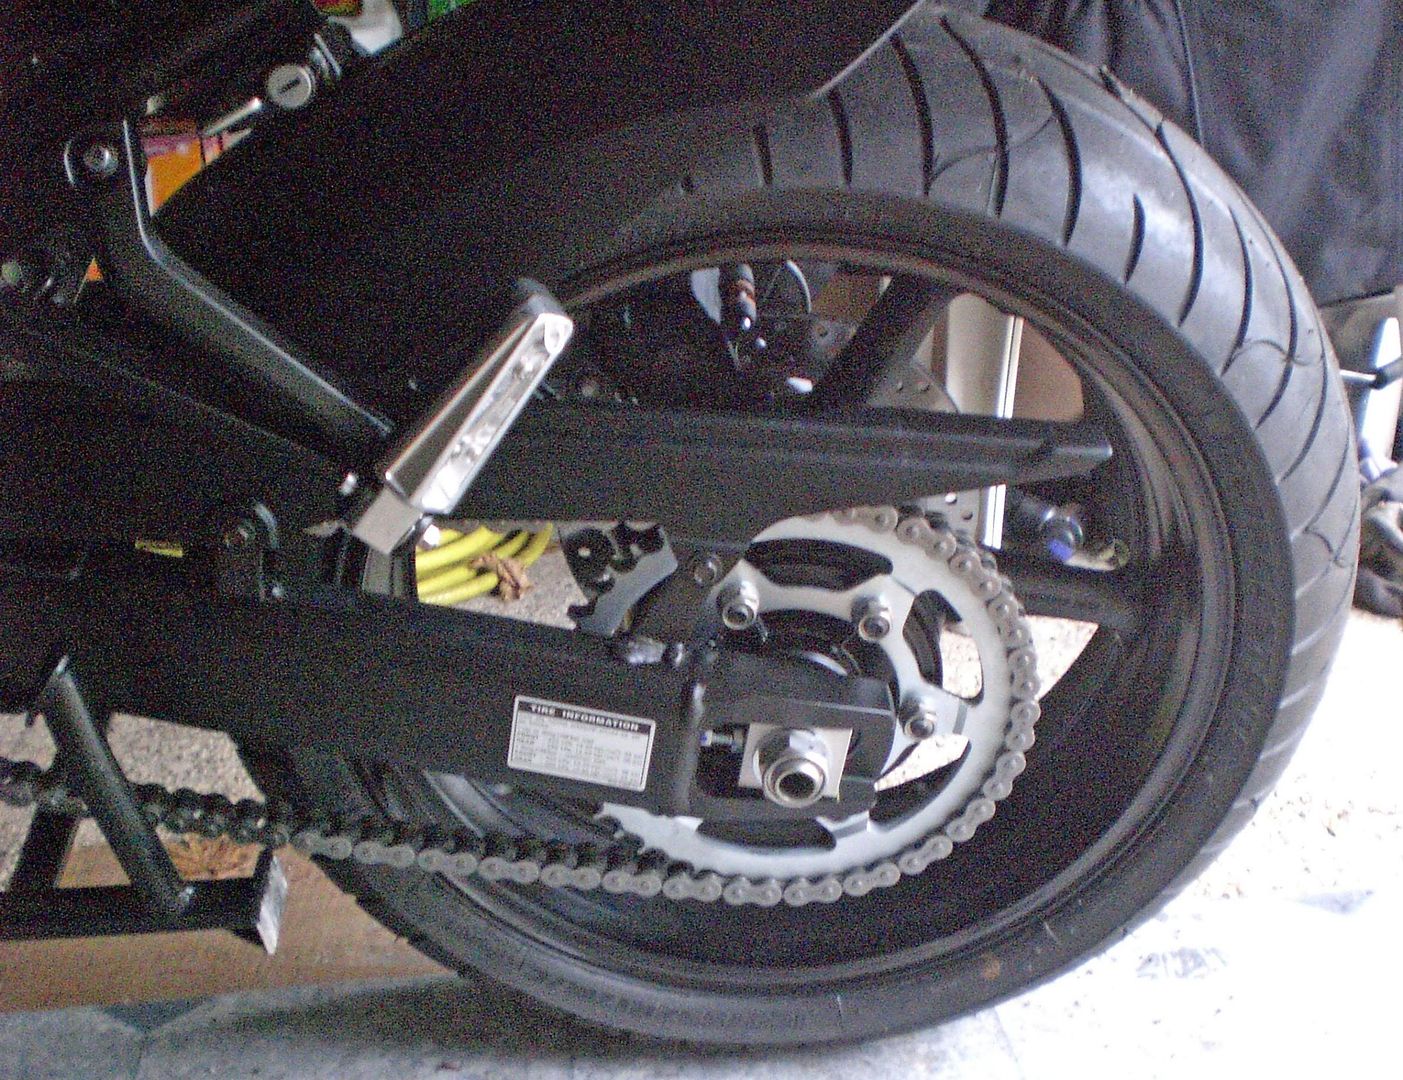
A bit of a closeup:-

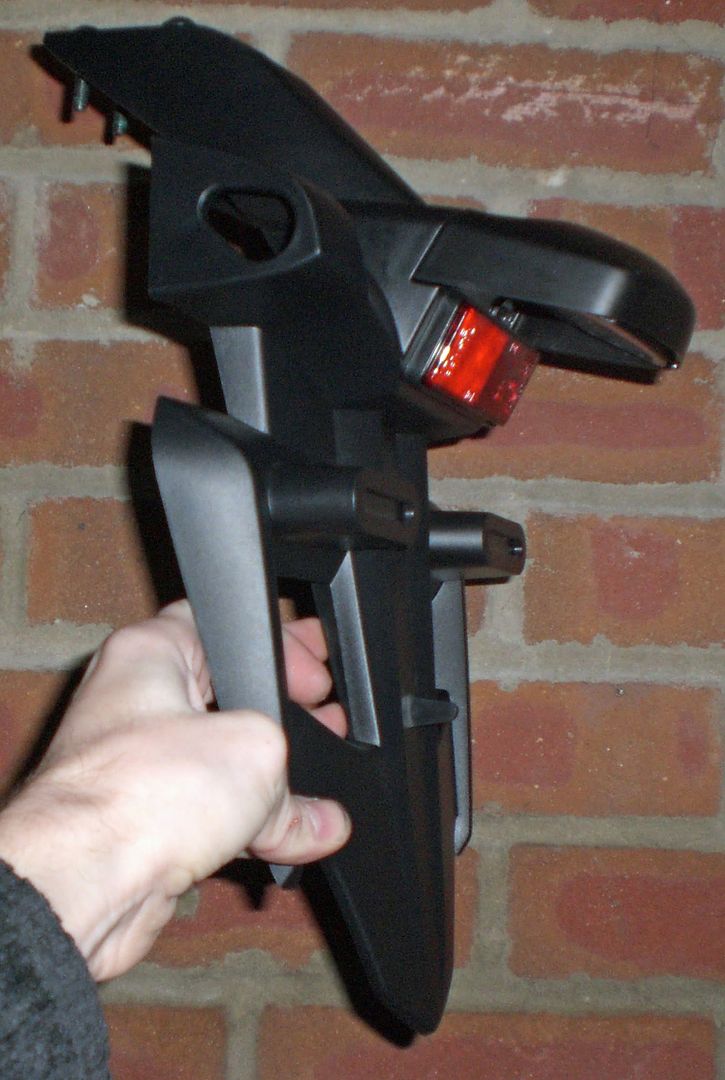
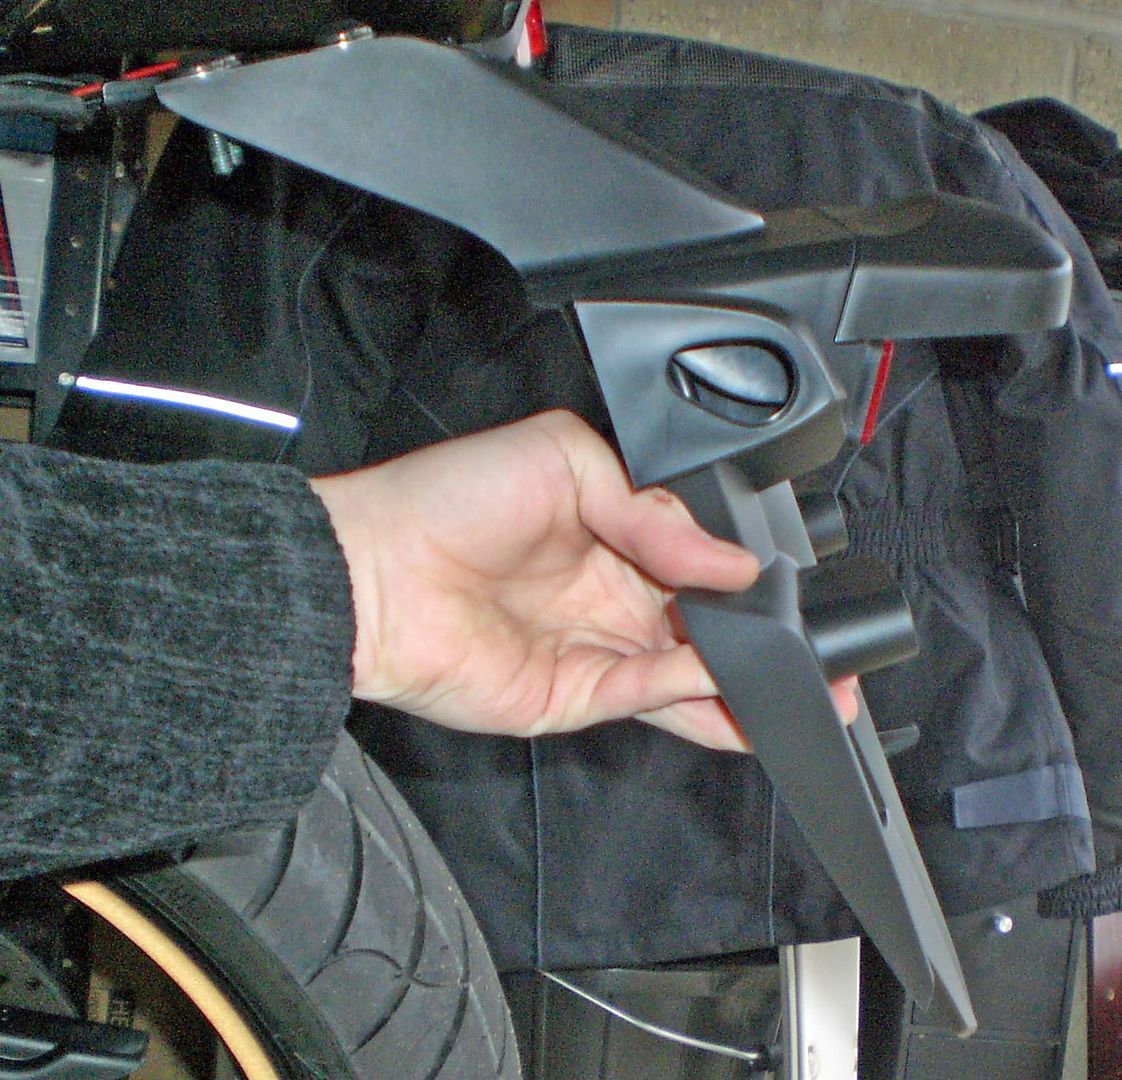
Here you can see the original fender (I made sure they gave it to me with the bike):-

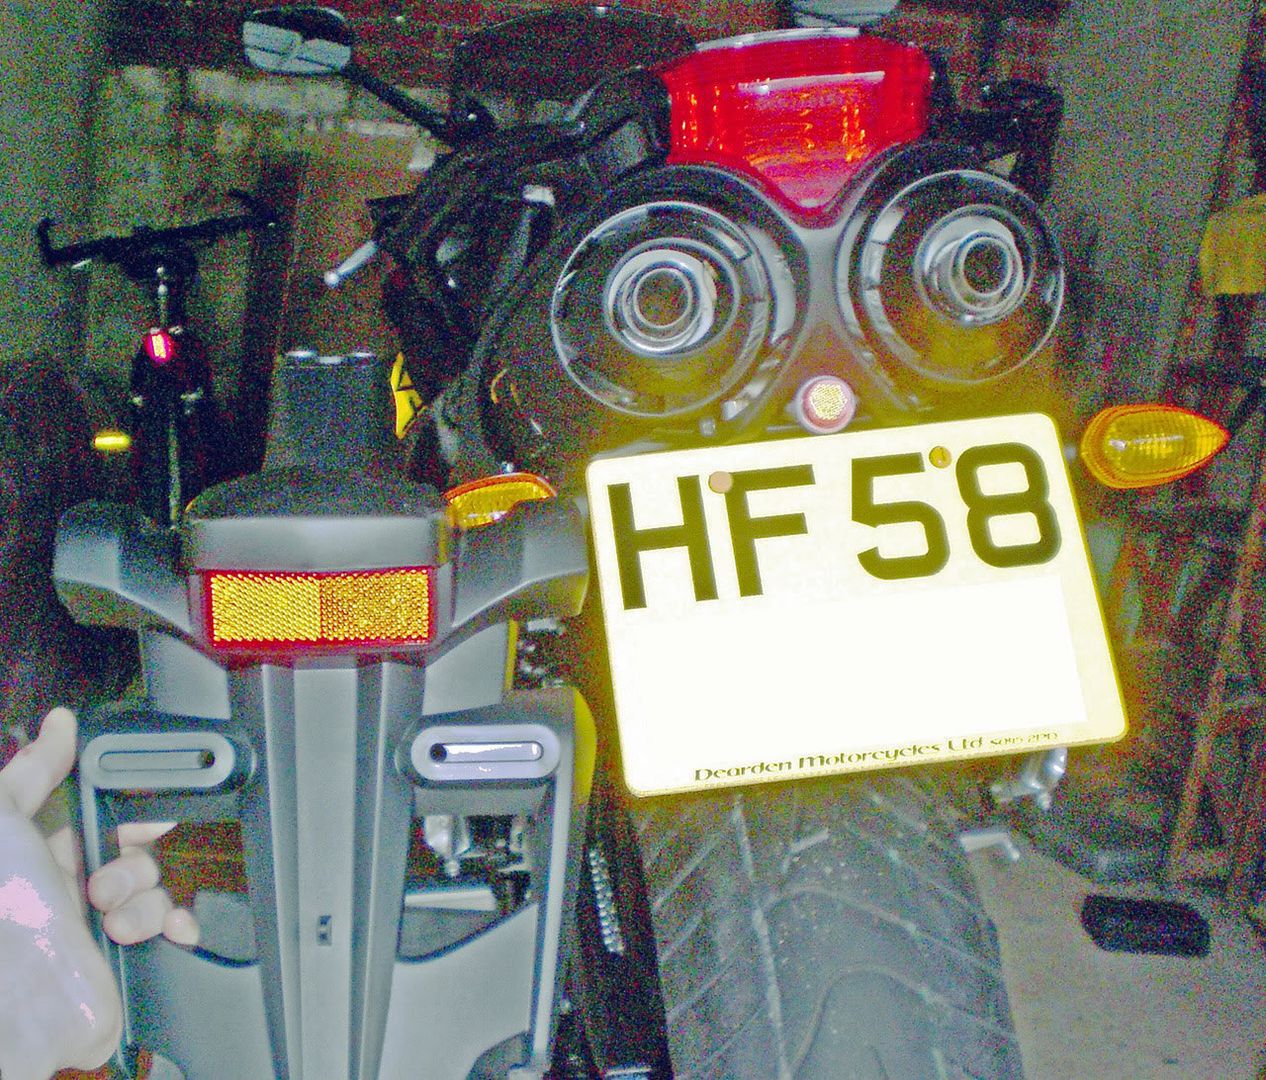
A very poor picture in the garage comparing them:-

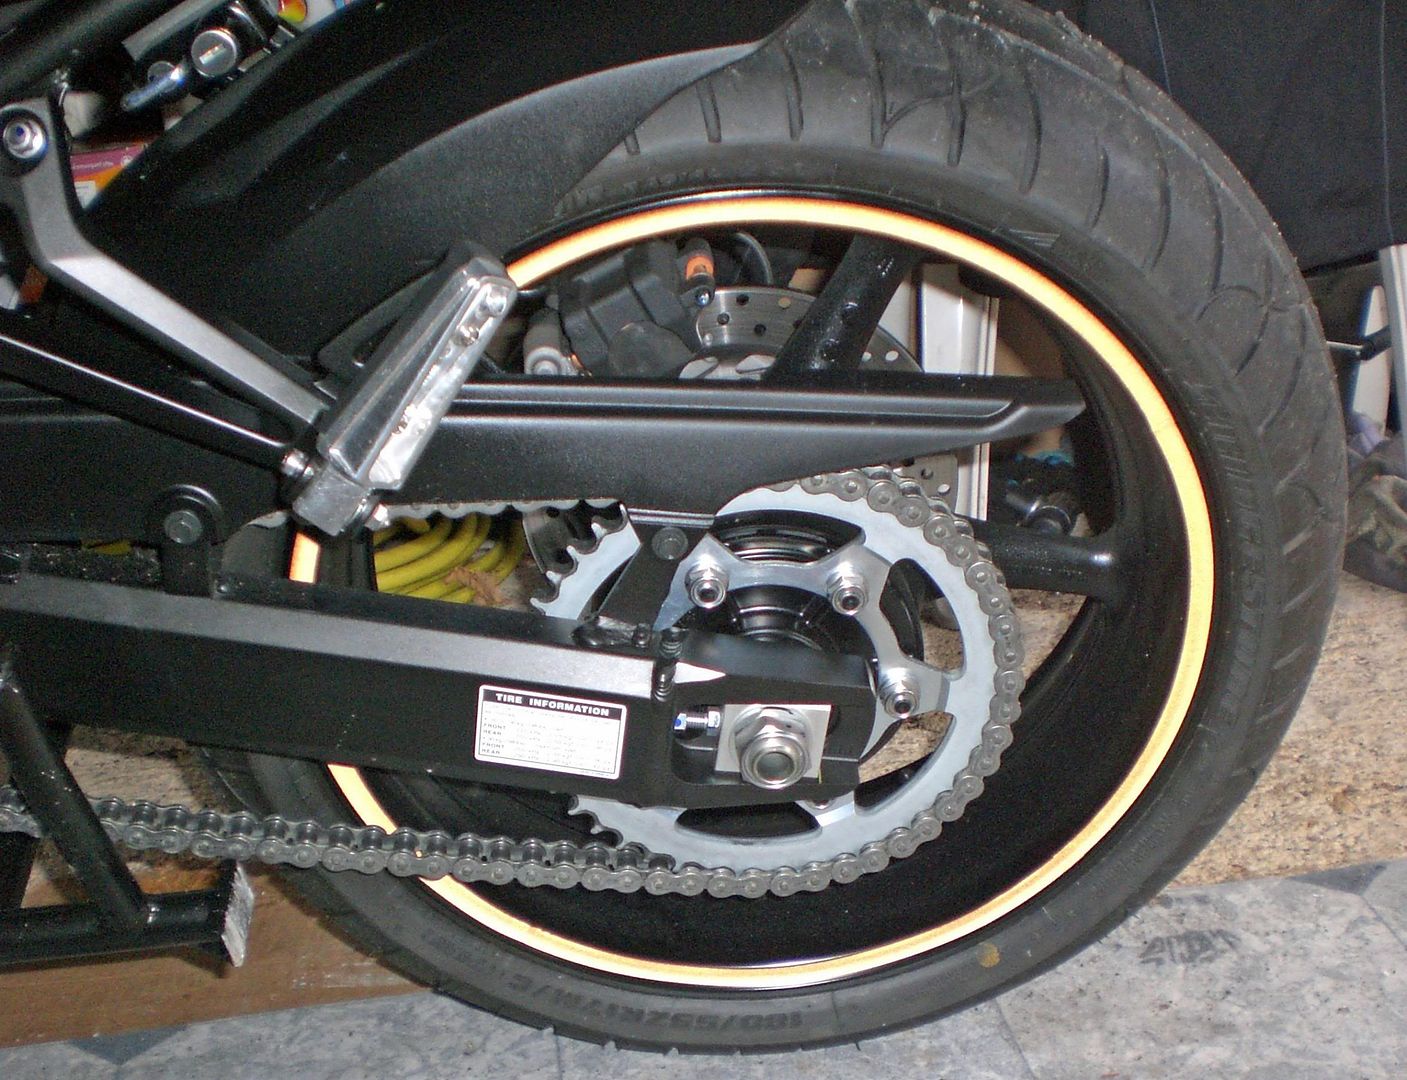
Another comparison from the side:-

I'm listing all my mods/upgrades on my website here sangera2.com along with details on my bike and other bits and pieces.
The first is the fender eliminator. I got it fitted new with the bike because then the price was added to the 0% finance deal I got. I ordered the Yamaha one but it was actually made by R&G (don't know if anyone else has noticed this).
At first I wasn't sure if it was worth the £50, but it looks great and if you compare it to the original one, it totally changes the look of the rear of the bike. The number plate is moved up and forwards a great deal from the original position. Also, it uses LEDs for the light and will save me a few watts.
Anyway, on with the pic-whoring. Just click on the thumbnail images to see larger views.
From the rear (the manky white reflecter they stuck on, I've since replaced it with two smaller ones on the number plate itself):-
A nice side view:-
A bit of a closeup:-

Here you can see the original fender (I made sure they gave it to me with the bike):-
A very poor picture in the garage comparing them:-
Another comparison from the side:-
Last edited:


 Wen you get a bike, the tax disc is normally in plain sight attached the front wheel with a cheap holder. I ordered a plain black one with an O-ring inside that will stop the tax disc getting wet and mouldy and I mounted it underneath my exhaust facing up so that from the side it's not really visible. This protects the disc, hides it from thieves, makes it harder to steal as you need to undo like 8 allen bolts and cleans up the look of the bike a bit more. It also stops a bit of the road muck going onto the exhausts. I know that Mr Plod probably won't like it, but it's on display if they take a few minutes to look. I didn't bother taking a pic of this in situe but the tax disc holder looks like:-
