Here are some thoughts about doing this job and hopefully it will add some value to those who DIY! As you follow along, keep in mind I purchased the shim kit so this changes what I need to do and how I proceed. Example, doing one cam at a time.
*********************************
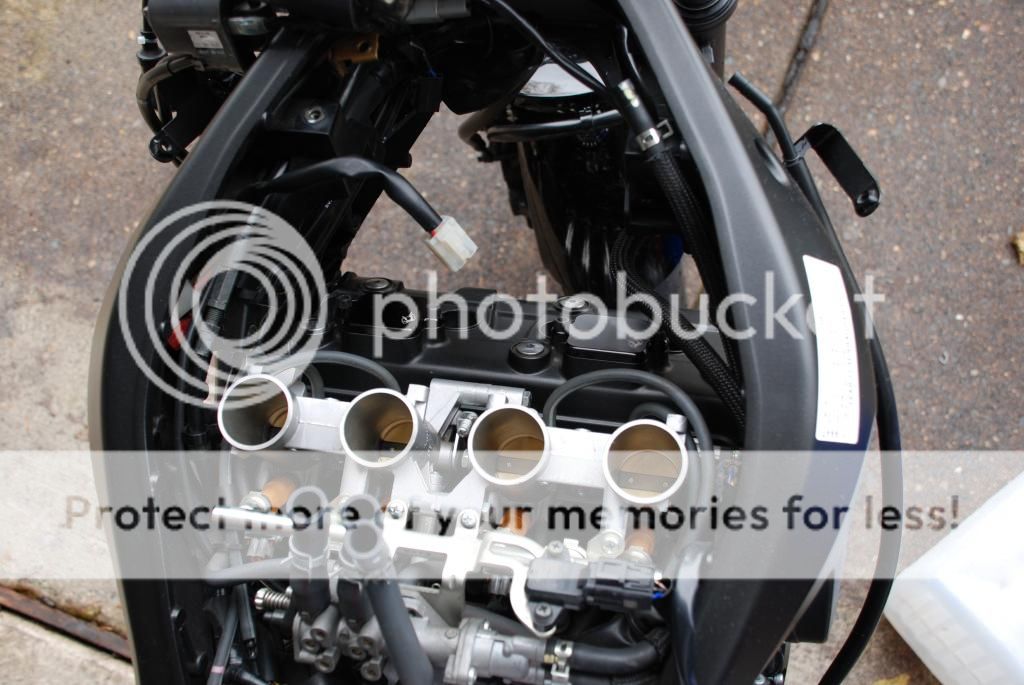
* Plan on about an hour to get access to the valves!
* Plan about an hour to check the valves and record the lash values in your chart!
* PS - I checked them all twice and verified I could repeat my previous "As Found" values. If you screw up this first measurement, YOU WILL BE PULLING THE CAMS AGAIN and wasting your time! Take the time to CHECK IT TWICE!
* Plan about an hour to pull a cam and sort out the required replacement shim values!
* Plan about 30min to verify the New Shim Values once the cam(s) is/are in. It took 3 tries getting the chain proper before I tightened the caps. Luckily I hit a home run on the chain position.
* Plan at least 1.5 hrs to assembly, valve cover, side cover, rubber mat, coils, plugs, radiator, airbox, battery box, fairing, fuel tank, and filling with coolant.
-
* Use an empty egg carton to hold old and new shims. Do one cam at a time.
* Once the Right side cover is off and the valve cover is off, confirm the left most set of valves are closed - i.e. Cyl # 1 I & E cam lobes near valve cover rail result in Crankshaft "T" mark aligning to case split.
* The cams pop out pretty easy once the CCT has full slack. Back it out or remove it. Your choice. Personally I saw now benefit in removing the cam gears as the cams will lift out around the chain. Doing one cam at a time, allows the other cam to hold the chain.
* If you pull the cam bolts out, Be careful and DO NOT RAM THE PISTON INTO THE VALVES!
* THIS IS AN INTERFERENCE ENGINE, if you get it out of time (Crankshaft vs Camshaft(s), the pistons WILL COLLIDE with the VALVES and its possible to damage them!
* If you turn the crank and it suddenly stops, DO NOT FORCE IT!
OPTIONS IF OUT OF TIME:
- - If you get it out of time and find you bound it up, you can loosen the CCT and rotate the cams with a wrench on the cam bolts.
- - You can loosen the cam caps allowing the valves to close. Align Crankshaft (CS) to TDC and re-position the cams for Cyl #1 in the V shape mentioned above by OP!
* Turning the engine through by HAND SEVERAL TIMES USING a standard ratchet is WAY SAFER than hitting the starter button. Don't get worried as long as you can verify your marks.
* This is time consuming so don't expect to be done in 4 hours especially if you like to clean and inspect everything.
* I did a lot of detail work cleaning everything while I had easy access. This likely added about 3 hours to the job.
** Overall - expect to be tinkering for a whole day!
*********************************
@21,000 miles:
Bike is an 08, 2nd owner that's been ticking since I bought it in 2011 with ~4,000 miles on it. With the aid of a wooden stick to the valve cover area, I could hear the exhaust valves making a "tap tap tap" at idle and knew at least 3 valves would be on the loose side and shims would be required. With this, I purchased the Hot Cams shim kit. For reference, the tap sounds are there when cold and are very noticeable when hot.
* If you look at the Chart, 3 Exhaust valves have exceeded the MAX clearance 0.005" which equates to an audible tap tap tap! This is NOT the CCTs fault! Basic maintenance to bring the cam to valve clearance into specification will quiet the noise this engine has been making!
CONDITIONS:
Engine off and cold.
Ambient temperature: 50°F with high humidity. Requirement met (check when cold! lol)
All exhaust valves out of spec. :thumbdown:
All intake valves in spec and nearly identical! :thumbup:
*********************************
NOTE: Before going to the garage, grab a notepad and straight edge and make two tables like those shown below. Allow room for some chicken scratch. Your hands are gonna be oiled and soiled so its no place for direct input into a PC/Tablet.
Make section for EXHAUST and INTAKE with Labels like: "As Found" and the
"As Left" for recording keeping and resale value. I also made an Excel spreadsheet to transfer my findings to. The benefit here is you don't need the Yamaha FSM shim chart and you can predict your exactly what gauge thickness should fit when done. << That will save you time!
- Example: With this Spreadsheet you can pick a desired "Lash Clearance like (0.27mm)", grab the closest "shim value" and then see the Expected Lash based upon "your actual engine details and the new shim value chosen."
Using this method the clearances were in specification on the first pass! :thumbup:
- Why pick 0.27mm ?? If valves have too little clearance, the cam holds them open and they risk burning up from over heating. Too much clearance and they TAP and/or **may** knock the valve spring retainers off and the valves fall into the engine (think mass destruction). With 0.27mm = I'd rather hear them be loose then burn and you can't hear valve too tight unless it causes misfire from lost compression or collides with the piston. So, error on the side of loose vs too tight!
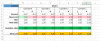
As Found/As Left Exhaust and Intake w/calculations for replacement shims (units = mm):
TOOLS NEEDED:
FEELER GAUGES: Get some narrow ones!
The job takes just a few tools and is pretty straight forward. The one issue that slowed me was my old STD English Inch feeler gauges which were to wide to get into 4 of the exhaust valves. Feelers greater than 0.50" wide will not fit on 4 of locations. A set that is angled and less than 0.40" (~10mm) would work much better!
18 Count Egg Carton:
Use a egg carton hold your shims and label it w/a Sharpie. Label them 1L, 1R, 2L, 2R.... It was easy and effective.
Syringe:
Unless you like oil dripping down the headers, a syringe can be used to empty the oil wells. Use the same oil to coat the cam and buckets when putting it back together. Order the syringe through Amazoo
10ml w/15gauge 30mm blunt tip . 10 pack 8.99 shipped.
Measuring / Using the feeler gauges:
When you find one gauge is loose but the next one up is too tight to go in, drop down ONE WHOLE SIZE and double up using a thinner gauges by stacking them.
Example: lets say we are measuring and find the following:
0.012" = too tight
0.011" = slides in easy and feels loose
Increase your measurement Resolution / Pair up smaller gauge values:
0.010" + 0.0015" = 0.0115"
- This gives you better resolution than a single gauge. Plus thinner combinations are more flexible (0.0015"). Yes, it takes longer but its worth it! That's why you see those 0.0065" values in the INTAKE section.
Extra Labor:
CCT
This is just me but I pulled the CCT out for inspection. Be sure to Remove or at least loosen the cap BEFORE unbolting the CCT from the block.
- Remove the clutch cable bracket to make it easier to access the CCT bolts.
- To install it, Screw the adjuster CW, keep screw driver on CCT and start the bolts to secure CCT to block. If the Screw driver slips out & the CCT EXPANDS, retract it AGAIN!!!
- DO NOT try to force the CCT down using the mounting bolts with the CCT extended! Use screwdriver to retract it!!
Inspection found it was smooth and consistent. I also dropped fresh oil in it before returning it to service. Verify UP is UP when installing.
Fairing - if equipped:
That fairing is 1/3 of the way removed once the inner fairing has its bolts out. Its 6 more bolts, a couple wires and the 2 12mm bolts at the head set. Set it aside and let a little light in there! Its worth it! Plus better access for cleaning and inspection.
Battery Box and Ignition Coils:
Two bolts and the coils are free!!! Yes, mainly so I could clean things and inspect everything!

But it keeps the area clear and reduces the likelihood of knocking debris into the open engine! CLEAN IS IMPORTANT!!!!
I'm not in this for the Money or in a race time wise so I count this as time to make a thorough inspection of everything! I depend on this vehicle to be reliable and not take my life. I inspected the frame for cracks!
Verify TDC: Not required, but I modified the trigger so TDC no longer aligns with case split. i.e. If I stop at "indicated TDC mark", the piston is already headed back down the bore.
My intent was to install a degree wheel and measure the intake and exhaust closing events. I was not able to get a dial indicator to reach the valve bucket. I just didn't have the right tools to get around the cam and have a straight shot. That said, after the ignition trigger mod my TDC mark was off just a little!
Rotate Crank around TDC and split the difference to determine actual TDC: In this case the needle would go from -20 counts, to Zero, and then as the piston starts down, + 20 counts and you rotate the dial until TDC occurs between equal counts. Bad explanation but no need for detail as its not applicable.
Cam marks are on target, Piston at TDC, Cyl 1 on compression stroke! The Cam does lift out without removing the gears from the cams.
TIP: Clean the chain links & cam; place some Sharpie marks on the CAM and CHAIN LINK. This is your index assuming you don't drop the chain off the crank. NOW - If you only need to remove the EXHAUST CAM, Remove the CCT and rotate the engine CCW until the back side or CCT side of the chain is tight but NOT ENOUGH TO MOVE THE INTAKE CAMSHAFT!!!
Just take the slack out of the chain. This keeps tension on the backside, keeping the CRANK and INTAKE CAM CHAIN LINK COUNT IN TIME! It also makes slack on the EXHAUST CAM GEAR so the cam & gear can be lifted out once the caps are removed. NOW, once you shims are swapped, align the Exhaust gear to the mark you placed on the chain to RESTORE THE EXHAUST CAM TIME TO ORIGINAL LOCATION. Rotate the gear into place seating the cam in the head. VERY IMPORTANT: Use a short extension and APPLY PRESSURE LIKE the CCT does pushing on the CHAIN GUIDE. With your free hand, Rotate the engine CW to REMOVE THE SLACK WE CREATED on the EXHAUST SIDE OF THE CAM. Stop rotating Crankshaft as the "T" comes into place at the blocks split.
At this point - the chain section from CAM to CAM should be tight. Both CAM gears should be aligned to the HEAD. The Exhaust side of the chain to the crank should be tight AND ALL 3 marks should align again. Secure the camshaft cap bolts if you hit a home run and all 3 marks align.
---
OUTLINE OF GUIDES, CHAIN & CCT: MAKE CERTAIN ALL THREE SIDE ARE TAUNT (NO SLACK)!!
This is Where My Crank Pointer is after Trigger Mod!
CAMSHAFTS:
I didn't pull the intake cam but I did observe this on the exhaust:
Perhaps the intake has an "I" and paint bloob??
CAMSHAFTS LOBE WEAR:
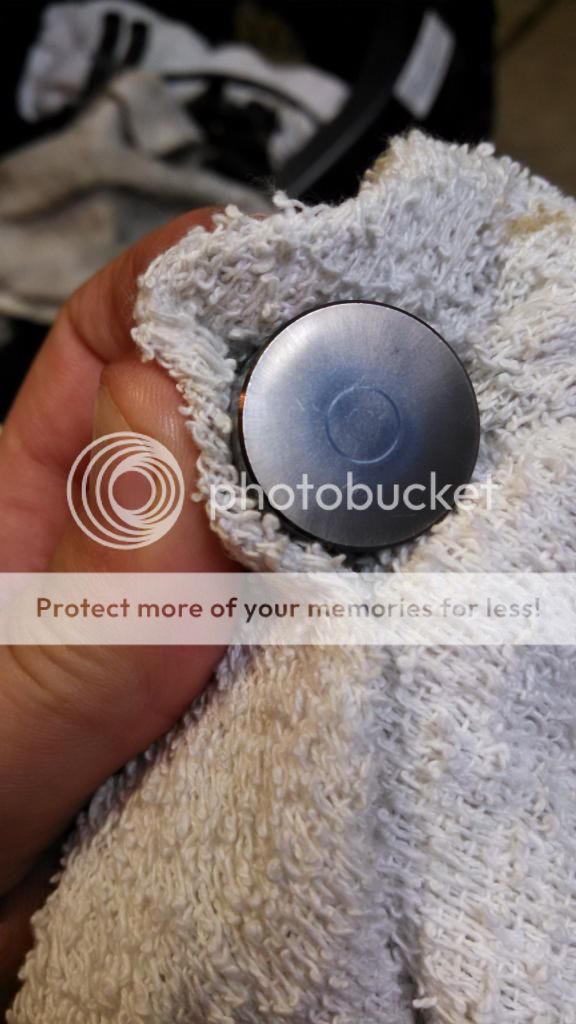
See the ring? I could not measure wear but the three valves out of spec all had some form of ring on the bucket face!
Once done setting valve lash and both cams are installed:
I used a syringe to add 5cc of fresh oil to all cylinders and all cam lobes. I rotated the engine with a short ratchet to verify there WAS NO CONTACT with the Piston & Valves! Rotate it through a couple times and VERIFY TDC and CAM Positions at Cyl 1 point away from each other while BOTH cams alignment marks oppose each other. Verify the chain has maintained its tension on all three sides.
Valve Cover install:
Clean the heads mating surface and spark plug cavity sealing area. Clean all the old RTV from the corners where the rubber fillers hang down. Wipe it down with brake cleaner or MAF cleaner and apply thin layer of black RTV at the apex of the 4 fillers smearing it 180° and each of the 8 sharp 90° transitions. Quickly install the cover. Install bolts and snug them down. They have a positive stop but still need to be pulled down evenly or you risk damage to the cover.
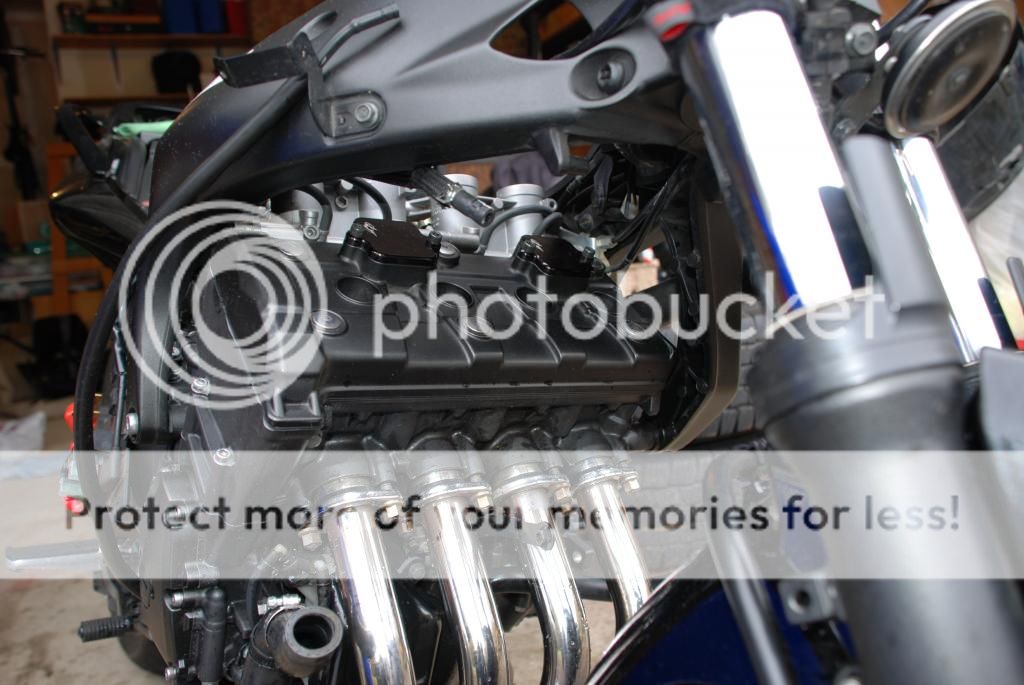
Random pic of mess on the floor!
First start up
Because this is high stakes and because you can't see all that is happening, pushing the start button after assembly brings on a bit of unknown! So, just in case I blew it, I left the coolant and fairing off off and fired it up. She quickly roared to life and sounded AMAZING!!! The tiny bit of oil in the cylinders wasn't enough to harm a mosquito. In fact it was hardly noticeable. I filled the bike up with coolant and let it come up to temp. Being an 08 the ECM needs to relearn the fuel map. Because of this, it needs some miles on it before TB sync is done.
Overall it was a good experience and everything went to plan.
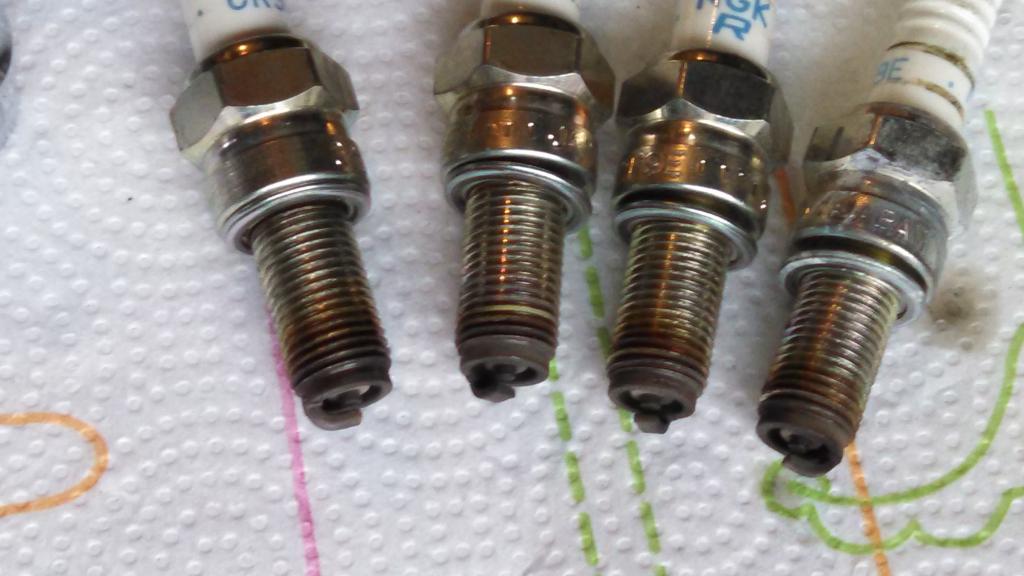
PS - I put the plugs in while the valve cover was off. Much easier..... They are looking good after CO adjust, Trigger mod, and CAT-delete!
ADDING COOLANT:
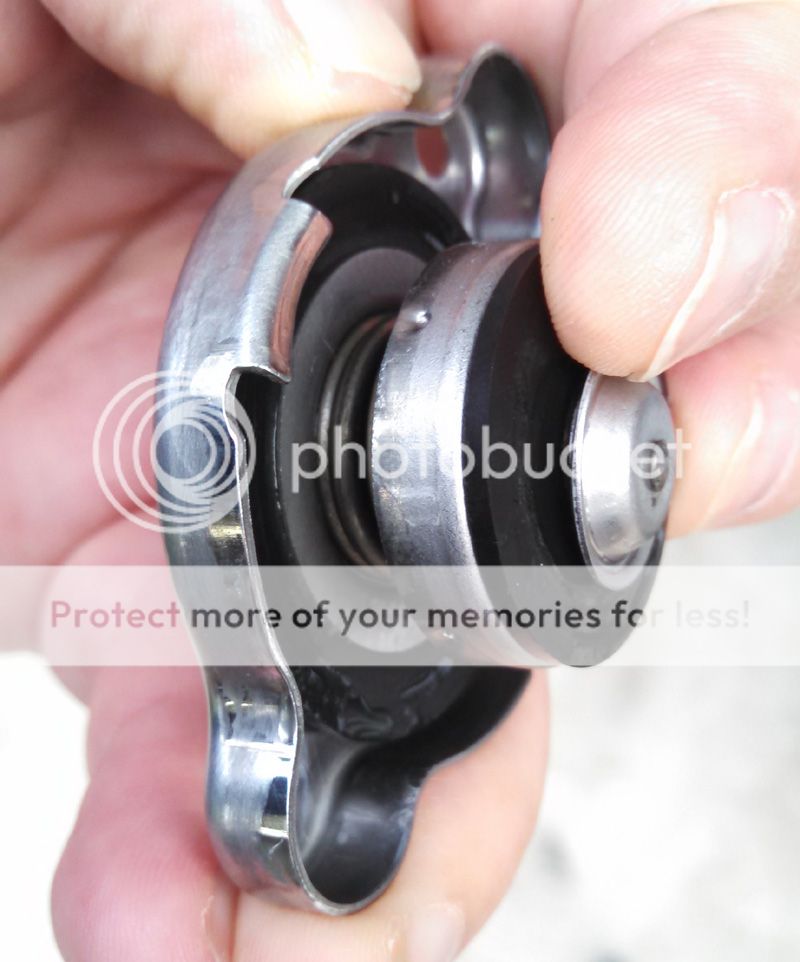
Flush the block and radiator a couple times. Our tap water is very mild here so I wasn't worried about any being left behind. Also, clean the filler neck and cap. If the Caps inner valve and seal leak (or the outer seal), as the block cools it won't form a vacuum and suck coolant from the reservoir. PULL THIS VALVE DOWN AND CLEAN UNDER IT!
It will will take several heat cycles to fill the block completely especially if air is introduces into the reservoir line.
OIL CHANGE
Run the bike 5 miles or so and dump the oil. Using those fat feeler gauges I saw that I chipped off the black paint so its in the engine. Sorry Mr oil pump! Running it for a short bit should allow it to go to the pan and come out or be filtered out.
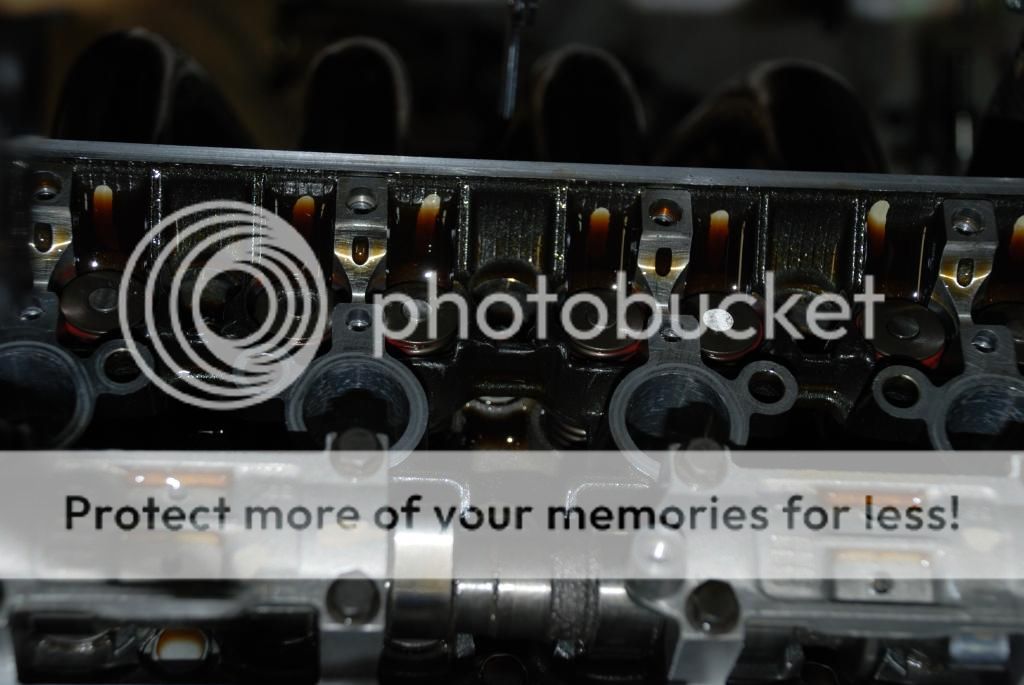
Notice the oil wells and paint markings inside the valve cover:
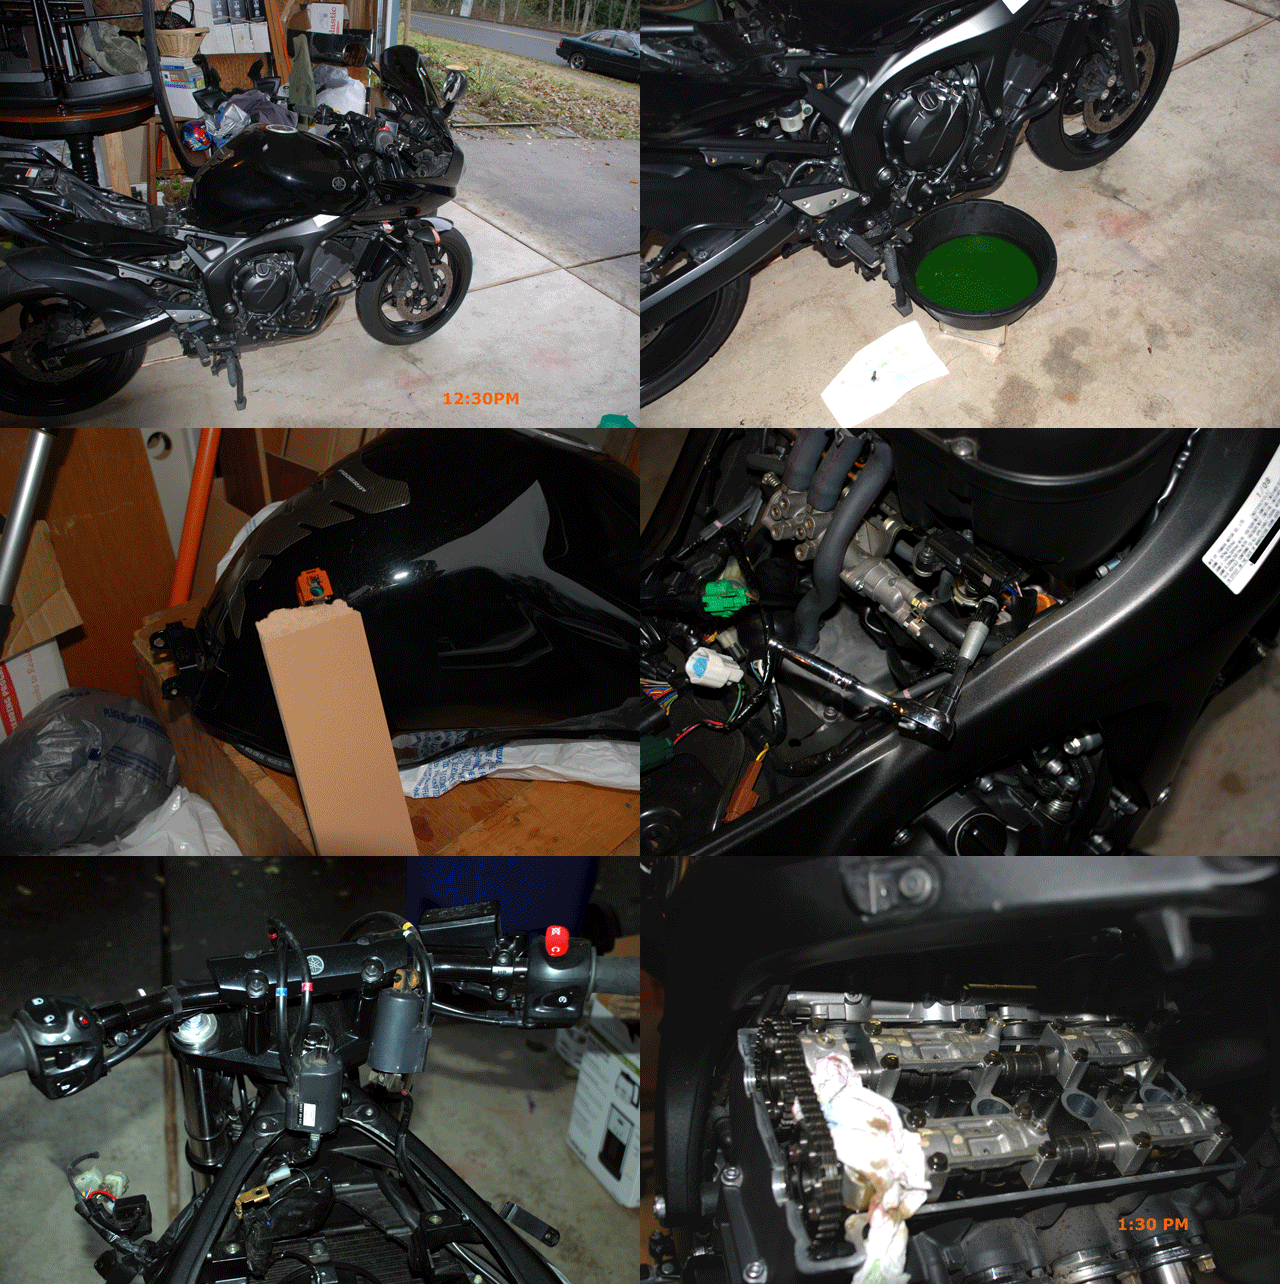
A couple of shots along the way. I had a full fuel tank so notice I propped the hose up just in case the valve decided to leak!
Lots of room to work and remove bug parts!
*********************************
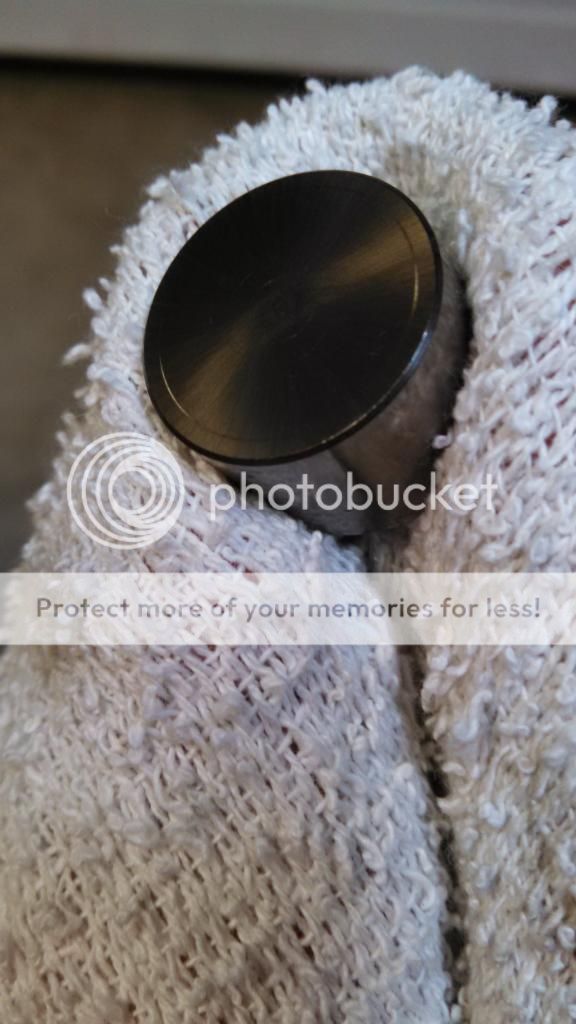
If you order the HCSHIM01 (7.48mm dia) kit, this is what you get!
Size increment is 0.05mm from 1.20mm up.
Refills can be found here:
Value cannot be null.<br>Parameter name: input
***************************
1.80mm 5 Piece Shim Refill Package 5PK748180, $5.95
2.35mm 5 Piece Shim Refill Package 5PK748235, $5.95
Just fill in the value needed (last 3 digits) when ordering: 5PK748###. Valid numbers are 120 - 350.
***************************
EDITS:
2016-02-06 Restored (SOME) of pictures lost during server migration
2015-02-01, typo and ADDED section on cam remove/install.
2014-11-29, Added more details on cam timing, checking, and how long the job takes, and the cap!
2014-11-24; calculation pictures missing, added shim kit...

 It's hard to find any shop to do the job I meant trustworthy....