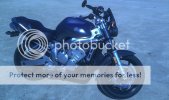
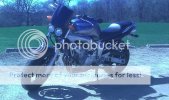
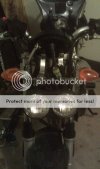
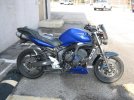
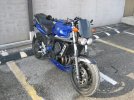
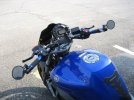
I know that there are other threads and even other posts within this thread about the Buell conversion, but I figured since I did my conversion and I feel my technique was a little different, I might as well post a little detailed write-up.
I was being really lazy, and my wife actually had the camera at the time, so I didn't take any pictures until the end, but I'll do my best to describe the process, and see if I can use any other pictures to explain how I did everything.
The first thing about converting to a naked bike, is to take the fairing off. I have to say a special thanks to bd43 for posting a detailed writeup about doing this
here.
After getting the fairing off, you'll need to remove the fairing stay which is bolted on with two bolts. Remove the fairing stay, and you're almost ready to start adding parts, instead of removing them.
There are two brackets on each side of the frame one of which has a fuseholder, and something else on the right side of the bike. Remove these.
Next, you'll want to get your wiring harness. It is hidden behind the headlight so to remove the headlight you'll unscrew these screws which are circled in red.
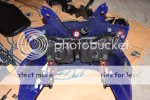
Unclip and take out the wiring harness, and you should have everything you need to start. That is of course, if you bought everything you needed for the Buell conversion.
I bought my Buell parts from
Harley Davidson Parts | Harley Parts | Harley Accessories | Harley Davidson Clothing because surdyke.com was out of stock on some of the parts I needed. I'm pretty sure that CCHOUSEKY bought the last of some of the Buell parts I needed. :ban:

Buell XB Headlight Y0721.6AC
•
https://www.surdyke.com/
• Price: $92.80
Buell XB Windscreen M1600.1ACMW
•
https://www.surdyke.com/
• Price: $59.46
Buell XB Windscreen Mount M0645.1ADA
•
https://www.surdyke.com/
• Price: $18.84
I bought my mirrors, fork brackets, and speedometer mount from
Motorcycle Conversion Headlight Kits.
Just to be a little more specific:
These in the 43mm flavor.
These mirrors.
And
this universal speedo mount bracket.
I already had
these turn signals, so I reused them.
Now, you could probably save money and fabricate your own speedo mount and maybe even get away with getting a cheaper set of fork brackets or again, fabricate your own. This was not really an option for me because I have limited access to tools (I just have mostly basic hand tools and a dremel and drill), and I'm not extermely confident with making my own brackets and such. For me, I'd rather just take something meant for the same purpose and modify it slightly. Maybe one day when I get an awesome tool set and a full garage...
Now back to the writeup. I'm going to do my best and try to explain the method I use. I could go out and take a picture of my setup without the windscreen on, and you could get a really good idea, but I bent my windscreen bracket a bit to get the screen angled the way I like it, and it makes it a huge PITA to put back on. So, instead, I'll show some pictures of the bracket, and possibly draw a rough picture of the bracket setup I have going on.
Here's a picture of the windscreen bracket attached to the headlight.
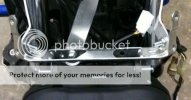
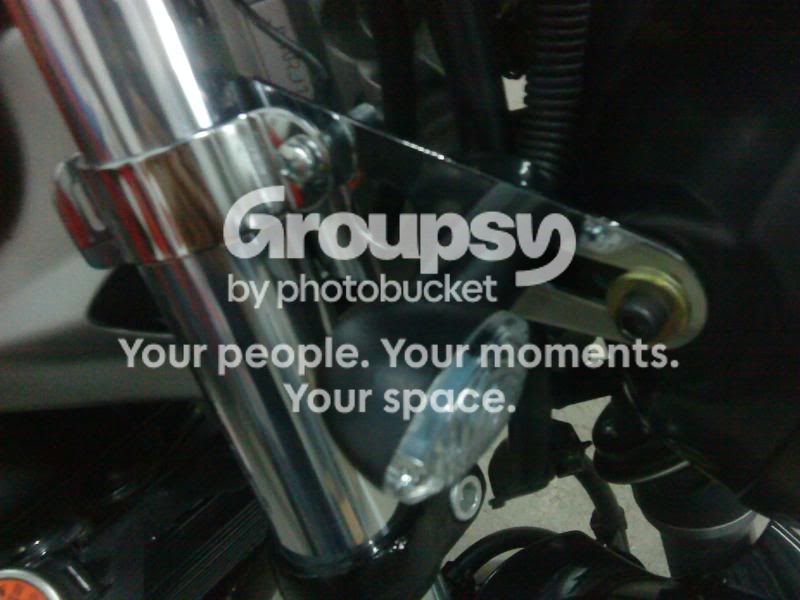
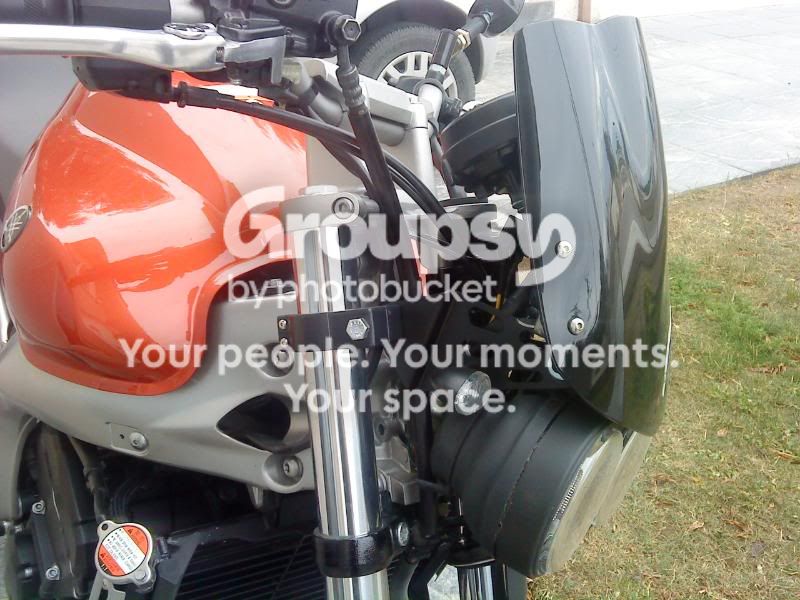
I used my fork brackets (obviously attached to the forks) near the top of the forks about 2 inches or so down from the top triple to attach the windscreen bracket from earlier with 1/2" thread 1 1/2" long bolts.
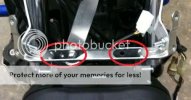
As you can see from above, the windscreen bracket goes around the headlights to hold them up. For the speedometer, since there are holes in the windscreen bracket itself, what I did was sandwich the universal speedo bracket in between the headlights and then secured it with nuts attached to the end of the 1 1/2" bolts I was talking about earlier.
Here's another picture of the windscreen bracket with circles around the holes , so you'll know what I'm talking about.
One more picture just to give you a rough idea of how the universal speedo bracket gets attached. Forgive my rough sketch in paint.
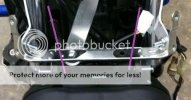
Obviously my bolts were a little longer to accommodate for the speedo bracket.
I drilled holes in my fork brackets to mount the turn signals, cut the headlight connectors off of the buell headlights, discarded the yamaha headlight connectors, and wired the buell headlight connectors onto the wiring harness.
Then, really all there is is wire everything back up. Connect the wiring harness back (both white harnesses).
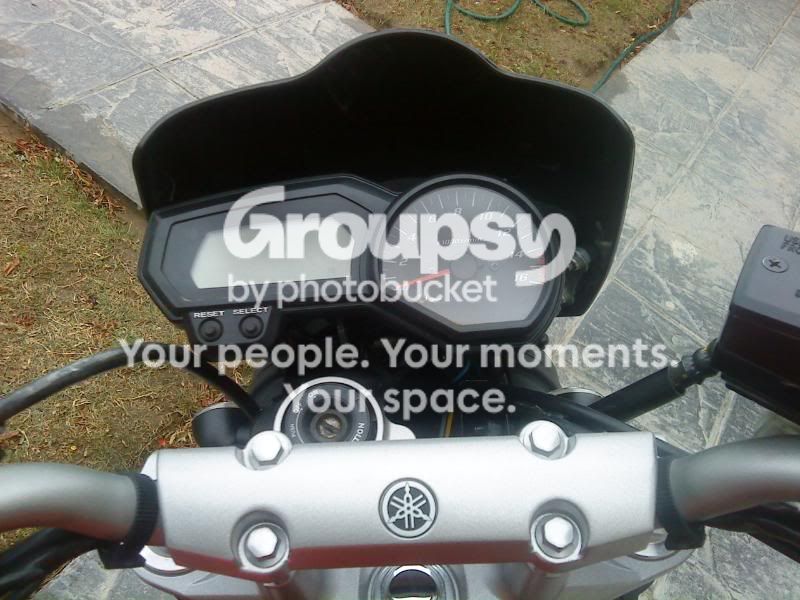
For the speedo, you'll need to drill three holes to mount it, and then cut out a pretty big portion for the harness to go through.
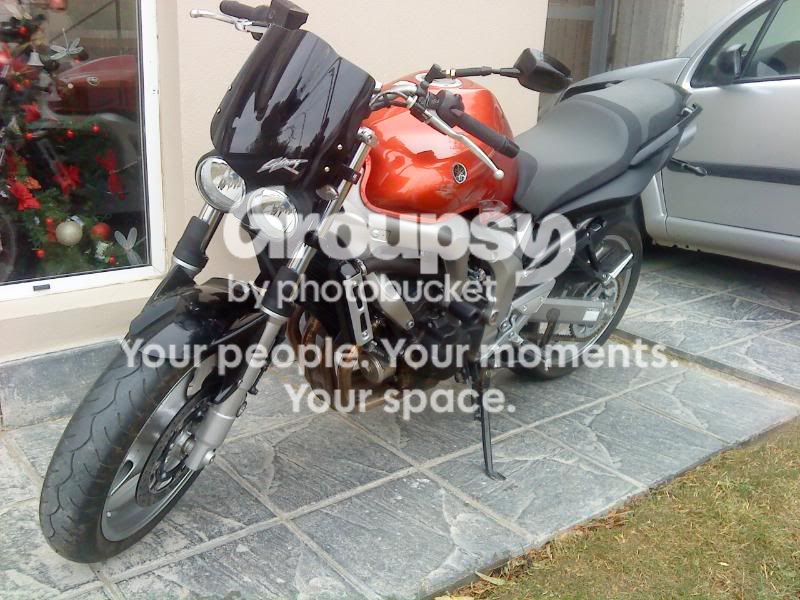
Reconnect the headlights, both turn signals, connect the speedo harness. Hide everything back behind the windscreen, and put the windscreen on, and you're pretty much done!
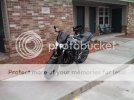
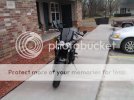
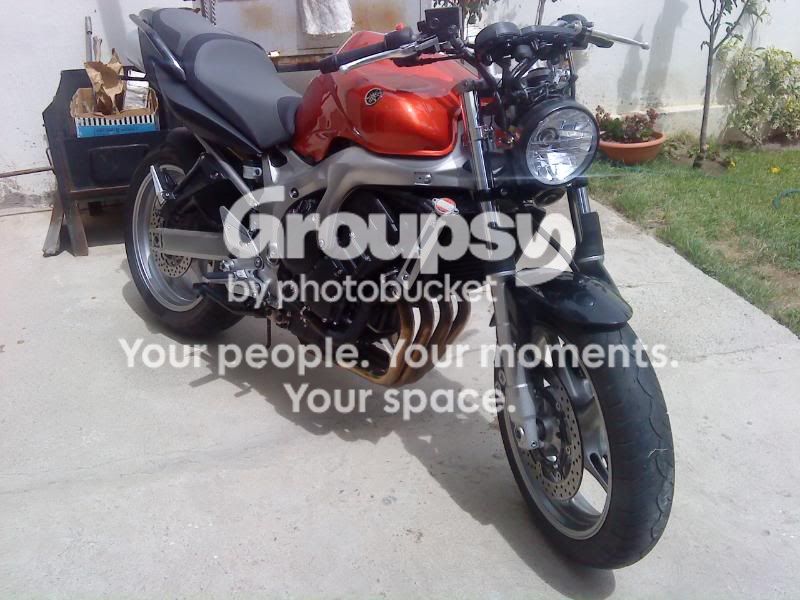
With my setup, it leaves plenty of room for adjustment and I think it's a pretty simple process, as long as you plan the whole thing out beforehand, so you'll have an idea of what you're going to do.
If you have any questions, feel free to ask!
P.S. CCHOUSEKY and bd43, if you don't like me using your pictures, just send me a message and I'll take them down.



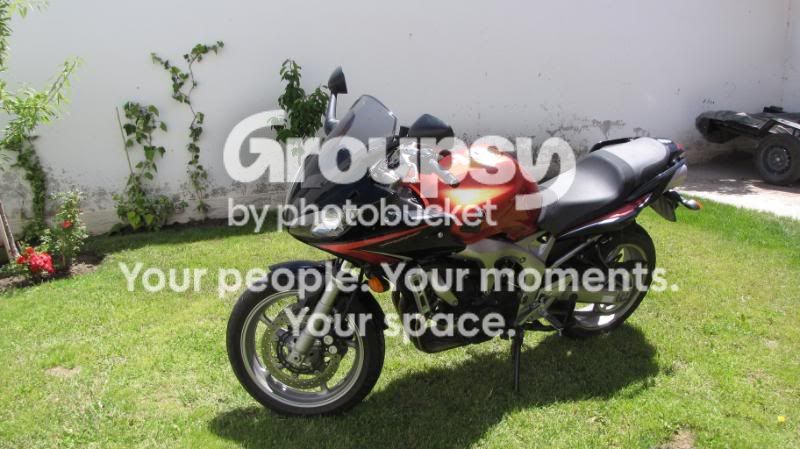
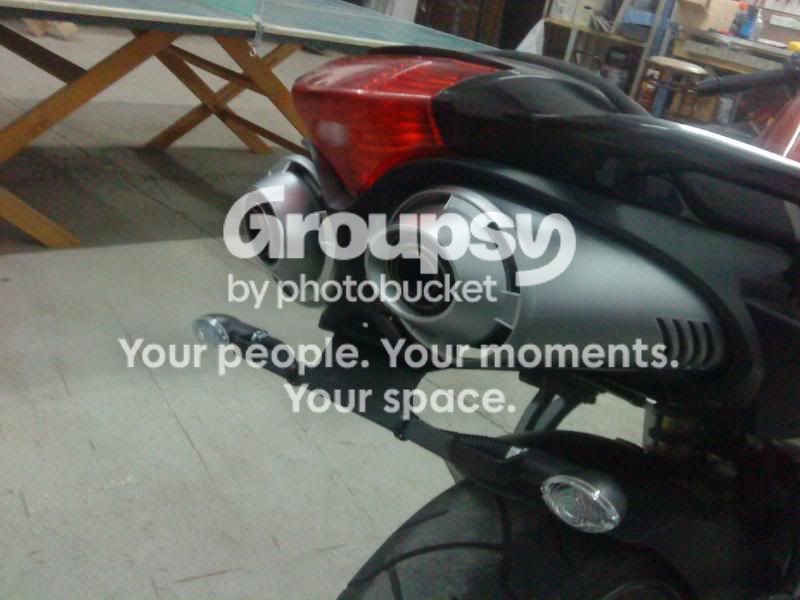




 :rockon: