SANGER_A2
Super Member
I decided I wanted flush mounts instead of the stock ones - especially with my sexy full lower fairing. However, I decided that there was no way I was going to sacrifice visibility so LEDs were out as they're usually not as bright and are too directional. Plus I couldn't be assed to sort out any problems with flash rate etc.
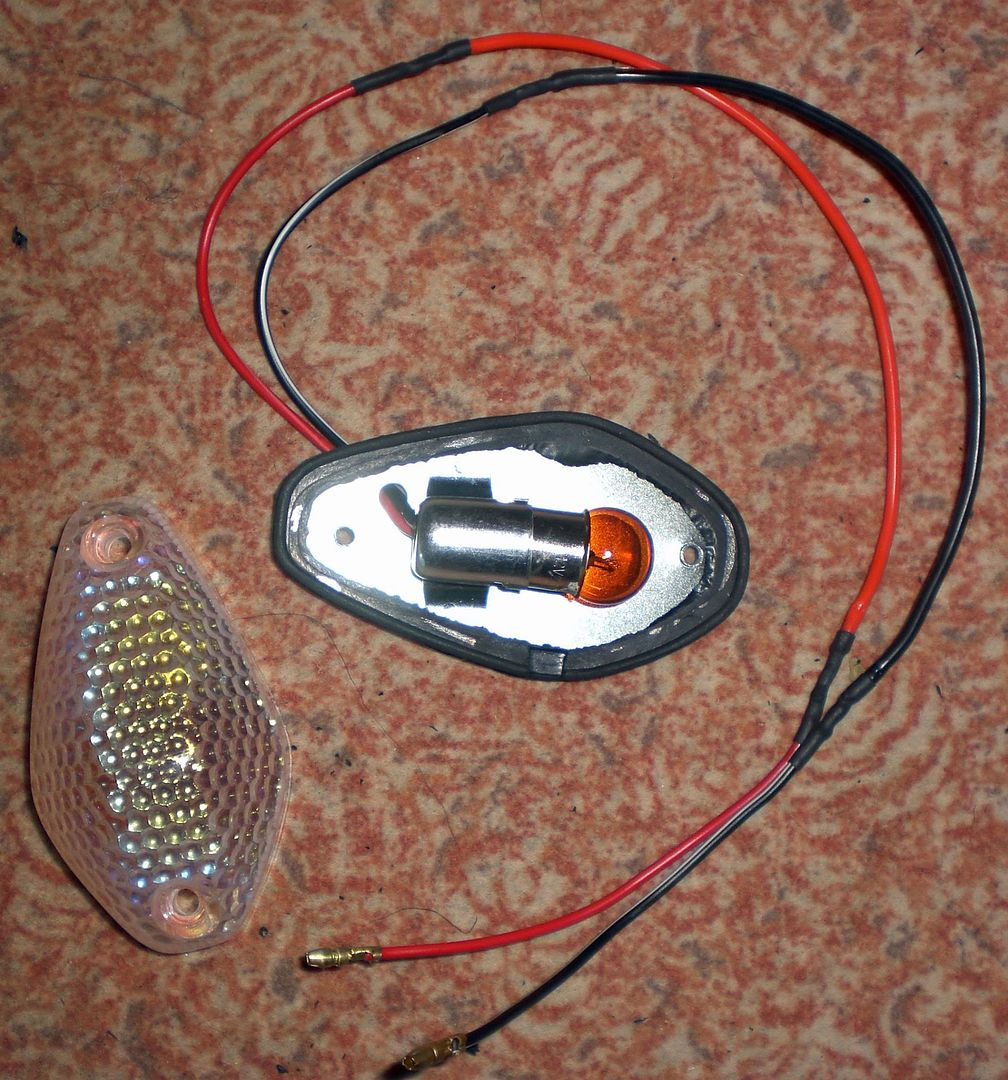
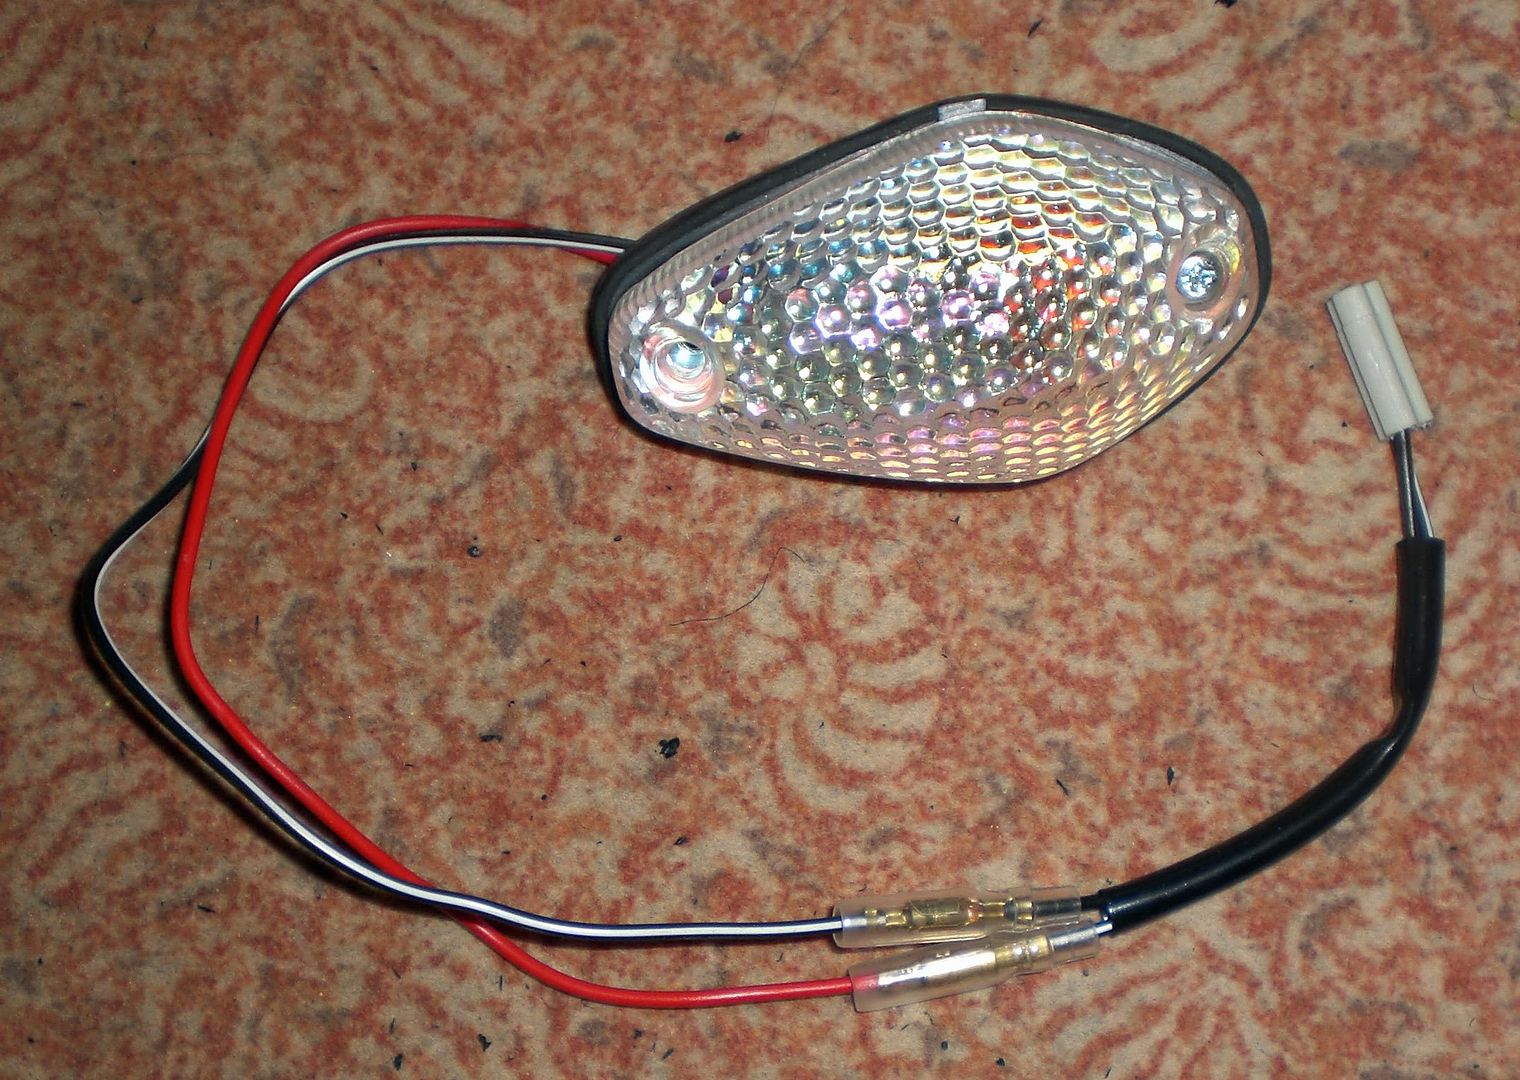
I finally managed to find some clear flush mounts that take normal bulbs. They are made by Bike-it and are iridium (also called crystal). They look great and are actually brighter than stock! They use amber 23 watt bulbs instead of 21 watt. This doesn't seem to have slowed down the flash rate but my indicators now just flash once briefly when I press the button to switch on my hazards. I'm going to buy some 21 Watt bulbs to replace them and see if that fixes it.
I haven't seen any pics of any flush mounts anywhere except using the stock mounting brackets so i'll be interested to see what you guys think. They're pretty big but I like the look and wasn't willing to get tiny indicators and then have some car shunt into me one day as he doesn't realise I'm turning!")
The first step in installing the flush mounts on the front is to remove the existing indicators which is pretty easy with some prodding and prying. The plugs can be removed from the weird triangular Yamaha sockets quite easily as well. Once I had removed the indicators from the bike, I just cut the wires that join the indicators to the sockets and soldered the sockets to the two new indicators as I had no need of the front stock indicators any more.
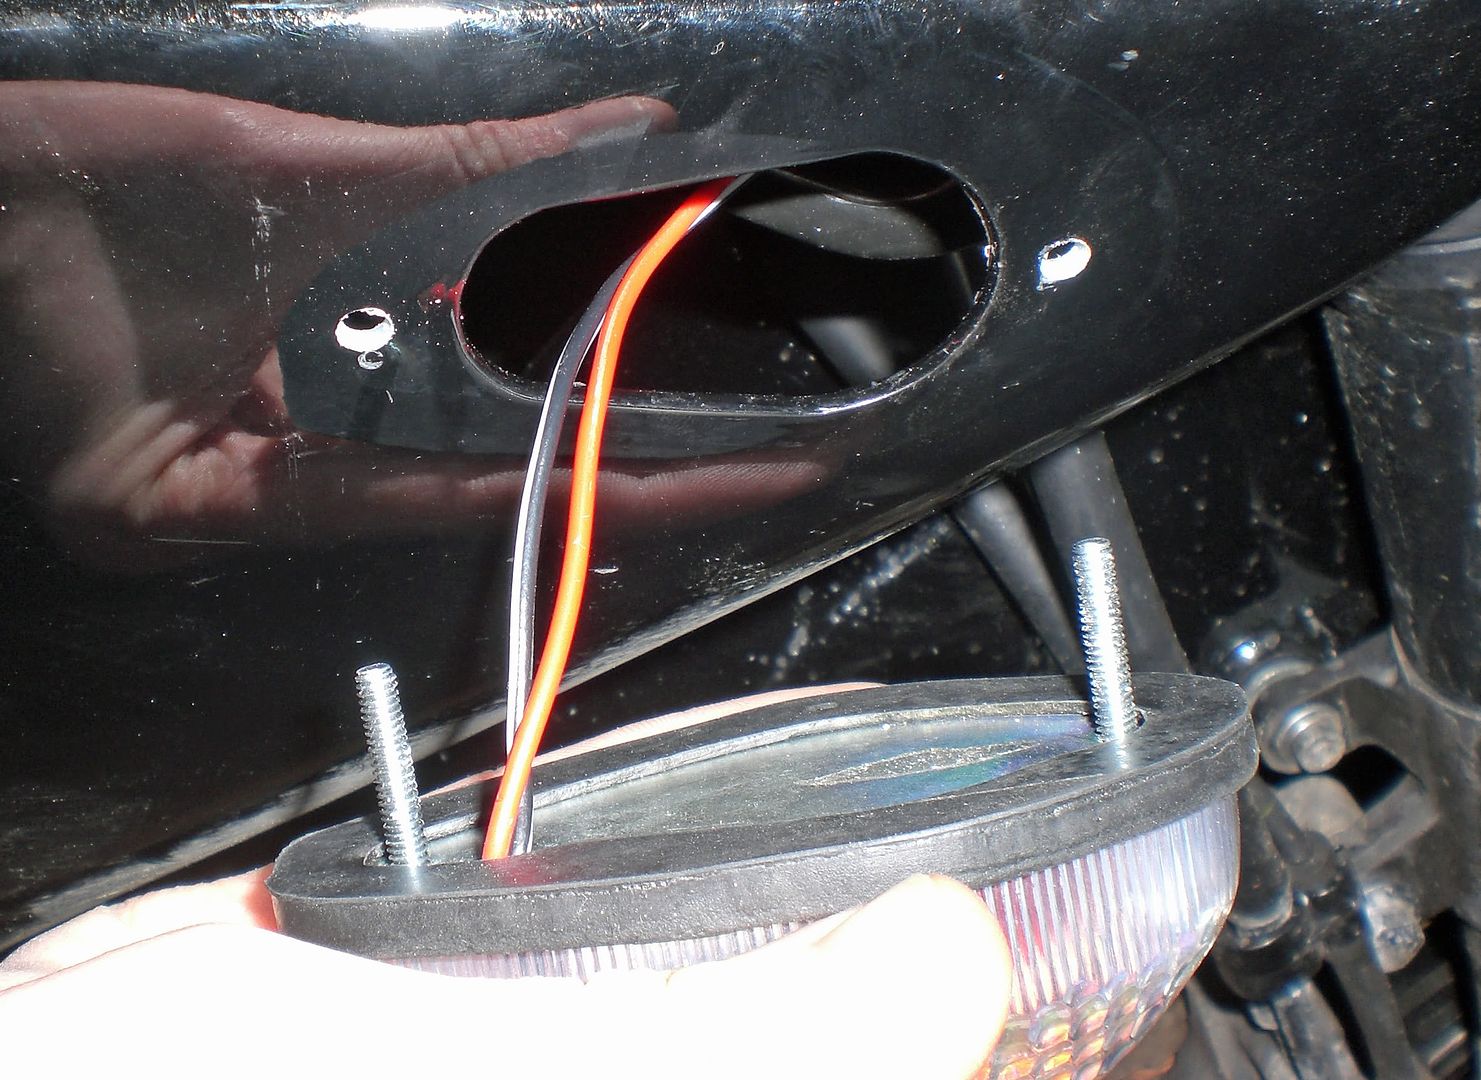
The indicators can be fitted using an adhesive pad or they come with some longer bolts that can be used to attach them more securely (which I decided to use). The full fairings I've got fitted had holes in them for the stock indicators to poke through so I was able to remove the stock indicators and thread the wire through the existing holes. I then had to drill two holes to run the bolts through as shown below:-

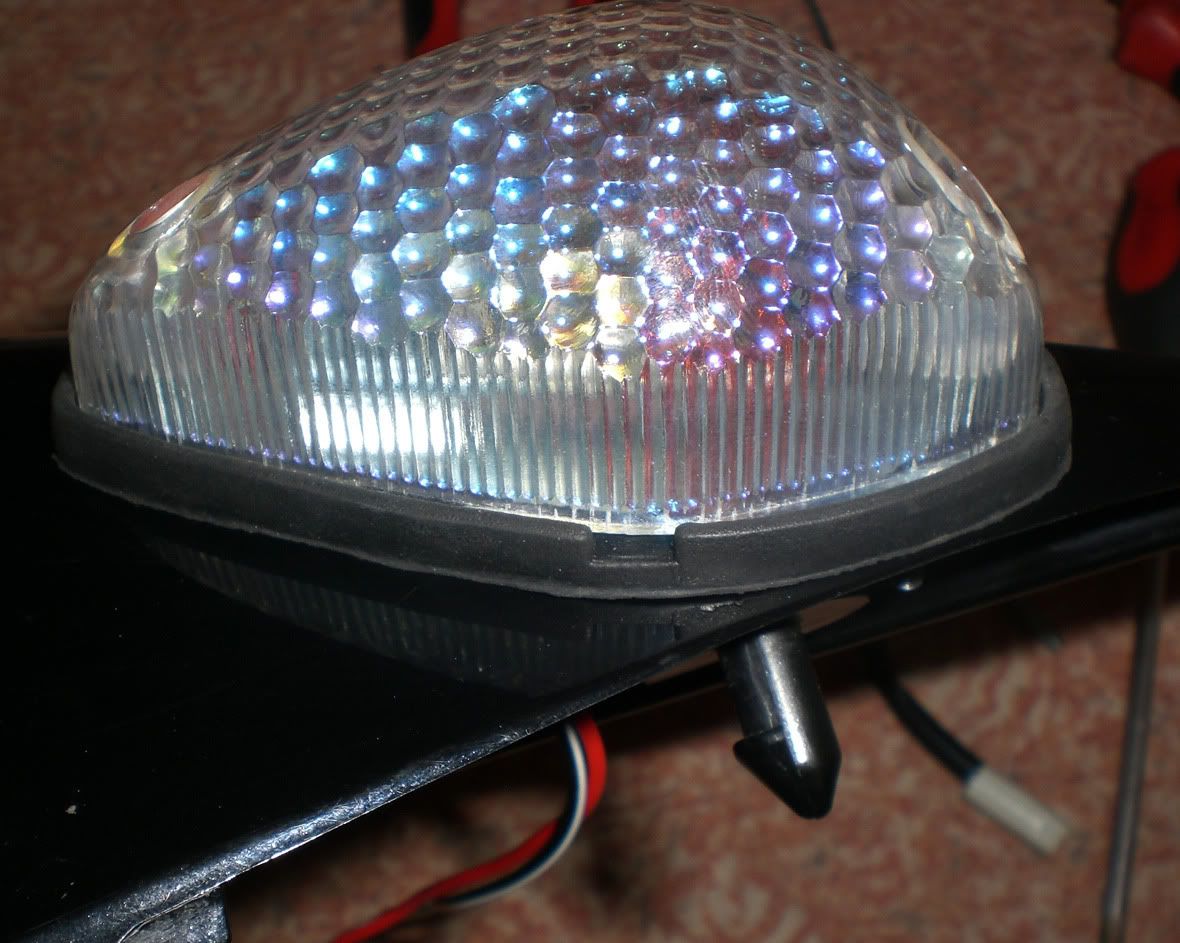
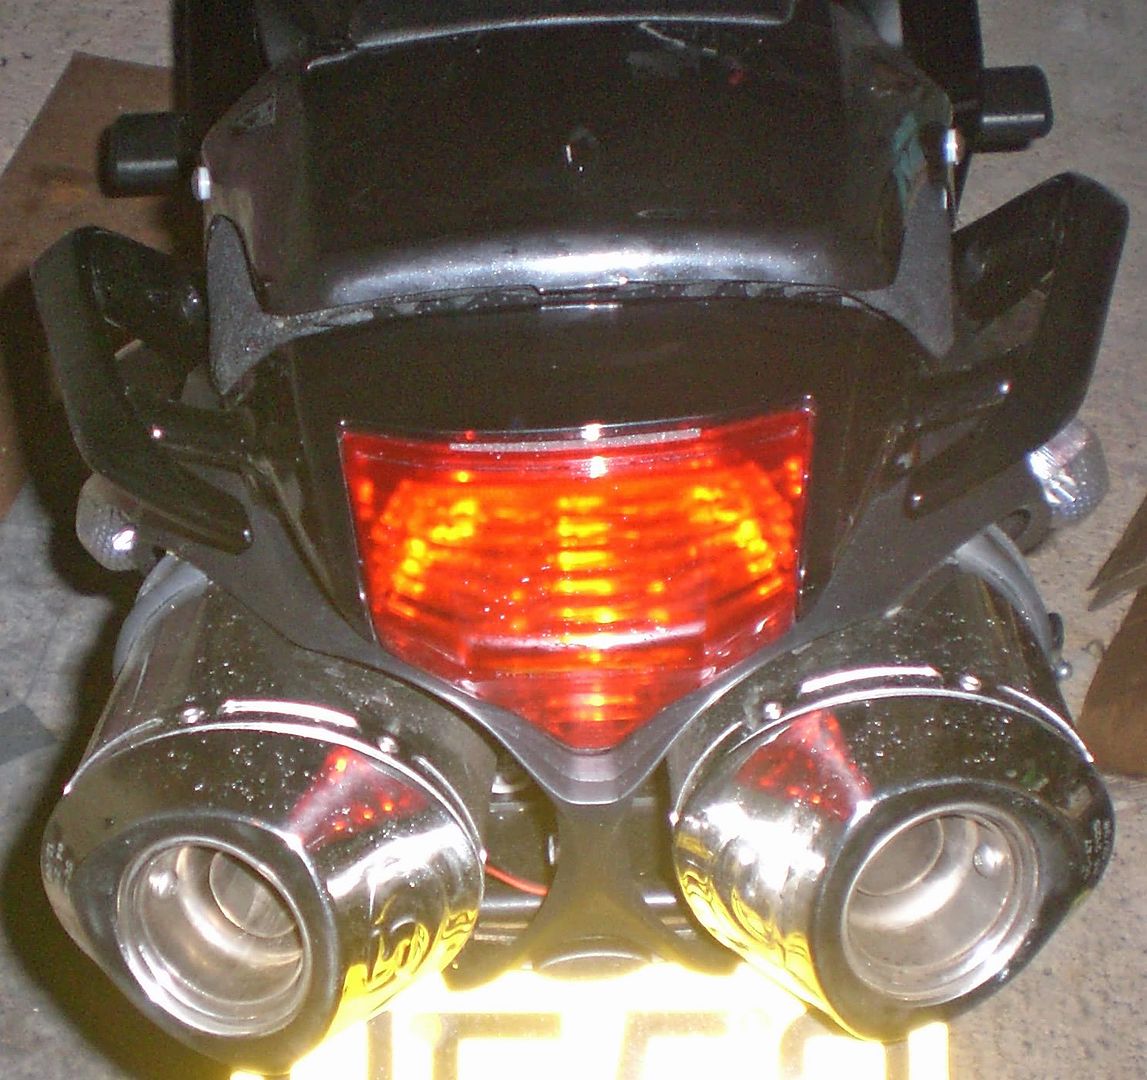
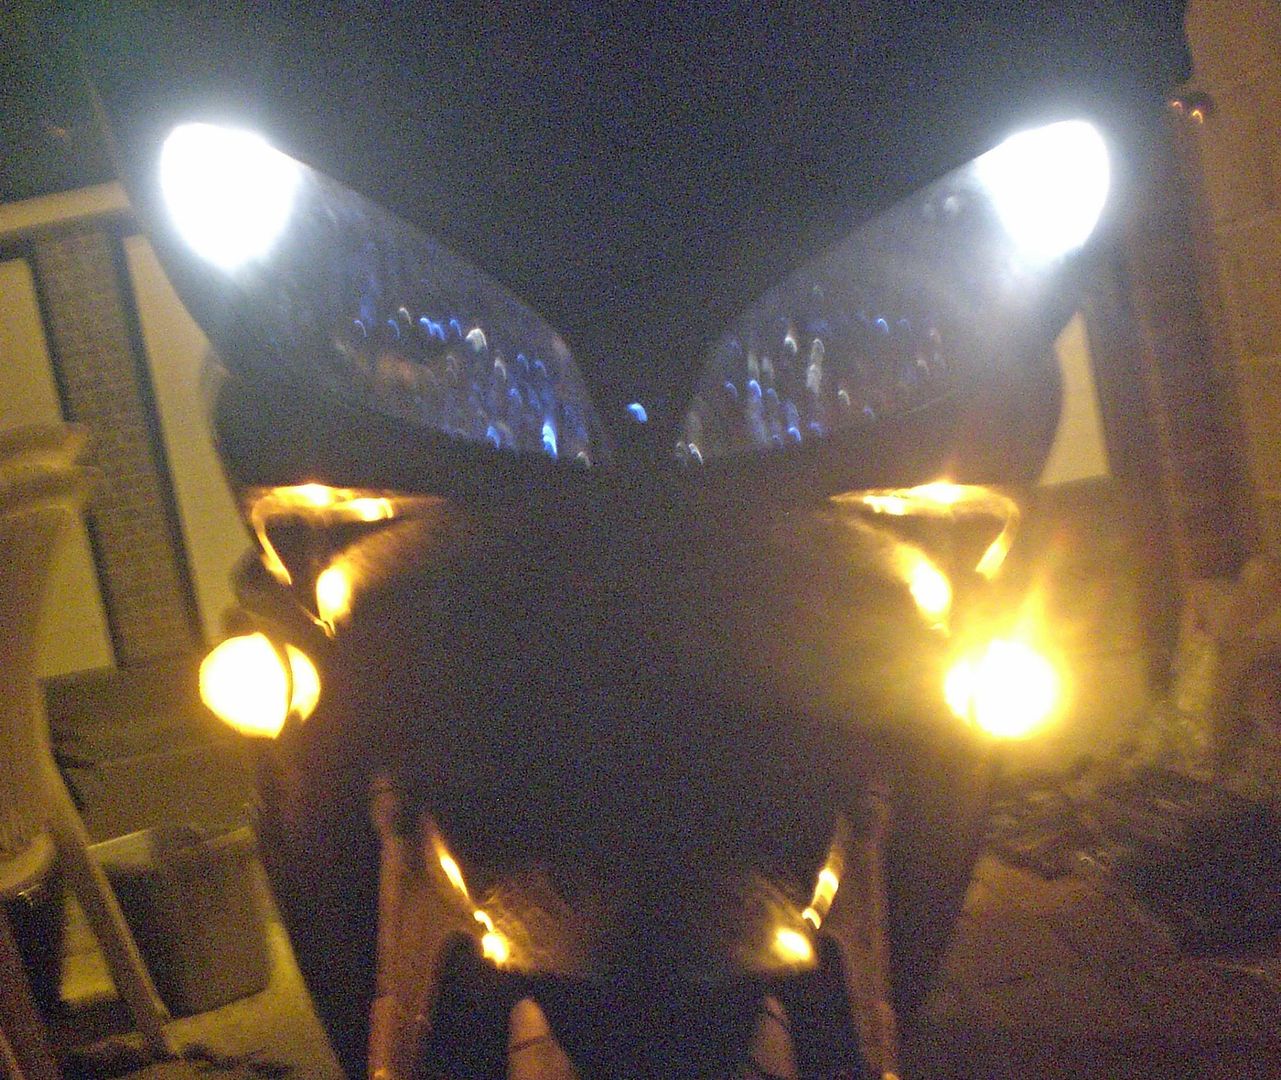
There are two washers provided for each bolt and a not to attach them. I discovered that you can't do the nuts up too tight or it will crack the indicator plastic! I'm going to monitor these and if they loosen I will add some thread-lock. The picture below gives an indication of how bright they are:-

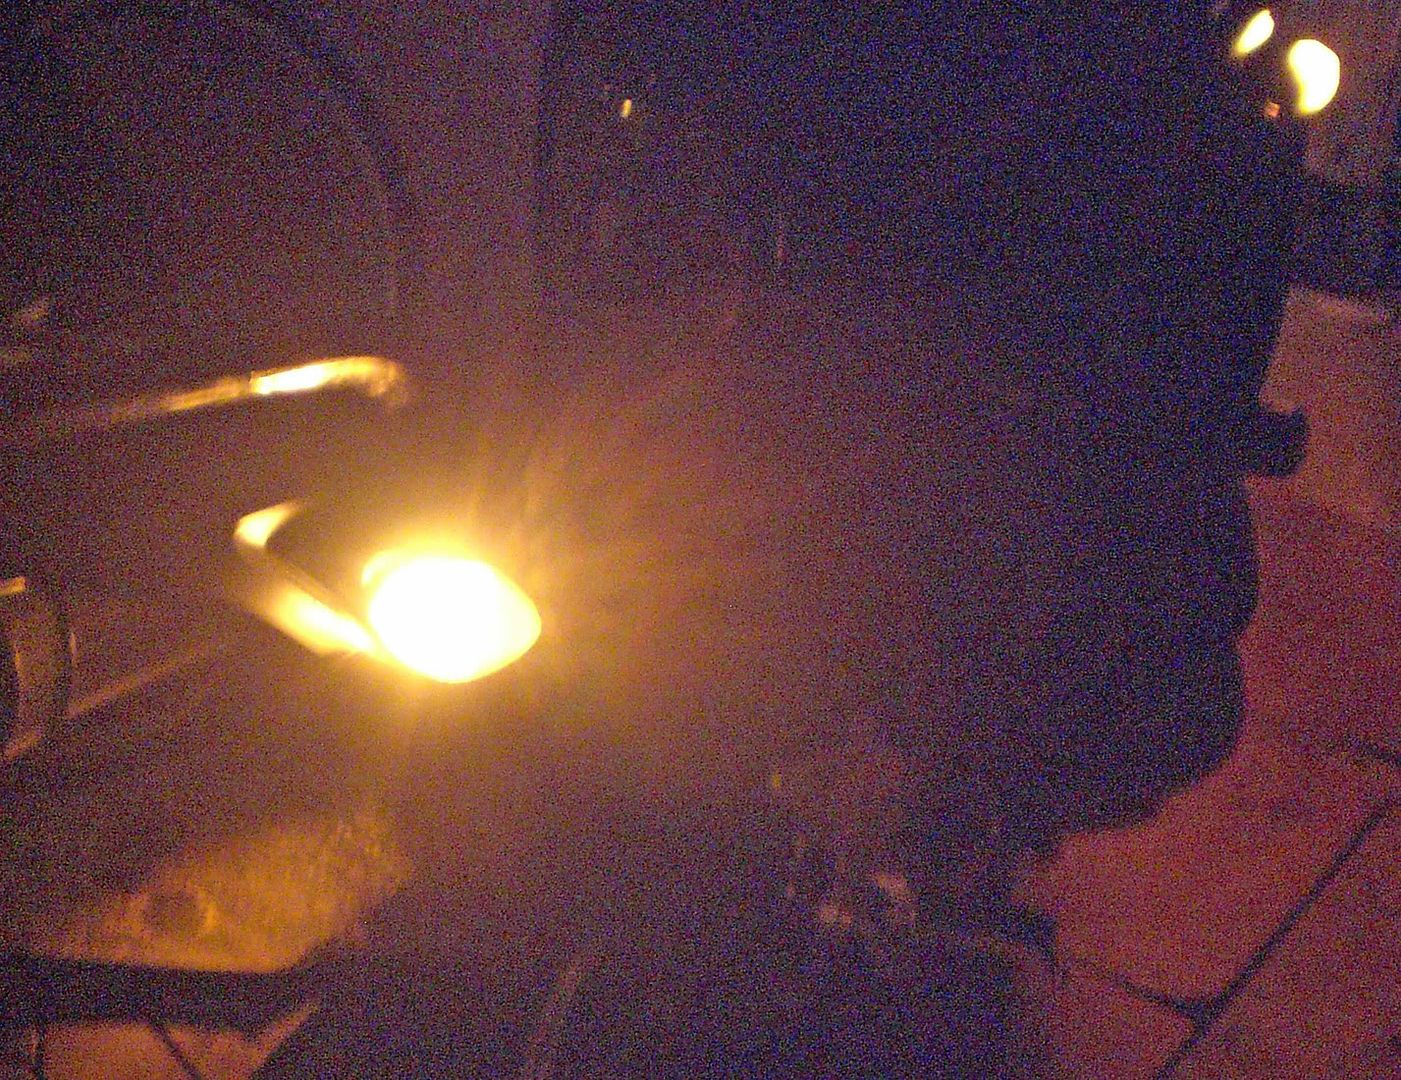
Here they are with both lit up after I turned on the hazard lights. This stopped working after I installed the rear ones. No idea why! They look good with my sidelights on too:-

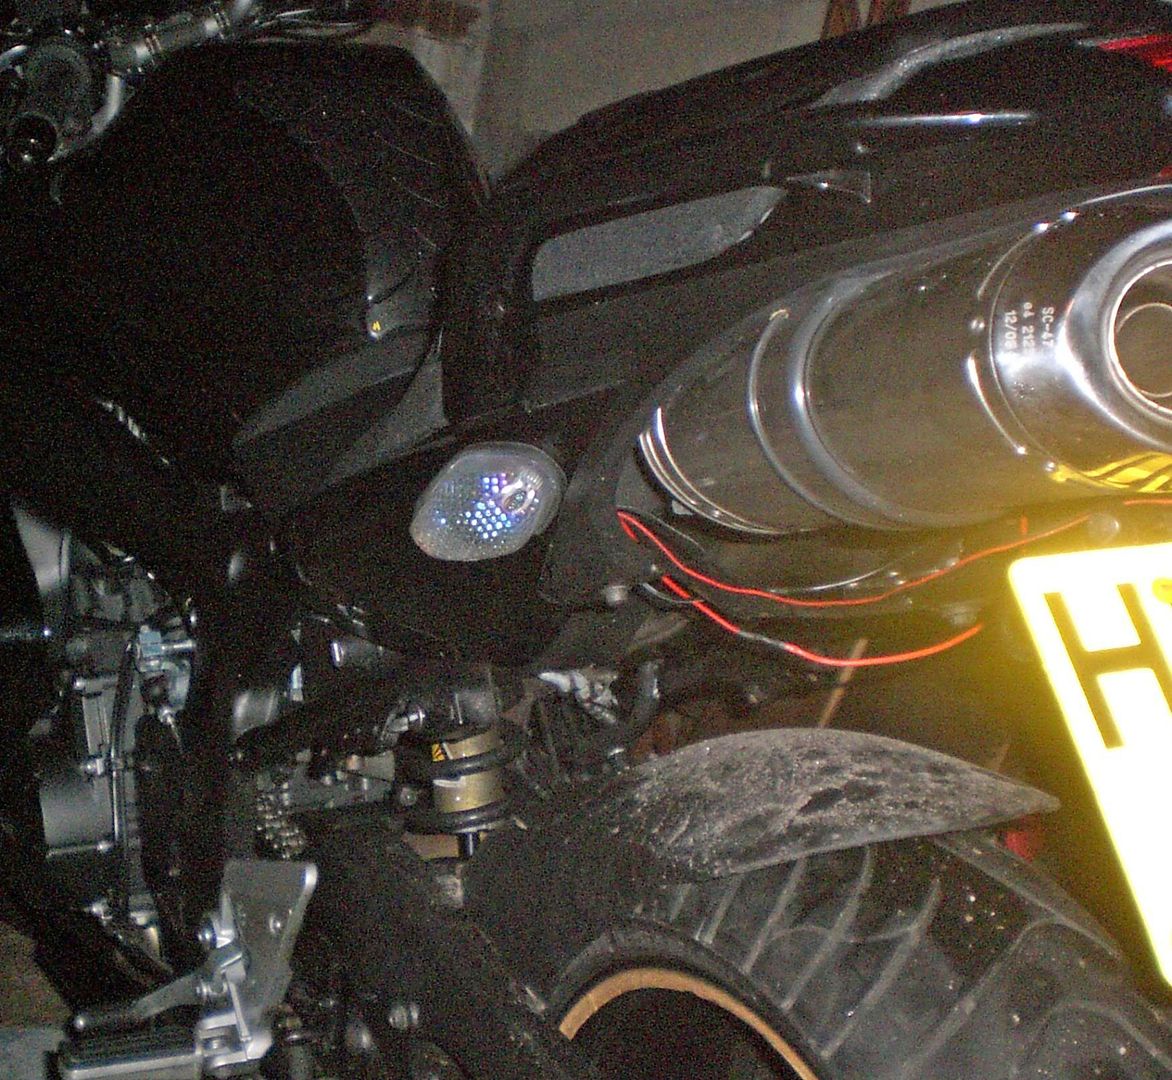
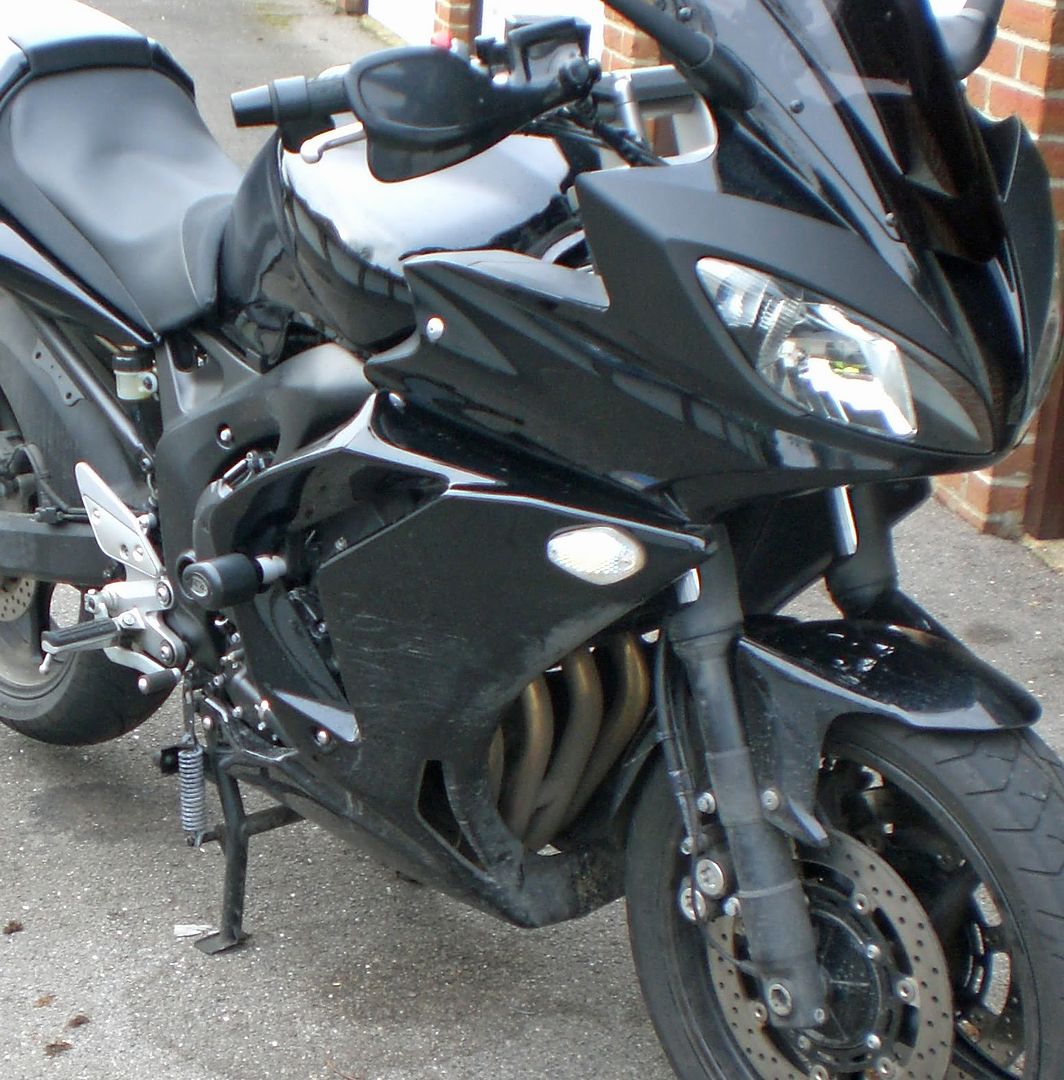
Here's a nice pic from the side:-

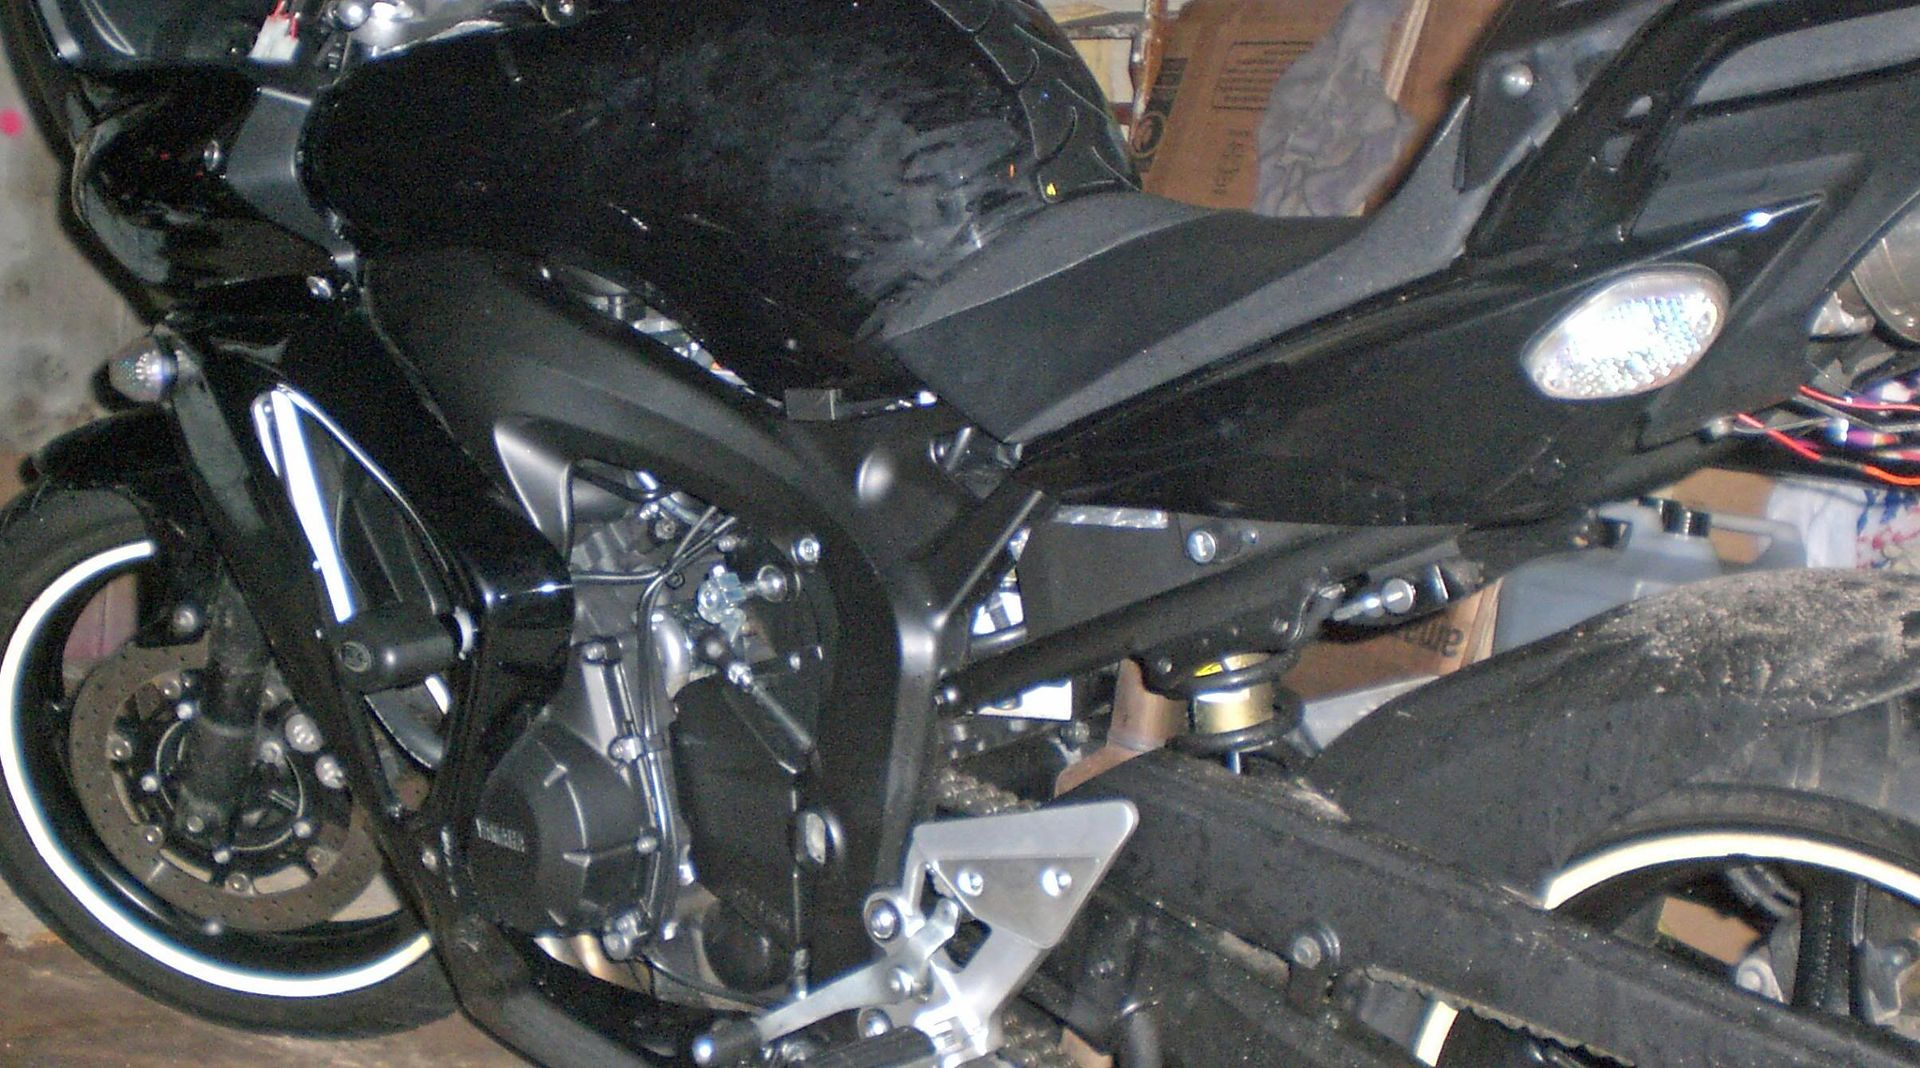
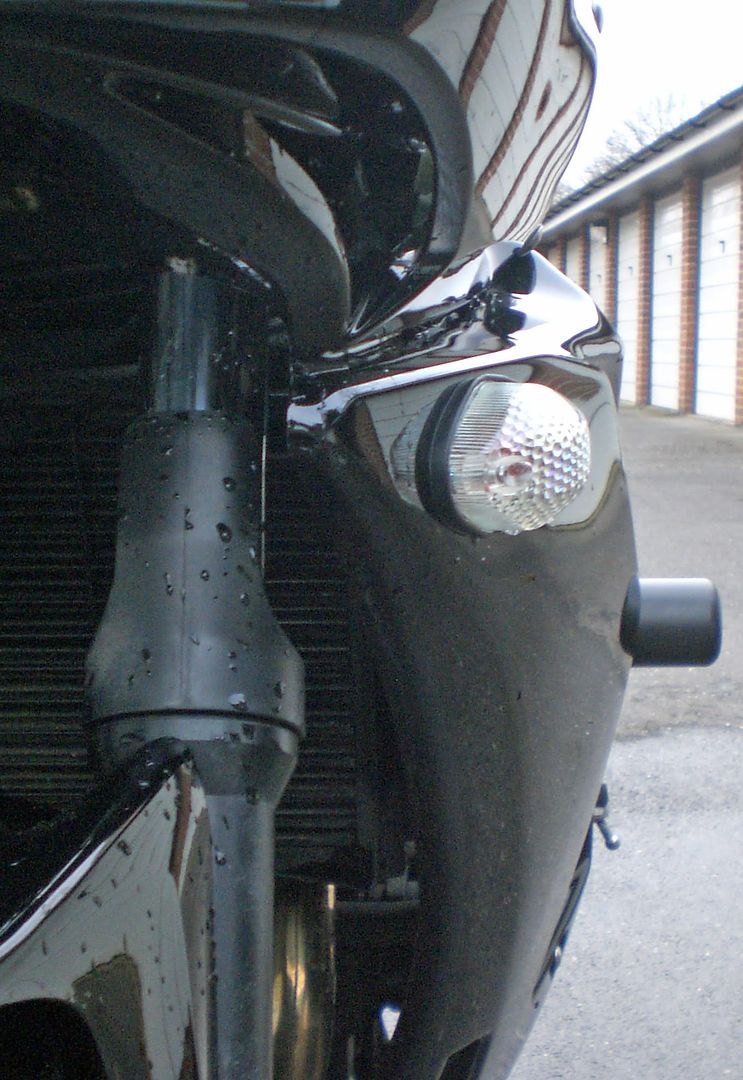
And here's a pic showing them from further forward:-

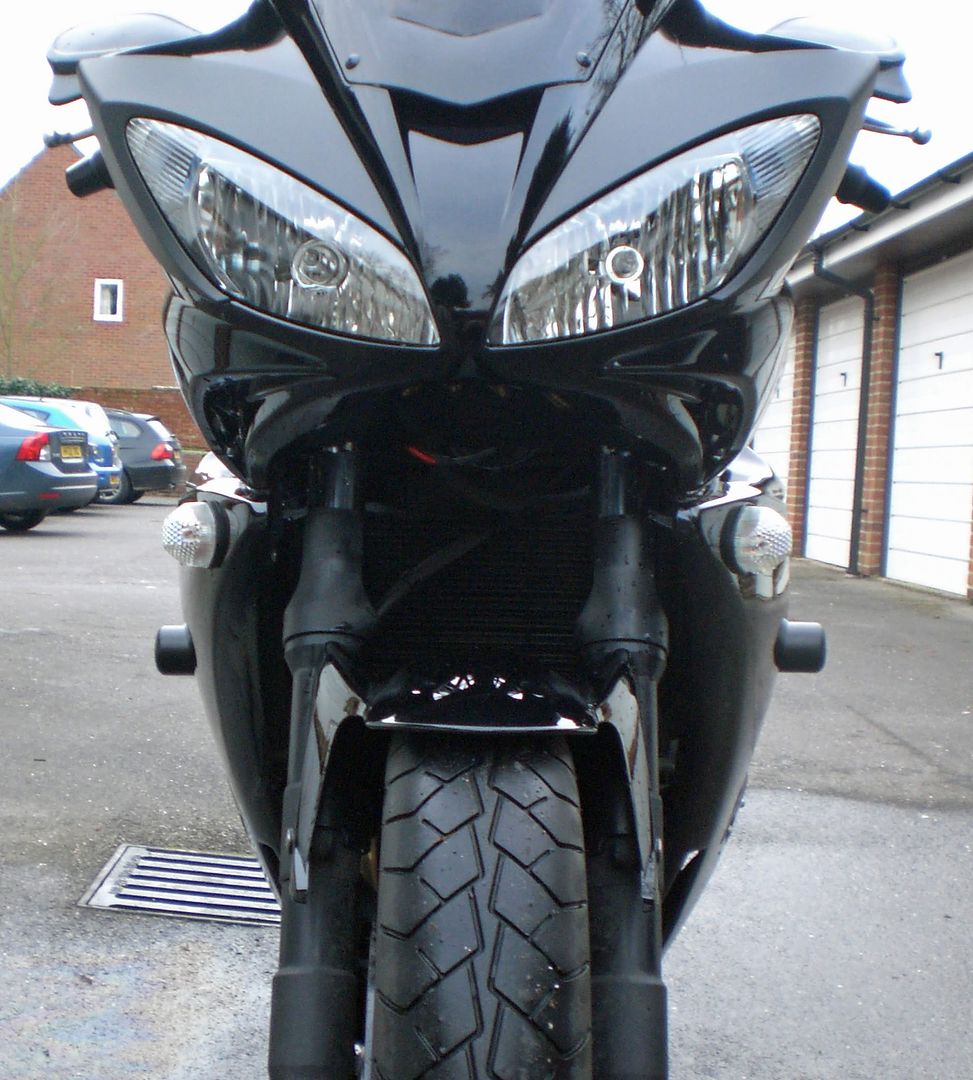
And a front view pic:-

I finally managed to find some clear flush mounts that take normal bulbs. They are made by Bike-it and are iridium (also called crystal). They look great and are actually brighter than stock! They use amber 23 watt bulbs instead of 21 watt. This doesn't seem to have slowed down the flash rate but my indicators now just flash once briefly when I press the button to switch on my hazards. I'm going to buy some 21 Watt bulbs to replace them and see if that fixes it.
I haven't seen any pics of any flush mounts anywhere except using the stock mounting brackets so i'll be interested to see what you guys think. They're pretty big but I like the look and wasn't willing to get tiny indicators and then have some car shunt into me one day as he doesn't realise I'm turning!
The first step in installing the flush mounts on the front is to remove the existing indicators which is pretty easy with some prodding and prying. The plugs can be removed from the weird triangular Yamaha sockets quite easily as well. Once I had removed the indicators from the bike, I just cut the wires that join the indicators to the sockets and soldered the sockets to the two new indicators as I had no need of the front stock indicators any more.
The indicators can be fitted using an adhesive pad or they come with some longer bolts that can be used to attach them more securely (which I decided to use). The full fairings I've got fitted had holes in them for the stock indicators to poke through so I was able to remove the stock indicators and thread the wire through the existing holes. I then had to drill two holes to run the bolts through as shown below:-
There are two washers provided for each bolt and a not to attach them. I discovered that you can't do the nuts up too tight or it will crack the indicator plastic! I'm going to monitor these and if they loosen I will add some thread-lock. The picture below gives an indication of how bright they are:-

Here they are with both lit up after I turned on the hazard lights. This stopped working after I installed the rear ones. No idea why! They look good with my sidelights on too:-
Here's a nice pic from the side:-
And here's a pic showing them from further forward:-
And a front view pic:-
Last edited: