So you're saying the rear damping is adjusting and working now?
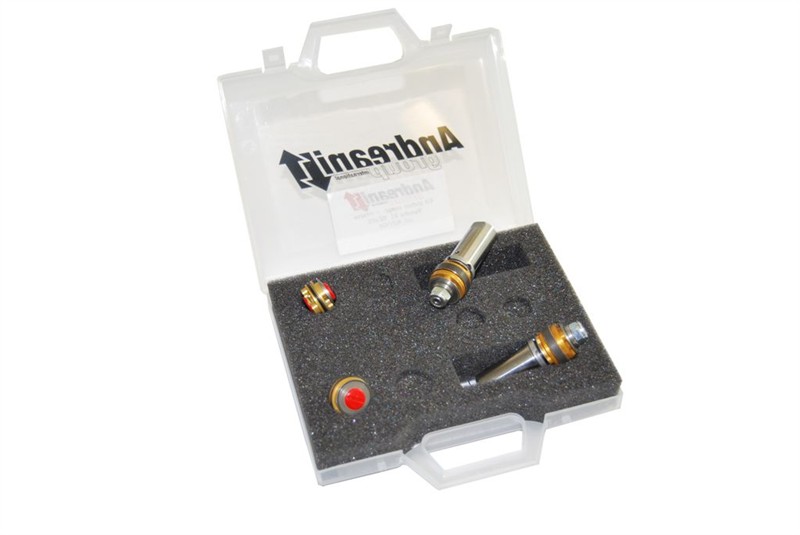
The front: When you remove the fork cap there is a lock nut to the shaft that must be set to the proper height or it will not control rebound damping. And if set too long, can damage the valve.
In short the damping rod threads to the end is 11.0mm. Loosen the jamb nut just enough to allow the cap to spin off, measure from the end down the threads 11.00mm. Place the nut at 11.25mm. Install the cap and snug the jamb nut.
All of that said, here is what I found works the best on these forks.
They are designed for 5wt oil. Run 5 or 7.5wt, no higher. The fill level is stated to be the fork travel distance of 4.17 in (106mm). This works, but I highly recommend 5.25 to 5.75 in of 7.5 wt.
Pull the forks out and dump out whatever is in there. Split a pint between the two forks dumping, filling, pumping and draining to get the sediment out. Verify the damper rod has the small aluminum adjusting rod inside and that it is not bent. Verify that pushing on the rod gently offers linear resistance. If not, the damper valve may have been damaged.
Whatever you do to one fork, repeat it on the other.
The order here is wrong, but going back to my other post, you need to check the SAG and see if you have the right springs for you and the bike.
Basically you want to know how much of the spring is used to support the bike, and how much the rider takes by sitting on it. So, from suspension fully extended, measure from fixed straight points to say the axles, or for the front, place a zip tie or velcro strap on the stanchion tube and slide it down to the seal. Raise the nose, lower the zip tie to seal, rest the bike on its own weight and carefully pick it back up and measure the distance from the seal to your marker. Bike needs 10 - 12 mm of sag. Now repeat with the rider. Hope for 28 to 32 mm of sag. See if you can adjust the preload to get these numbers.
Damping - You can't understand fully what rebound damping is doing if the compression damping is too high. Back off the compression so that while standing on the bikes pegs and pounce on it, it nearly bottoms out. Mind you this is not safe for spirited riding. ONLY A TESTING.
REBOUND - Your goal is to adjust the rebound so it doesn't pack down once compressed. Meaning, if you hit a series of bumps, under power and the rear sinks/squats more and more never coming up, you know you can control rebound. Adjust the rebound such that on your worst roads, it is active, meaning it hits a bump and time allows it to return to ride height. This is your starting point where you keep track of clicks and go this is my ZERO. Add and subtracted each time you ride until it works for you and bike and you are planted to the road.
COMPRESSION - Now add back compression so that your worst bump in the road does not allow the suspension to bottom forcing the tires to dribble and throw you in the air. Adjust for 90% of worst case condition for where YOU ride. Add or subtract compression damping to preference.
Front Rear Balance - when safe and at speed, pounce on the pegs. Do both ends sink and return at the same rate? If yes, this is your goal. Achieve balance on both ends and you have a stable predictable machine to ride in the corners over uneven terrain.
Look up my posts on suspension tweaking and SAG. You might need new springs to get this right. Also, let us know if the front dampers come back on line after being serviced with fresh fluid. To high a viscosity oil could be your problem if neither adjust works. If only the compression works, the damper rods need adjusted.
GL