
SANGER_A2
Super Member
After I installed my throttle lock I had to pull the throttle right to the edge of the bar to get the brake levers to actually be usable! This mean that on full lock my throttle cables would stick. Then, I ordered a Cee Bailey screen and discovered that my levers knocked it on lock. Also, I've never been too happy with the way my cables are basically at full stretch with my 30mm SW-Motech risers and Renthal High Road bars. I decided the solution was slightly lower risers. I managed to find some Accossato Universal 20mm Risers for just £18 and couldn't resist! These basically just come with the riser part that fits underneath the bars and some slightly longer bolts. I decided this gave me the reason I needed to get around to painting my stock Yamaha top clamp and then I can sell the SW-Motech risers as a complete set.
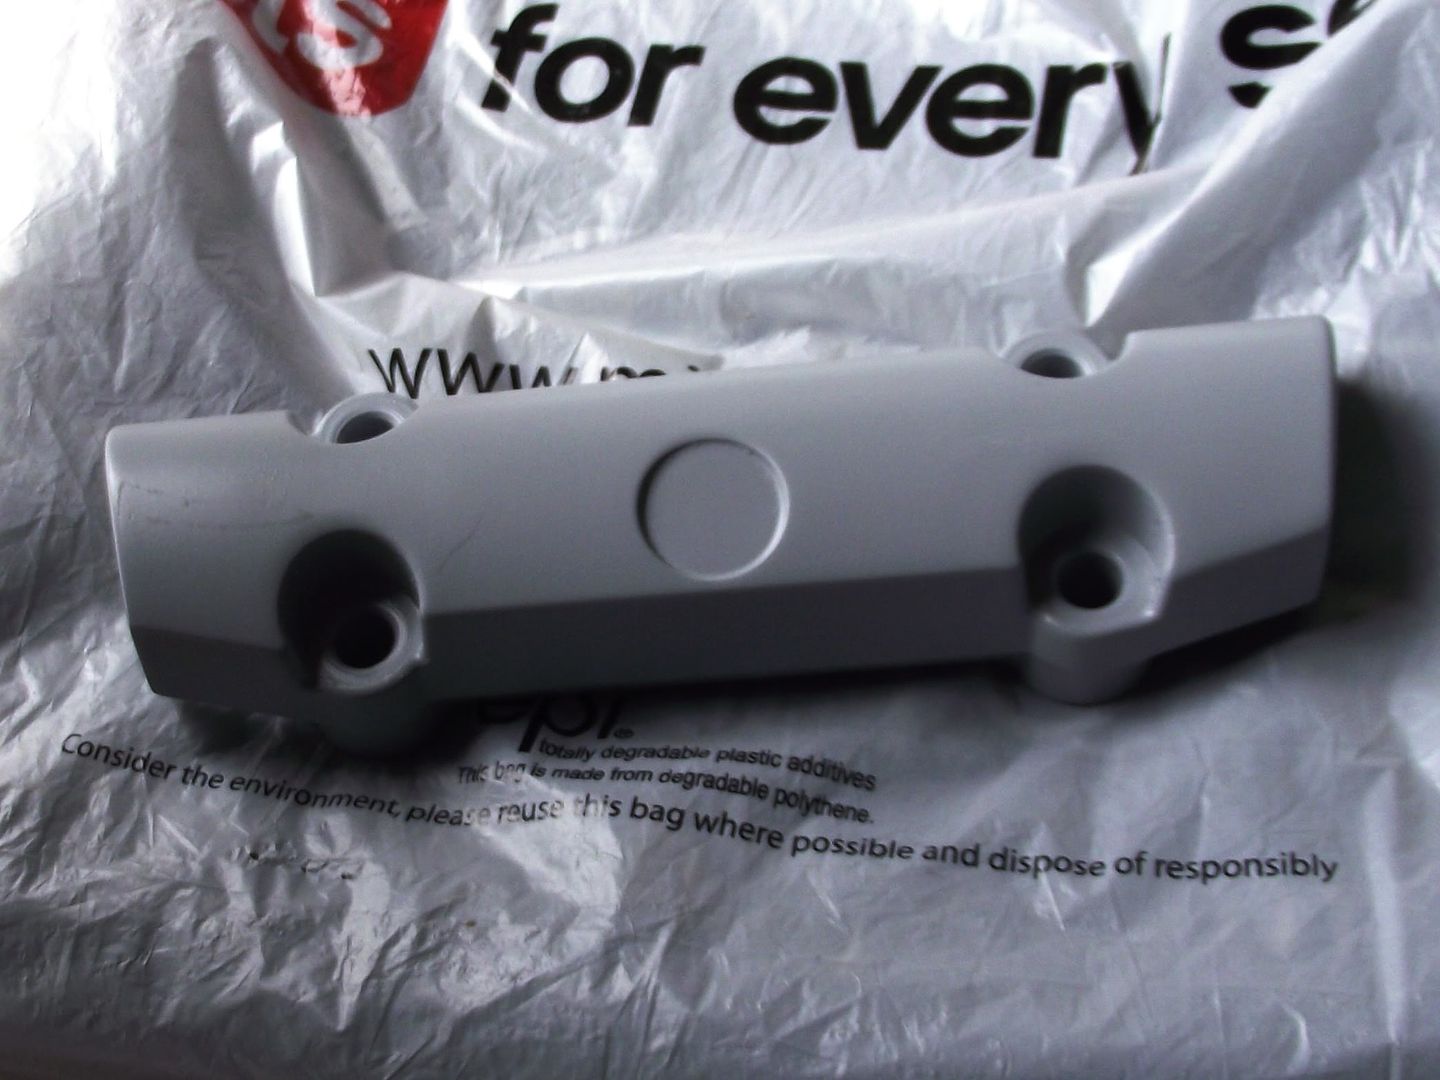
First step was to get the Yamaha badge off the clap and then sand and clean them. Then I applied a couple of layers of primer:-
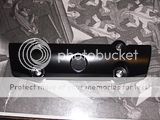
Next I wet-sanded with 500grit sand-paper as this was the finest I had and sprayed a few layers of Plasti-Kote BBQ paint. I really like this stuff as it sticks to most things, hardens nicely and cures quickly in the oven. Here it is after about 20 mins in the oven at 100c:-
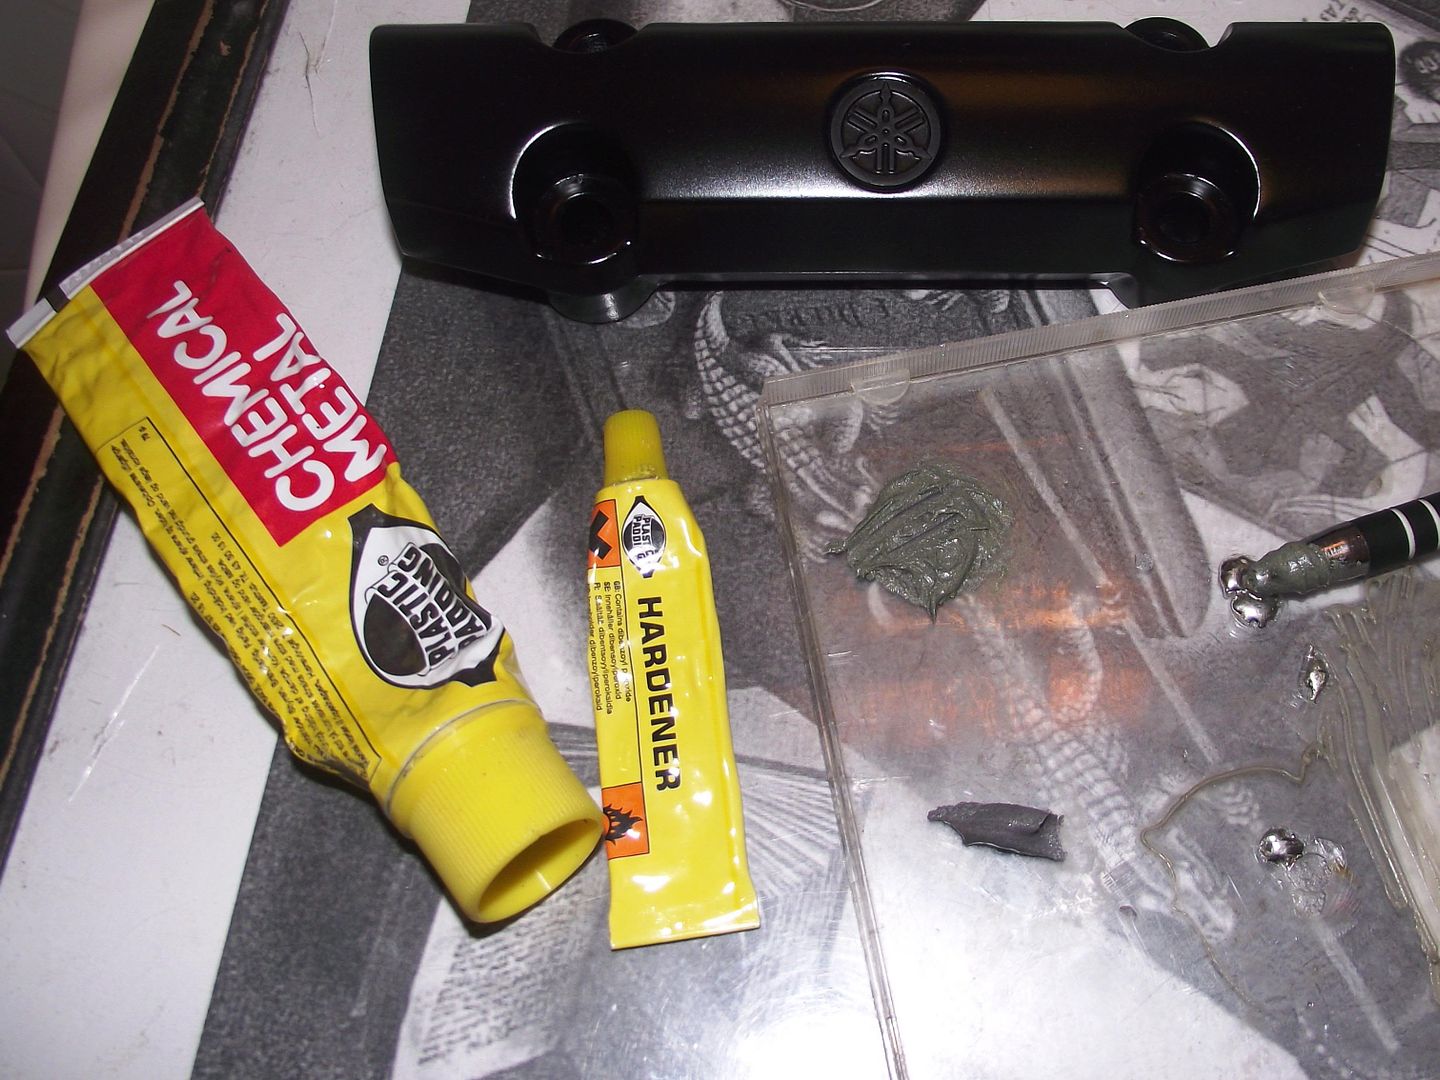
I wanted to use my Araldite 2-part glue to stick the Yamaha badge on (I'd painted & cured that too), but couldn't find it. I just used some liquid metal, which worked just as well:-
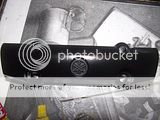
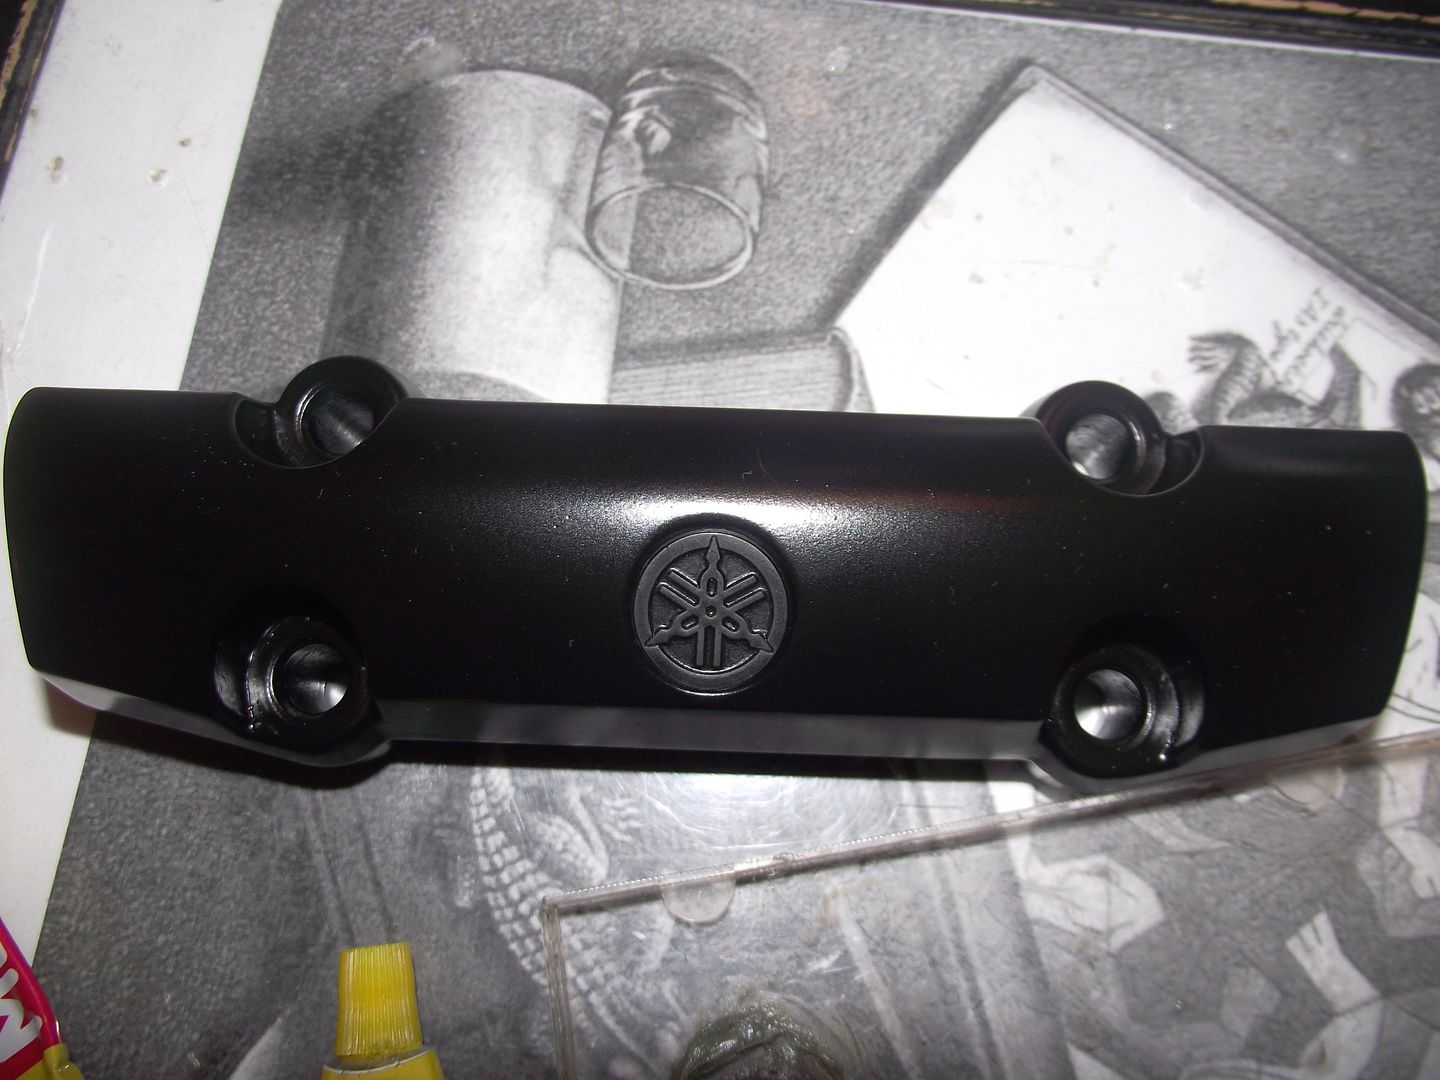
Here is the final product:-
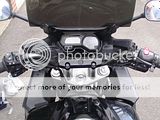
I also sprayed the bolts that came with the risers and used them to install the top-clamp and risers. Looks much more professional than seeing the Renthal logo & adjustment marks on the bars!:-
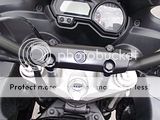
Here's a nice view showing the risers and the top-clamp:-
Although I'm now pulled a little way down than I was before, it's still far better than stock and can have my arms straight and my back just bent a bit. I actually put less weight on my hands for some reason now and let my legs & back take more of the strain - which is much better on long riders. It's actually even a bit quieter with the new screen now as even more of my helmet is out of the stream.
First step was to get the Yamaha badge off the clap and then sand and clean them. Then I applied a couple of layers of primer:-
Next I wet-sanded with 500grit sand-paper as this was the finest I had and sprayed a few layers of Plasti-Kote BBQ paint. I really like this stuff as it sticks to most things, hardens nicely and cures quickly in the oven. Here it is after about 20 mins in the oven at 100c:-

I wanted to use my Araldite 2-part glue to stick the Yamaha badge on (I'd painted & cured that too), but couldn't find it. I just used some liquid metal, which worked just as well:-
Here is the final product:-
I also sprayed the bolts that came with the risers and used them to install the top-clamp and risers. Looks much more professional than seeing the Renthal logo & adjustment marks on the bars!:-
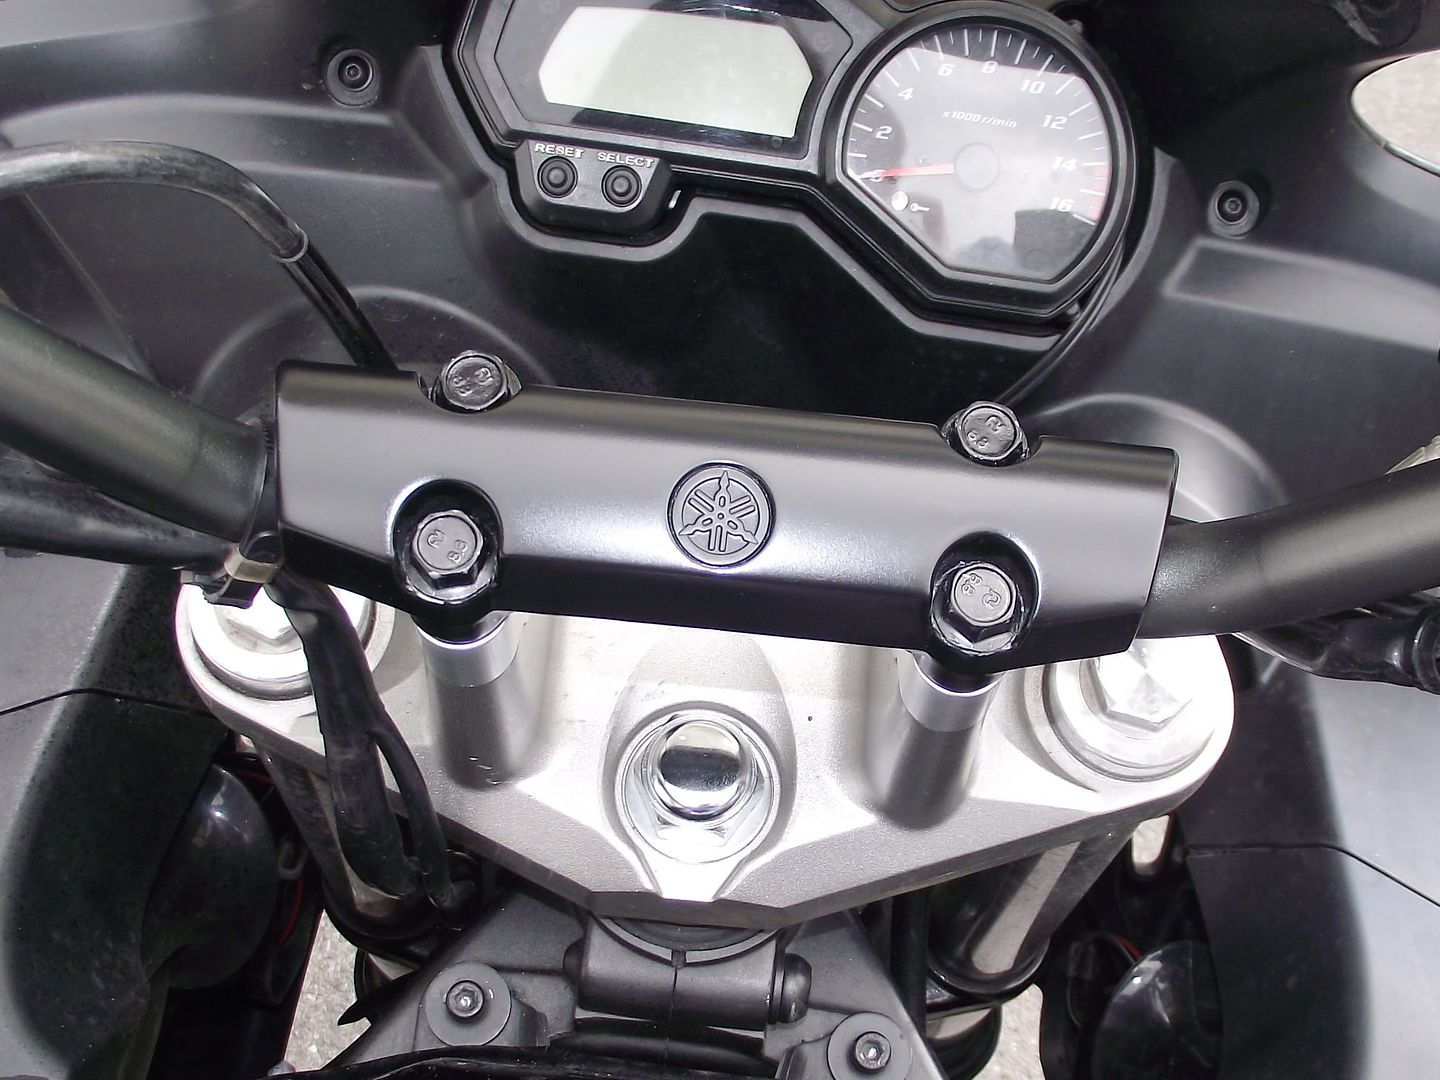
Here's a nice view showing the risers and the top-clamp:-
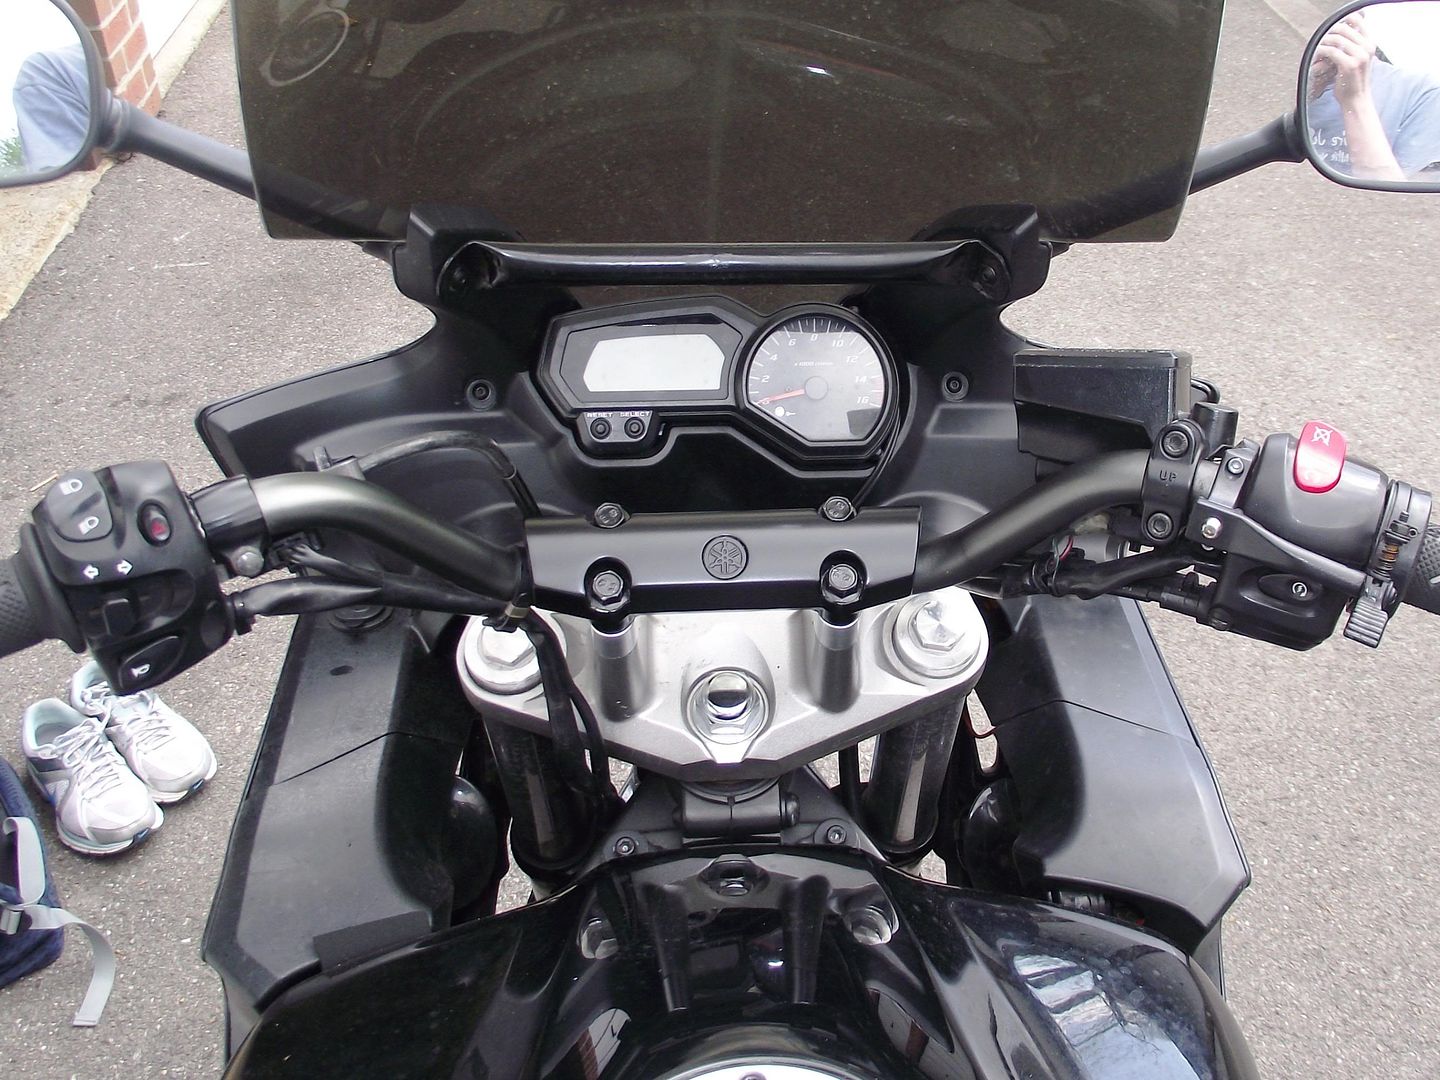
Although I'm now pulled a little way down than I was before, it's still far better than stock and can have my arms straight and my back just bent a bit. I actually put less weight on my hands for some reason now and let my legs & back take more of the strain - which is much better on long riders. It's actually even a bit quieter with the new screen now as even more of my helmet is out of the stream.
