SamuraiMark
n00b++
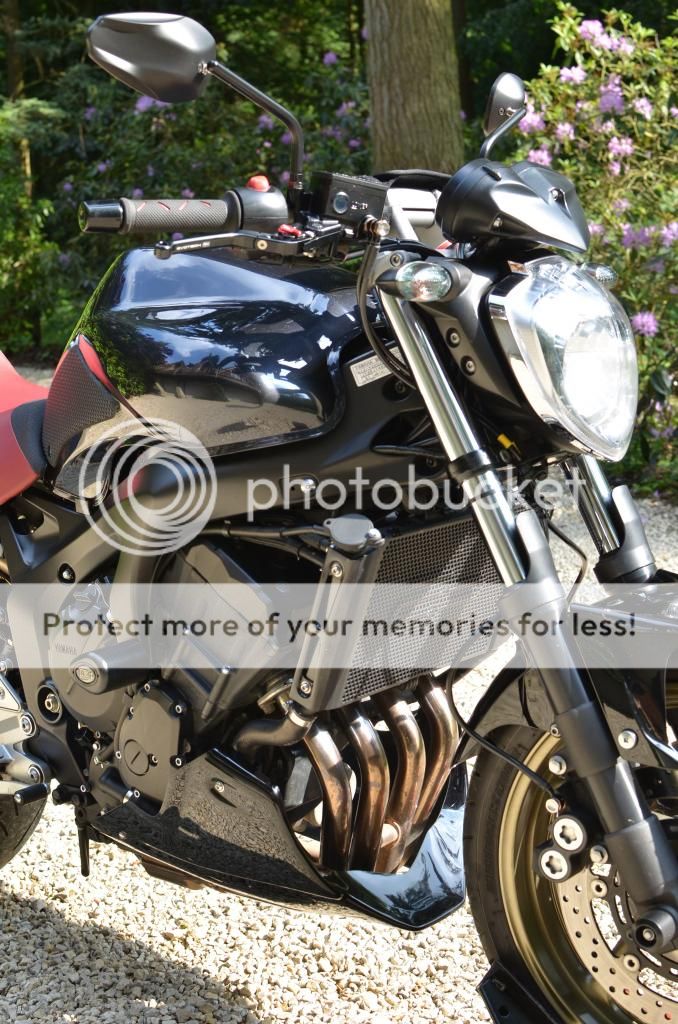
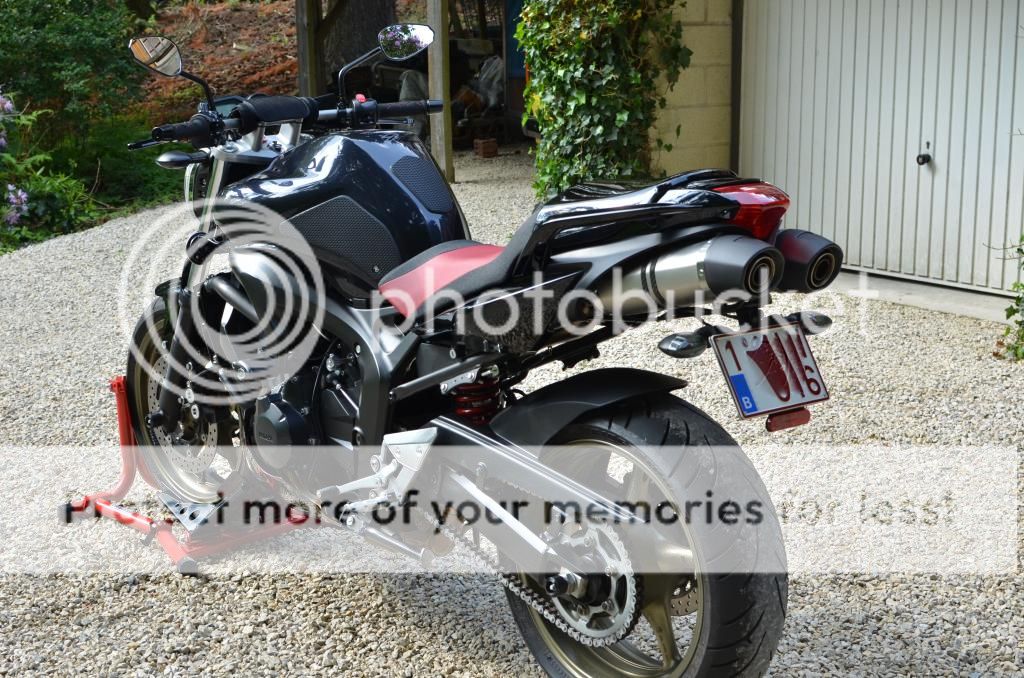
My Fizzer: 2006 FZ6 in Fastest Red, Top Sellerie seat, Givi touring windscreen, Metzeler Z8 rubber, Speigler brake lines.
I've never liked my FZ6 bars. I always found the angle of the bars was such that only the outside edge of my hands was in contact with the bar unless I consciously flexed my wrists out. Any amount of weight on my hands quickly got real uncomfortable. So I decided to give the FZ1 bar mod a shot.
I ordered an FZ1 bar (Part # 2D1-26111-00) through my local Yamaha dealer. There were cheaper options but those options were in the States and I'm in Canada and Canada Customs just loves charging customs fees on everything ("Free trade? No, no ... it's not for Citizen. Free trade is only for BigCo.")
I am not a mechanic. I don't have a garage to work in. But after spending a prodigious amount at my mechanic's shop prepping the bike for my upcoming trip to Prince Edward Island, I thought I'd do this myself. And everyone here says it's an easy mod, which turned out to be true... mostly.
First up I took some time to loosen the bar end weights (8mm allen key) and handlebar bolts (any flathead screwdriver to remove the caps if you still have them, 6mm allen key for the bolts). They were all pretty tight and I needed some extra leverage to get them moving, for which I was able to use a component from the FZ6 toolkit.
My Haynes manual suggested removing the windshield but I did not find that this was necessary. I did remove the interior plastics. You'll need to do this unless you have a stubby #3 Phillips screwdriver. I don't and the only way to get at the screws for the controls is to create some clearance under the controls by removing the plastics.
Aside: The Haynes manual in an exercise in Inception. The steps for a procedure refer to the steps for other procedures which themselves may refer to other procedures ... Painful. The manual also suggested disconnecting the battery but I did not bother with that (royal pain in the ass on this bike).
So I removed the bar end weights (8mm allen key). I bought new grips so I just cut the old ones off. Then I went to work on the right hand controls. There are two screws (#3 Phillips), one shorter in front, one longer in back, that hold a small panel on the bottom of the right-hand control (kill switch, ignition). Once that panel is off, there is another long screw in the front that holds the two halves of the control unit together. Once that screw is pulled you will be able to separate the two halves of the control unit. Disconnect the brake light switch (clear plastic leads underneath in pic below) and you will be able to slide the throttle and control unit off the bar.

Pro tip: Loosen the handlebar bolts enough so you can slide the bar to the left. This will make it much easier (or even possible depending on your cabling) to slide the controls & throttle off the bar. Reverse when working on the left side and use the same technique when installing components on the new bar.
At this point the right hand controls are just left hanging, I left the brake master cylinder in place for now, and went to work on the left.
Again, #3 Phillips screws under the left control unit to separate the halves, disconnect the clutch switch wiring and slide the control unit off the bar. You can loosen the bolt holding the clutch in place (8mm socket or wrench) and slide it off as well. This pic of the clutch switch wiring is crap:

There's a catch you need to depress and then pull the connector out.
Now all that is left is the brake master cylinder. I didn't have anyone standing around to hold it up while I worked so I left it for now. Time to drill a hole in the FZ1 bar.
[Update: After this experience I would be inclined to recommend just cutting or grinding the plastic nub off the right hand control unit. It is not needed and avoids the aggravating mistake of drilling the hole in the wrong place.]
If you look inside the "ring" of the left and right control units, you will see one small plastic nub on each unit that lines up with a matching hole in the FZ6 bar. The FZ1 bar has a matching hole on the left, but the equivalent hole on the right is offset by 90 degrees. Some people doing this mod have just cut the plastic nub off, but drilling an appropriate hole in the FZ1 bar is pretty easy to do.
I have a 14.4V Rona brand variable speed NiMH drill and I used a regular (non-high speed) 11/32 drill bit. Consider using a nail & hammer to create a tiny starter ding. I didn't do this but I imagine it would help. Otherwise, just go nice and slow and let the drill do the work. It took me about 10 - 15 minutes with mild pressure on the drill. Oh, the hole goes on the bottom of the FZ1 bar, in line with the other hole.
[Update: The below "Aside" is flat out wrong. The hole goes about 6" from the end of the bar. After drilling this first hole I then drilled a second. I measured three times, drilled once, and still ****ed it up. Following Carlos840's advice, I drilled the second hole out to an elongated oval. Just dremel the damn plastic nub off.]
Aside: My FZ1 bar had two holes on the right side, one closer to where the throttle grip goes, and one closer to the centre. The hole you are creating for the control unit goes on the bottom of the bar in line with the hole closer to the centre.
With the hole drilled, it is time to swap bars. Loosen the bolts holding the brake master cylinder in place, remove the bolts and metalwork holding the bar in place, slide the brake cylinder and bar apart (keep the brake cylinder upright to avoid any possibly brake fluid leakage), slide the brake cylinder onto the new bar, finger tighten its bolts, put the bar in place and finger tighter the handlebar bolts.
At this point you can reverse course and start re-installing the components. Again, slide the FZ1 bar itself left and right as needed to slide the various components back on the bar. Once the two control units are in place you can set the bar where you want it and tighter it down (see Issues below), then align and tighten down everything else. New grips will go on easy enough with some hairspray.
The end product (see my follow-up post below and updates above re: "Did I screw something up?"):

Issues
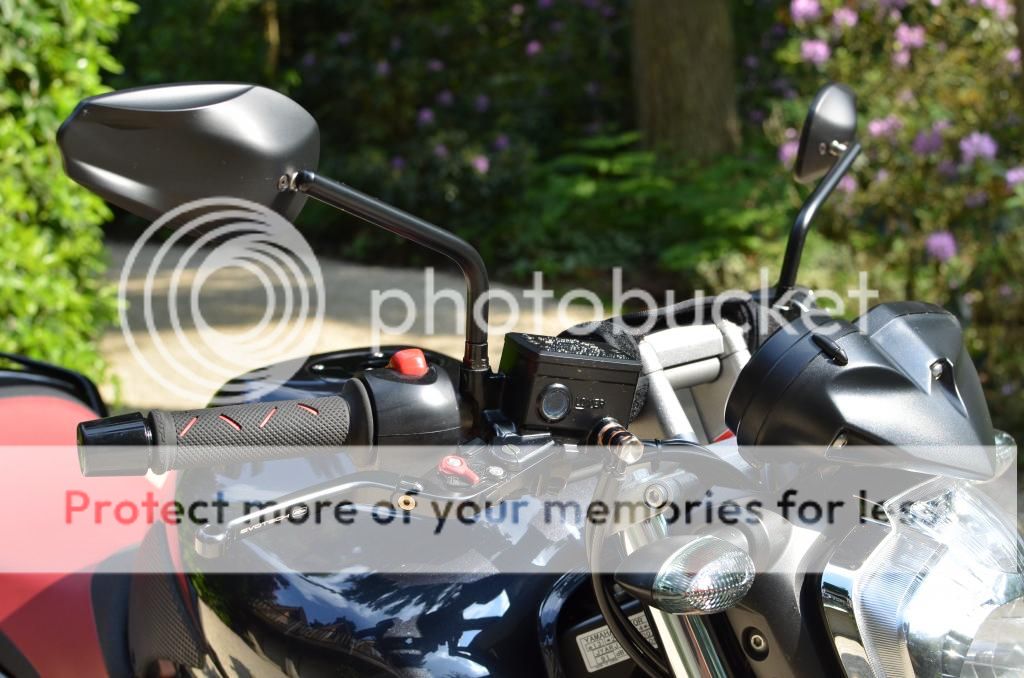
Not really an issue, but FYI for those planning to do this: The FZ1 bar is flat. There is no pull back or pull up bend in the bar like the FZ6. Expect to increase your forward lean.
To have the bar where I want it, I will need risers. Turned all the way to the left, the left control unit touches my tank. For now I have the bars angled up a bit, but that results in a hand-bar angle much like the FZ6 bar (pressure on the outside of the palms) which is the reason I was doing this mod in the first place.
The brake master cylinder now sits at a weird angle that I do not like, canted down to the left slightly. Not sure if it will help when I get the risers and am able to "flatten out" the bar. Visually it doesn't look like the riser will make a difference.
Cramped cabling: without risers, everything is more cramped and cables are under more stress. Probably fine but I don't like it. I ordered the 1" Up, 1" back risers from Twisted Throttle and they should arrive shortly.
I've never liked my FZ6 bars. I always found the angle of the bars was such that only the outside edge of my hands was in contact with the bar unless I consciously flexed my wrists out. Any amount of weight on my hands quickly got real uncomfortable. So I decided to give the FZ1 bar mod a shot.
I ordered an FZ1 bar (Part # 2D1-26111-00) through my local Yamaha dealer. There were cheaper options but those options were in the States and I'm in Canada and Canada Customs just loves charging customs fees on everything ("Free trade? No, no ... it's not for Citizen. Free trade is only for BigCo.")
I am not a mechanic. I don't have a garage to work in. But after spending a prodigious amount at my mechanic's shop prepping the bike for my upcoming trip to Prince Edward Island, I thought I'd do this myself. And everyone here says it's an easy mod, which turned out to be true... mostly.
First up I took some time to loosen the bar end weights (8mm allen key) and handlebar bolts (any flathead screwdriver to remove the caps if you still have them, 6mm allen key for the bolts). They were all pretty tight and I needed some extra leverage to get them moving, for which I was able to use a component from the FZ6 toolkit.
My Haynes manual suggested removing the windshield but I did not find that this was necessary. I did remove the interior plastics. You'll need to do this unless you have a stubby #3 Phillips screwdriver. I don't and the only way to get at the screws for the controls is to create some clearance under the controls by removing the plastics.
Aside: The Haynes manual in an exercise in Inception. The steps for a procedure refer to the steps for other procedures which themselves may refer to other procedures ... Painful. The manual also suggested disconnecting the battery but I did not bother with that (royal pain in the ass on this bike).
So I removed the bar end weights (8mm allen key). I bought new grips so I just cut the old ones off. Then I went to work on the right hand controls. There are two screws (#3 Phillips), one shorter in front, one longer in back, that hold a small panel on the bottom of the right-hand control (kill switch, ignition). Once that panel is off, there is another long screw in the front that holds the two halves of the control unit together. Once that screw is pulled you will be able to separate the two halves of the control unit. Disconnect the brake light switch (clear plastic leads underneath in pic below) and you will be able to slide the throttle and control unit off the bar.
Pro tip: Loosen the handlebar bolts enough so you can slide the bar to the left. This will make it much easier (or even possible depending on your cabling) to slide the controls & throttle off the bar. Reverse when working on the left side and use the same technique when installing components on the new bar.
At this point the right hand controls are just left hanging, I left the brake master cylinder in place for now, and went to work on the left.
Again, #3 Phillips screws under the left control unit to separate the halves, disconnect the clutch switch wiring and slide the control unit off the bar. You can loosen the bolt holding the clutch in place (8mm socket or wrench) and slide it off as well. This pic of the clutch switch wiring is crap:
There's a catch you need to depress and then pull the connector out.
Now all that is left is the brake master cylinder. I didn't have anyone standing around to hold it up while I worked so I left it for now. Time to drill a hole in the FZ1 bar.
[Update: After this experience I would be inclined to recommend just cutting or grinding the plastic nub off the right hand control unit. It is not needed and avoids the aggravating mistake of drilling the hole in the wrong place.]
If you look inside the "ring" of the left and right control units, you will see one small plastic nub on each unit that lines up with a matching hole in the FZ6 bar. The FZ1 bar has a matching hole on the left, but the equivalent hole on the right is offset by 90 degrees. Some people doing this mod have just cut the plastic nub off, but drilling an appropriate hole in the FZ1 bar is pretty easy to do.
I have a 14.4V Rona brand variable speed NiMH drill and I used a regular (non-high speed) 11/32 drill bit. Consider using a nail & hammer to create a tiny starter ding. I didn't do this but I imagine it would help. Otherwise, just go nice and slow and let the drill do the work. It took me about 10 - 15 minutes with mild pressure on the drill. Oh, the hole goes on the bottom of the FZ1 bar, in line with the other hole.
[Update: The below "Aside" is flat out wrong. The hole goes about 6" from the end of the bar. After drilling this first hole I then drilled a second. I measured three times, drilled once, and still ****ed it up. Following Carlos840's advice, I drilled the second hole out to an elongated oval. Just dremel the damn plastic nub off.]
Aside: My FZ1 bar had two holes on the right side, one closer to where the throttle grip goes, and one closer to the centre. The hole you are creating for the control unit goes on the bottom of the bar in line with the hole closer to the centre.
With the hole drilled, it is time to swap bars. Loosen the bolts holding the brake master cylinder in place, remove the bolts and metalwork holding the bar in place, slide the brake cylinder and bar apart (keep the brake cylinder upright to avoid any possibly brake fluid leakage), slide the brake cylinder onto the new bar, finger tighten its bolts, put the bar in place and finger tighter the handlebar bolts.
At this point you can reverse course and start re-installing the components. Again, slide the FZ1 bar itself left and right as needed to slide the various components back on the bar. Once the two control units are in place you can set the bar where you want it and tighter it down (see Issues below), then align and tighten down everything else. New grips will go on easy enough with some hairspray.
The end product (see my follow-up post below and updates above re: "Did I screw something up?"):
Issues
Not really an issue, but FYI for those planning to do this: The FZ1 bar is flat. There is no pull back or pull up bend in the bar like the FZ6. Expect to increase your forward lean.
To have the bar where I want it, I will need risers. Turned all the way to the left, the left control unit touches my tank. For now I have the bars angled up a bit, but that results in a hand-bar angle much like the FZ6 bar (pressure on the outside of the palms) which is the reason I was doing this mod in the first place.
The brake master cylinder now sits at a weird angle that I do not like, canted down to the left slightly. Not sure if it will help when I get the risers and am able to "flatten out" the bar. Visually it doesn't look like the riser will make a difference.
Cramped cabling: without risers, everything is more cramped and cables are under more stress. Probably fine but I don't like it. I ordered the 1" Up, 1" back risers from Twisted Throttle and they should arrive shortly.
Last edited:
") But thanks for the tip. I'm invested in the FZ1 bar for now and I've already blown my moto budget for the year way out of the water. I've spent more so far this year than what the bike cost me, and I may be getting new rubber too. I'll see how the FZ1 bar + riser works for me and maybe look at the FZ6R bar later.
But thanks for the tip. I'm invested in the FZ1 bar for now and I've already blown my moto budget for the year way out of the water. I've spent more so far this year than what the bike cost me, and I may be getting new rubber too. I'll see how the FZ1 bar + riser works for me and maybe look at the FZ6R bar later.