
Taz3
Junior Member
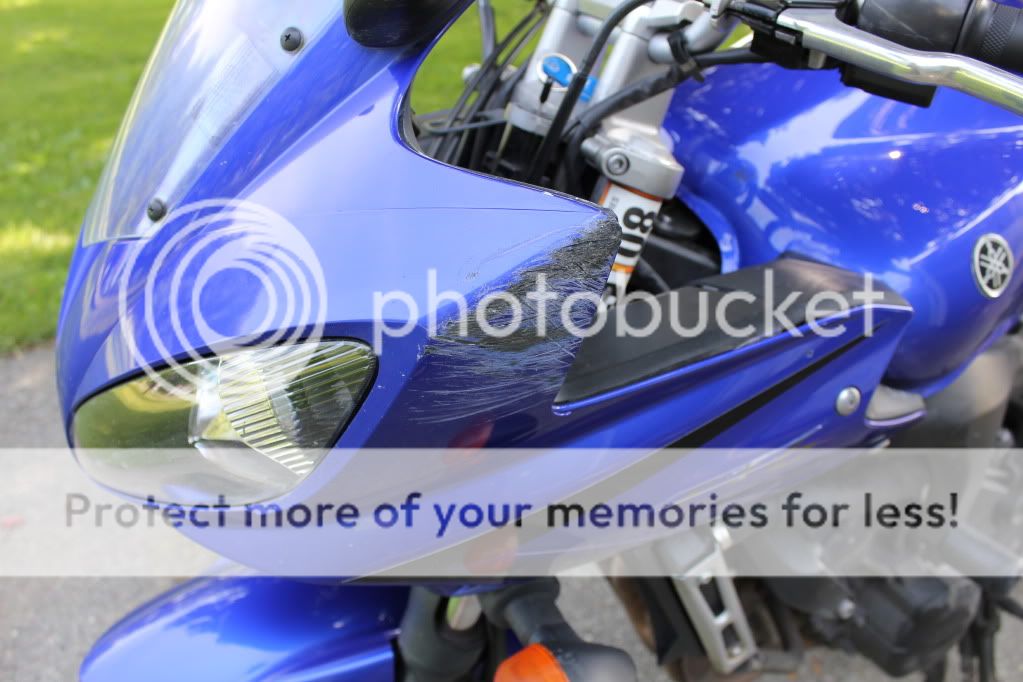
For all of those that have been down; albeit a slight drop in the drive-way or a spill on the street, you have probably had an unsightly rash on the headlight "Mole". For all of those who don't know, the mole is the piece of plastic that surrounds the headlight on the 2007 through 2009 model of the FZ. Yes, this piece is removable; See Items 8 & 10 in the following parts fiche: Metric Parts Outlets' 2007 Yamaha Street Bike FZ6 Parts List
For such a small piece of plastic, these little buggers run about $60.00 each!! I mean, Who has that kind of money??
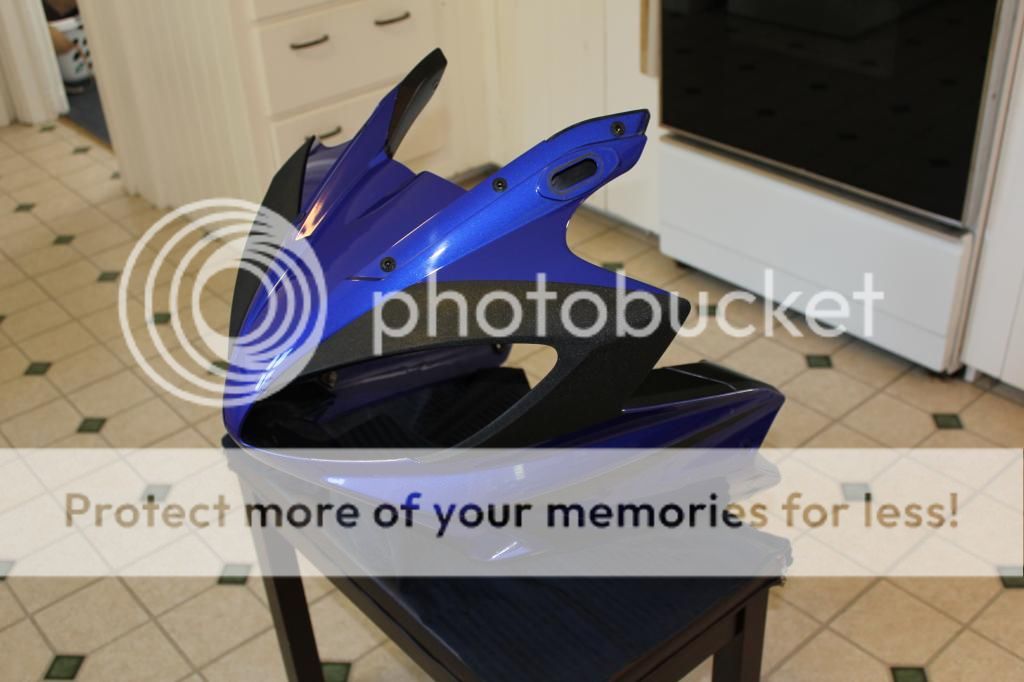
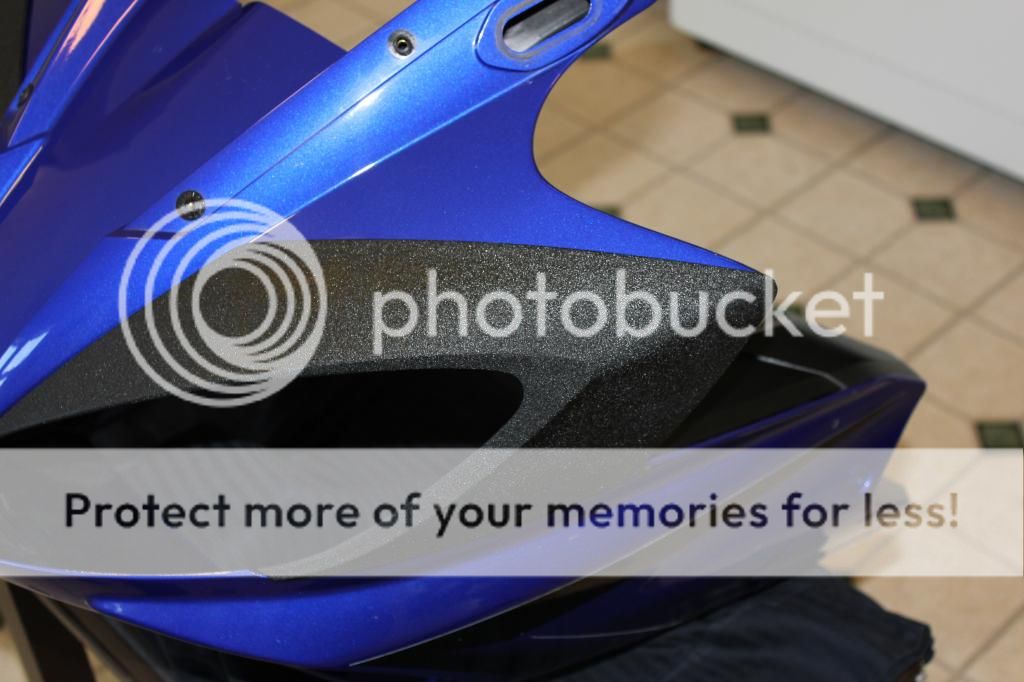
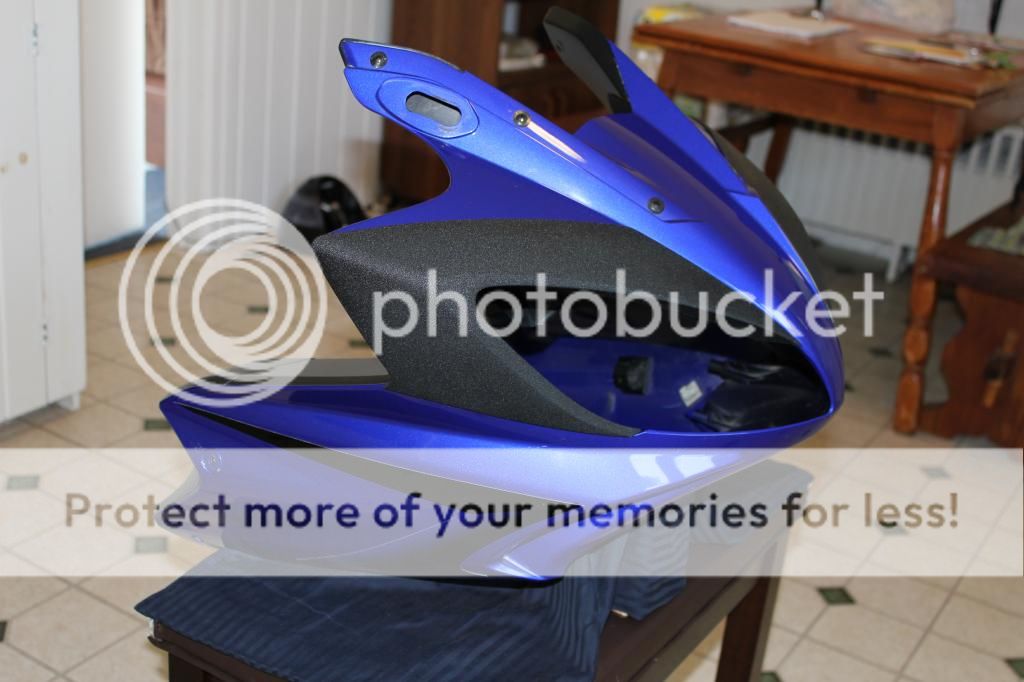
So, here is what I did: Rather than replacing, of having to be skilled in the art of bodywork; I took a lesson from the 2008 Blue Model FZ. This bike uses a matte-black textured finish on the mole which, to me, offers a nice contrast: Photo Below:

What you will need:
-Bondo Glazing & Spot Putty:

-High Quality Automotive Primer
-SEM "Bumper" texture Coating:

-High Quality Automotive Enamel Spray Paint (Semi-Gloss Black)
How-to:
Step 1: Remove the cowling from the bike & remove the moles from the Cowling (I will not go into detail on this step unless there is a request. Pretty straight-forward).
Step 2: Prepare the surface as outlined in the directions on the glazing putty package. I used a heavy grit sandpaper to "smooth" out the scratched surfaces as much as possible. It does not need to be perfect as you will see in the following steps.
Step 3: Apply putty as outlined in the directions of the package. A few light coats is better than one heavy coat as cracking could occur. Once it is dry, sand to a relatively smooth finish trying to match the contours of the original piece.
Step 4: Apply a coat or two of automotive filler primer. This will give a nice base for the remaining finishes.
Step 5: Prepare the primed surface as outlined on the directions of the Textured Bumper Coating. Again, a few swipes with a medium grit sandpaper should do the job. be sure to remove any sanding dust as this could inhibit adhesion of the texture coating.
Step 6: Apply Textured Bumper Coating as Directed. I would recommend practicing on a spare piece of cardboard to get some experience with how this stuff comes out. To me, this stuff is pretty much fool-proof. The texture allows uniform coverage without needing years of painting experience. You may need a couple coats to achieve the desired texture.
Step 7: Once the textured coating has dried, again following the directions on the can, apply the Semi-Gloss black paint. I did three coats just to make sure it was going to last.
Step 8: Allow it to dry, have a beer or six, and sit back with a smile knowing that you spent less than a quarter of what it would have cost to replace one mole.
Step 9: Re-Install the mole to the Cowling, and the cowling to the bike.
Step 10: Post Pictures for the rest of the forum to see!
Before:
After:

Hopefully this will help someone out there!!
Thank You:thumbup:


One thing though, if the scratches are smaller do you really need the bondo and/or putty? I love the texture and look of the colour you used!! I think it'll look great on my red and black baby. I assume you just sanded, then used the texture stuff on the side that didn't need the bondo and putty? Or do you need to put the primer filler on the entire Mole to prep it for the texture?
I really don't know much about any of this kind of stuff, but am really excited to get into it!! Thanks in advance!