Common sense or best practice?

Knabel

Member
Joined
Jun 25, 2009
Messages
28
Reaction score
0
Points
0
Location
Louisville, KY
Visit site

So I grew up on a farm and working in a diesel shop as a gopher (would go for this part, go for that part).
I then went to school for aviation technology (think engineering - some math + lots of hands on stuff).

Through those experiences I learned a LOT about best practices or as my mechanic friend calls them, 'Old indian tricks.'

This may be a thread that is too basic for this forum...who knows. But as I was doing the BD43 headlight mod, I could not help but think of the things I would have screwed up / not done as pretty if I did not have the above experiences.

My vision for this thread is to share some of those best practices (or as a mechanic would say common sense) we all learned but someone else may not know.

Examples:

1. Hold your screw driver by the tip...if you bump the handle into a painted part it won't scratch it.

2. Be VERY careful not to over tighten fasteners. Most on my '09 are into plastic or aluminum, and could be stripped Very easily.

3. When working on your bike, take your time and stay organized. You'll break something if you get in a hurry or loose a screw if you don't keep parts and screws together. Applies doubly to opening those clips that hold the wires together. Give yourself a good 5 min to get them open. If you get frustrated, walk away...good time to get a fresh beer.

4. 3/16" accessory cord about 8 feet long (2 meters) is Great for holding the tank up. Super cheap...can be purchased at most hiking gear stores for less than $3 USD. The cord is soft so it won't scratch the paint.


5. A speeder bar makes removing tank and battery box Super fast. ...it also helps prevent over torquing.
http://www.sears.com/shc/s/p_10153_12605_00944271000P


I am always wanting to learn from other's mistakes or good ideas. Please share your suggestions.
 

CCHOUSEKY

Kentucky Wildcat Fanatic
Joined
Feb 21, 2007
Messages
1,445
Reaction score
20
Points
0
Location
Lexington, KY
Visit site
Great post and I like the picture to show the tank being held up. I use the same method, only with a rubber bungee strap.

It's always good to see other FZ6 owners in Kentucky, too! :thumbup:
 

J-Speed Inc.

Owner of J-Speed Inc.
Joined
Mar 5, 2010
Messages
35
Reaction score
0
Points
0
Location
Ft. Lauderdale, FL
jspeedinc.webs.com
Also, when lifitng and securing the fuel tank, keep a pan or cup (not plastic) underneath the fuel tank vents if the tank is 3/4 full or more. You will have some fuel come through the fuel tank vents and you certainly don't want it on your garage floor or driveway!

Good tips CCHOUSEKY!
 

Cloned

Tiger Trainer
Joined
May 25, 2008
Messages
343
Reaction score
2
Points
0
Location
Flagstaff, AZ
Visit site
I definitely need to do #3 more. I can't count how many times I've looked at the table with a pile of bolts and screws and thought "wait, which one is it?"
 

lostinthe202

Junior Member
Joined
Sep 28, 2009
Messages
25
Reaction score
0
Points
0
Location
Northern VA
Visit site
Good thread,

Having trouble with those rubber grommets, intake boots, or airbox rubbers? Do yourself a favor and take a minute or three with your girl's hairdryer and heat up that rubber, it will slip on like you want with no fuss.

(aimed at my fellow rust-belters) Never-seize is your friend. It's cheap and it's great for fasteners with exposed ends. A tiny bit goes a long way and makes repeat visits a much nicer experience.

Take the time to study how the electrical connectors come apart and be patient in getting them apart. Don't go straight for the screwdriver or pliers. Press and wiggle and repeat, it'll come just wait for it.
 

lonesoldier84

SuperFlanker Moderator
Moderator
Premium Member
Joined
Apr 19, 2008
Messages
4,463
Reaction score
96
Points
0
Location
Surrey, UK
Visit site
1) When doing research before a do-it-yourself, make sure you are specific when asking questions.

example: an O-ring is the larger round rubber ring NOT the small metal washer....so you are not supposed
to put the metal washer inside your new oil filter.....and you DEFINITELY dont need to coat it with a small
amount of fresh oil.....because no amount of oil will help you screw the oil filter onto the bike as long as
the metal washer is there.........even if you try for 20 minutes until your back hurts..............and no it
doesnt matter that the metal washer fits PERFECTLY into the space inside the oil filter..........:

eg:

IMG_0908.jpg


2) Make sure you have the proper equipment.

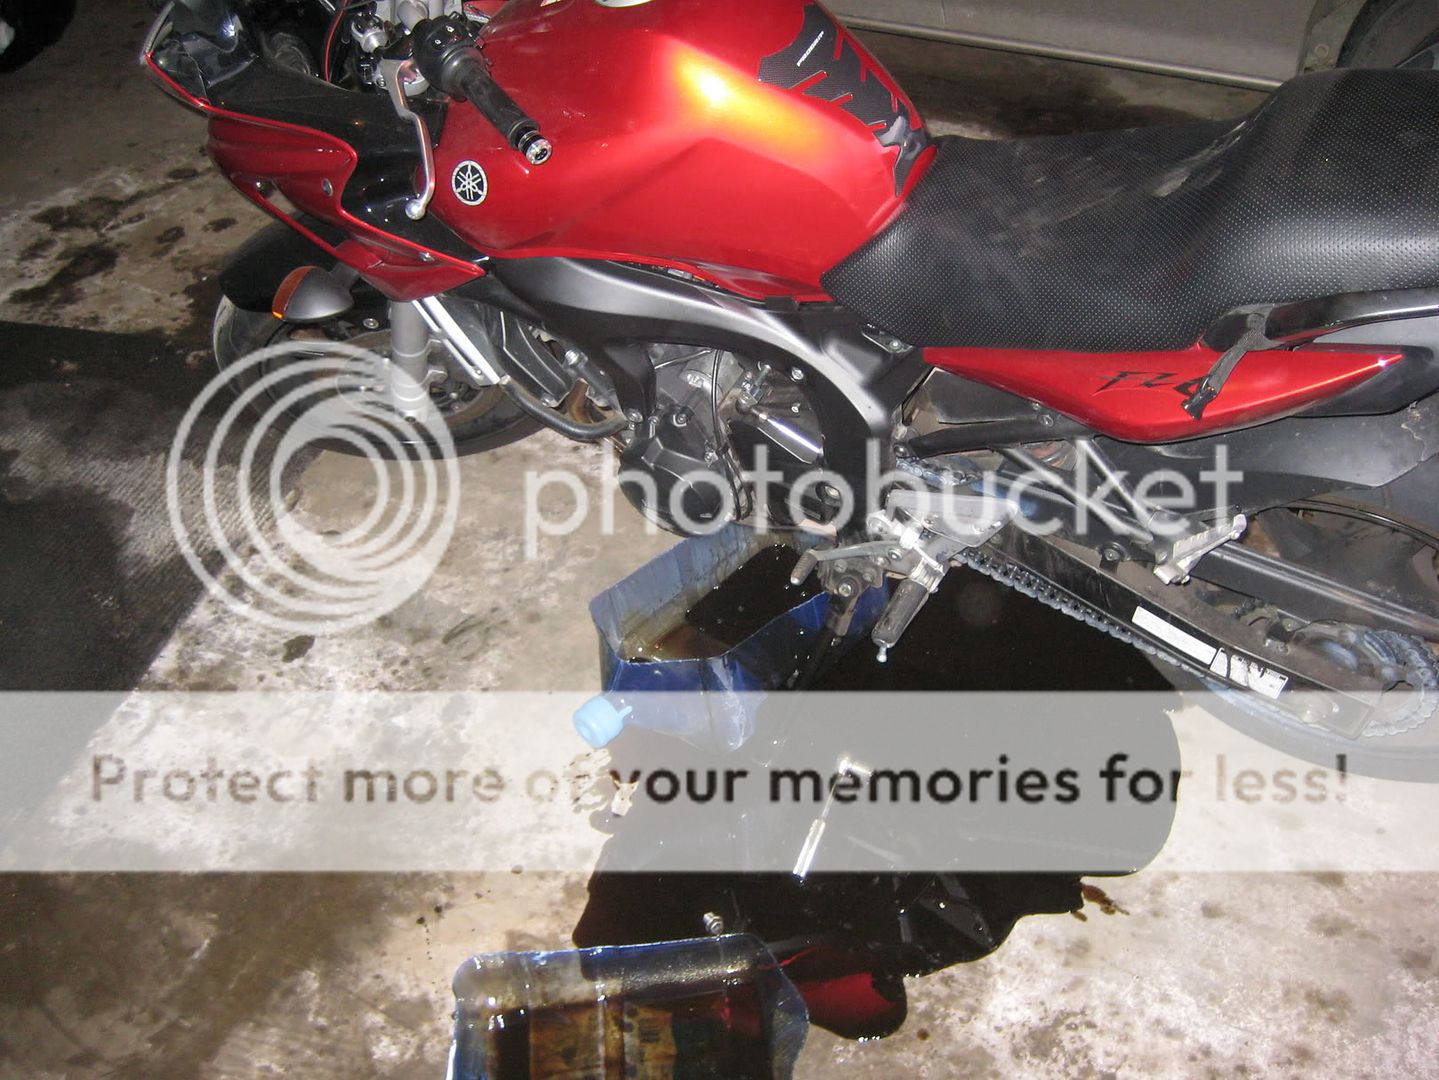
example: using a small pan to collect 2 liters of oil and not having a back-up handy except for
something all the way across the garage will result in things like this:

IMG_0902.jpg


IMG_0903.jpg


3) Be careful not to break your wrists when you bang them into your engine casing
trying to pry off an oil filter:

IMG_0925.jpg


4) When you are done, dont store your used motor oil in a Dasani bottle as a memento because
otherwise several months down the road it will expand being heated by your
central heating, and then explode and spill onto your carpet because you filled it to the brim.

IMG_0928.jpg


then when you're FINALLY done...........

go out and celebrate a job well done with a wheelie!!!

aaaIMG_0248.jpg


:BLAA:
 
Last edited:

TownsendsFJR1300

2007 FZ6
Site Supporter
Joined
Feb 7, 2009
Messages
12,536
Reaction score
1,182
Points
113
Location
Cape Coral, Florida, USA
Visit site
ANY electrical connector (or bulb bases) I come in contact with gets a coat of Di-lectric grease in the connector. It'll prevent any moisture from getting inside and causing electrical gremlins down the road. Battery terminals/grounds, etc too....

Invest in a good carb sync tool, it WILL pay for itself in one use (I bought /use the carb mate-no fluids)

Prior to heat shrinking any electrical soldiered joint, apply (again) di-lectric grease inside.

When rebuilding/cleaning the inside of brake calibers, use brake grease on the pistons, seals, etc. I use Permatex brand. It is designed specifically for use on brake pistons/seals etc. It also makes re-assembly easier and much less likely to roll a seal. I also invested in a professional aluminum body-(rebuildable) Mighty Vac. Having the correct tool and working by yourself makes brake, hydralic clutch bleeding a piece of cake...
 

deeptekkie

Junior Member
Joined
Sep 16, 2009
Messages
823
Reaction score
7
Points
0
Location
TN
Visit site
If I can reply here for LOL at lonesoldier84's comments, I'd like to commend you both on some great pics. While mine isn't a maintence suggestion, one trick I learned quickly was about a cold start up. Several folks have posted about our bike's TERRIFIC CLUNK when you first put them into gear shortly after a cold start. (Mine did too)
What I've begun to do is snick it into gear first, THEN, (with the clutch lever pulled in), start it. (I've only done this while it's up on the center stand)
On some bikes with wet clutches the clutch plates stick together when parked for a period of time. (Our's is obviously one of them) By starting them this way the plates "unbond" and all is well almost immediately. (Just remember that the bike is still in gear before you drop the clutch! : ) Thanks for your tips!
 
Last edited:

aj_fz6

n00b
Joined
Nov 4, 2008
Messages
78
Reaction score
0
Points
0
Location
Herndon, VA
Visit site
Spend a few extra bucks/quid/euros on a quality torque wrench. I stripped 2 bolts before I learned that lesson. I was using a cheap generic brand torque wrench and I'm lucky that I only ruined 2 bolts. Now I have two nice Craftsman torque wrenches, one for big jobs and a smaller one for the tight areas.
 

FizzySix

Drunken Philosopher
Joined
May 13, 2008
Messages
449
Reaction score
47
Points
28
Location
Rochester NY
Visit site
Also, when lifitng and securing the fuel tank, keep a pan or cup (not plastic) underneath the fuel tank vents if the tank is 3/4 full or more. You will have some fuel come through the fuel tank vents and you certainly don't want it on your garage floor or driveway!

You also don't want have the overflow hose to soak your wife's foot/sneaker with gasoline...the same woman who is patiently holding up the tank while you search the garage for a scrap of wood to prop it up with.

Not that this has ever happened to me...;)

+1 on the "take your time and stay organized!" comments. Estimate how much time it will take you to do the work, and then double it. If that doesn't fit in between everything else you committed to do that weekend, then you either don't have time to do it, or it can wait until next weekend. The fizz is remarkably patient. :D
 
Top