
SANGER_A2
Super Member
These things are awesome! Totally worth doing, it makes the bike much better in almost all ways!
First of all, I thought I would list all the other stuff on the web about these springs and get it out of the way first:-
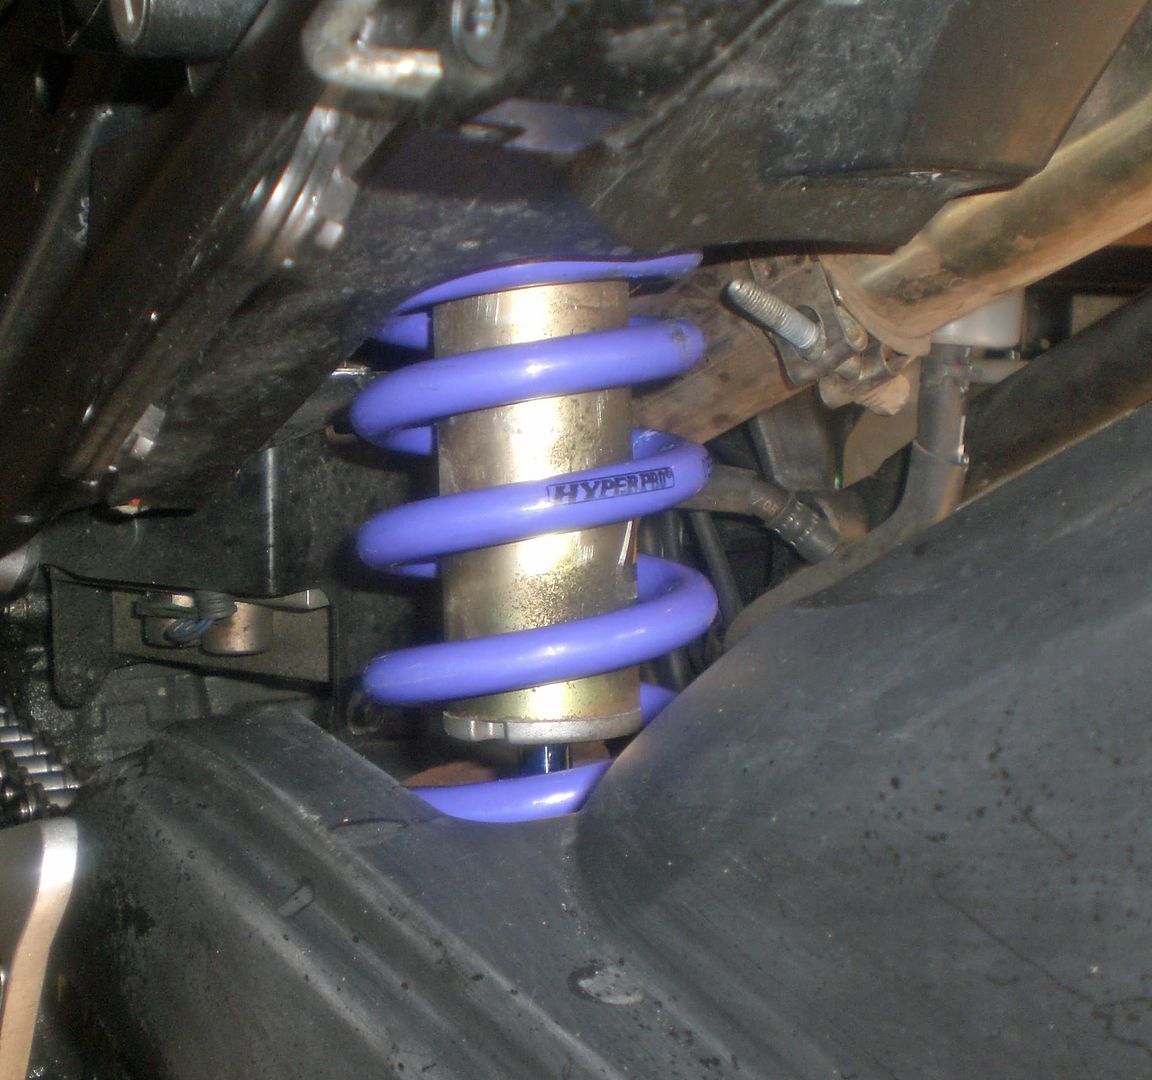
I didn't take any pictures during the install, but it was pretty easy to do following my Haynes manual and the Hyperpro instructions. The rear spring presents the only major obstacle. It was eventually too much effort for me as for many others! The dumb Yamaha engineers don't seem to lube the bushing that goes through the swingarm and the bottom shock mount and it seizes completely. Because the bushing is round and strong, it is very hard to get a grip on and pull out. There seem to two ways to do it - one is to dremel the bushing so you get flat surfaces to grip on (which means a new bushing is needed afterwards) the other is to use heat and elbow-grease.
The method I tried and gave up on is to heat up the suspension arm around the bush until it expands enough to very slowly pull out the bushing with vice grips. I tried this for 20 mins or so with no luck. I didn't want to get it too hot in case i damaged it. Afterwards, I found that it's very hard to damage the bearings etc with heat. I would probably just have needed to replace the grease.
In the end, I took it to a Yamaha dealership and they charged me for two hours labour to get off the rear wheel, get the bush out, compress the existing spring, put the new spring on, put the shock back on the bike and put the rear wheel back on. I didn't really have the tools or experience to do it myself, I'm just annoyed it cost me so much!
The front springs are easy. The steps are:-
I had to make up a tool to remove the front wheel. It's similar to one already shown on here. basically it was a bolt, a nut and two locking nuts. I then used a normal wrench on this to get off the front wheel. I had to stand on the wrench to get it loose though. This is the hardest bit really!
After all this messing around, I was wondering if it would be worth it. It totally is. There are a couple of negatives, which I will go into later, but basically the bike is just better now. Not just for short people like me either. It's a better bike all over.
Before, pushing it around was awkward - especially backwards or up and incline, now it's easy. I can flat-foot without even having to bend my legs! Before I was only able to get the front half of my foot down.
The ride is improved because the centre of gravity of the bike is lower. It just feels better this way, it's easier to control, makes me a more confident rider and doesn't feel top-heavy like it used to. This is nothing to do with me being able to touch the ground, it's just the bike needed to be close to the ground!
There are two negatives with this though, I was warned about both beforehand anyway. The bike is a bit too upright on the side-stand now. It stands up, but I'm not as confident about it as I was and it will only work on a flat or sloping down. I'm going to get it shortened a cm or two and welded later on. The second is a problem with progressive rear springs: it just feels too bouncy and uncertain! I used to have the stock spring set to a preload of 4, which was perfect for normal street riding and also knee-dragging. I was told in the Hyperpro instructions to reduce the preload by 2. I tried this and it was far too bouncy and mushy. I've upped the preload to 3 now and it's still not perfect. Progressive rear springs are great for absorbing bumps etc for comfort - but they aren't great for aggressive riding.
Despite the negatives and the cost of £170 for the springs and for the 2 hours of labour I had to pay for the rear spring changeover I would totally do this again! It makes the bike even more my own and a better ride. I wish I'd spent more time heating and working on the rear shock myself instead of having to pay someone else to do it.
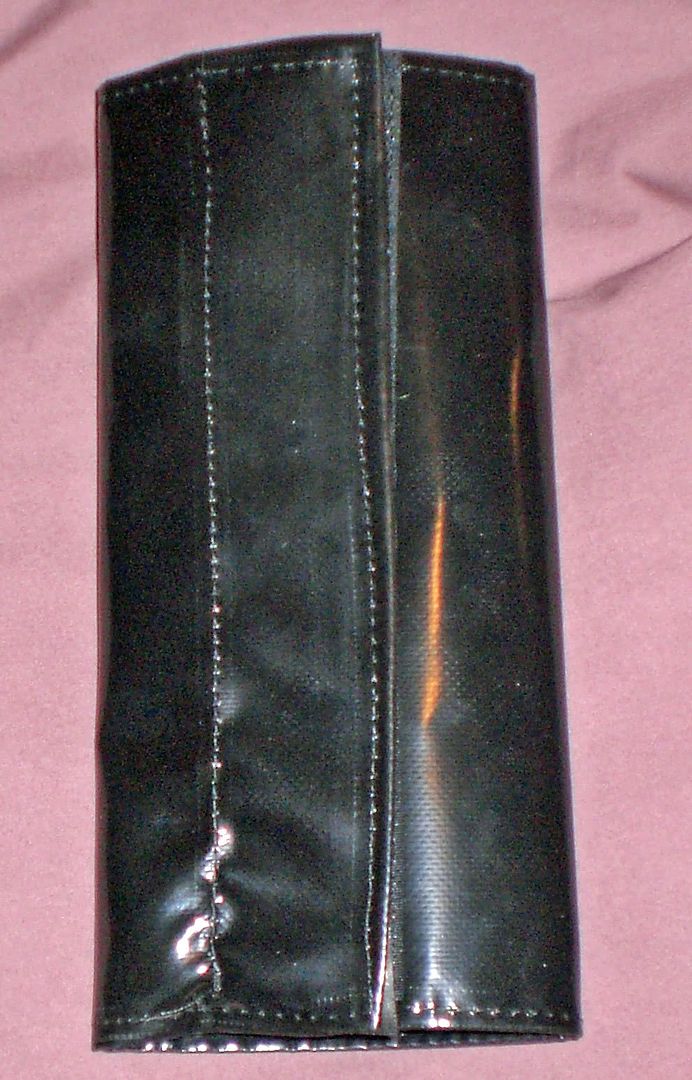
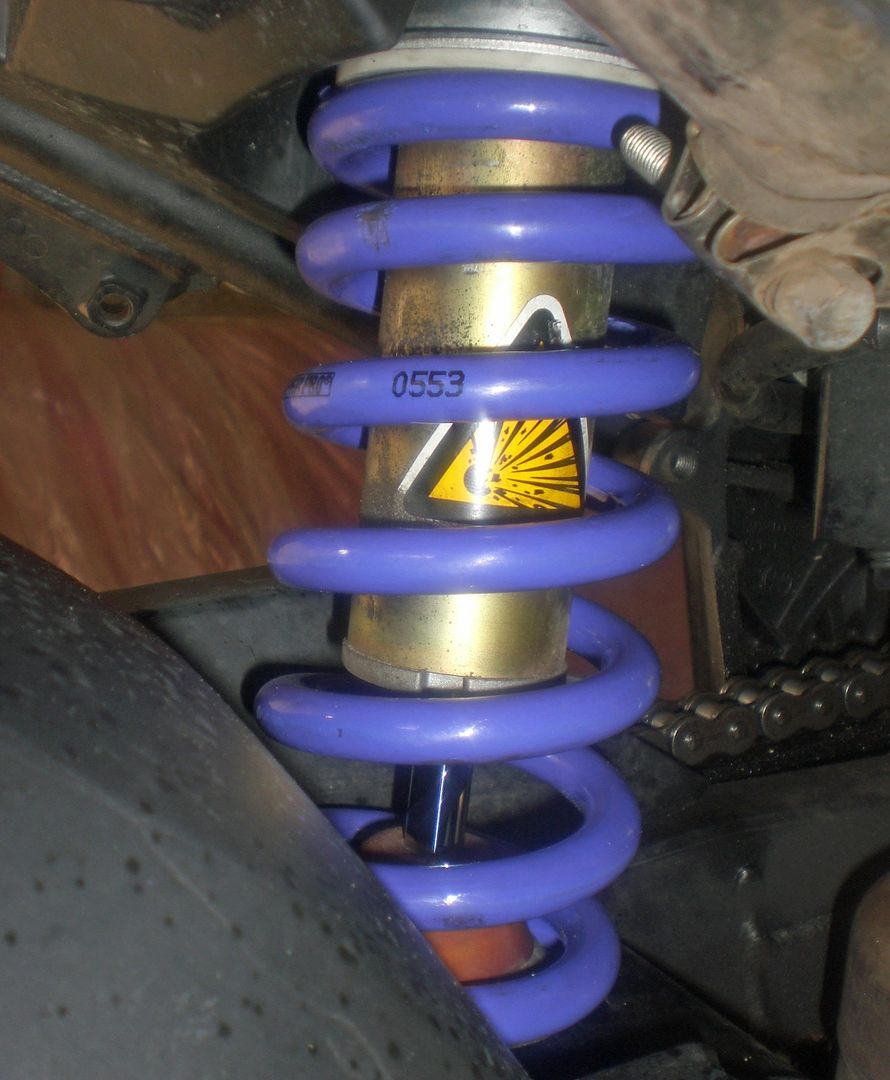
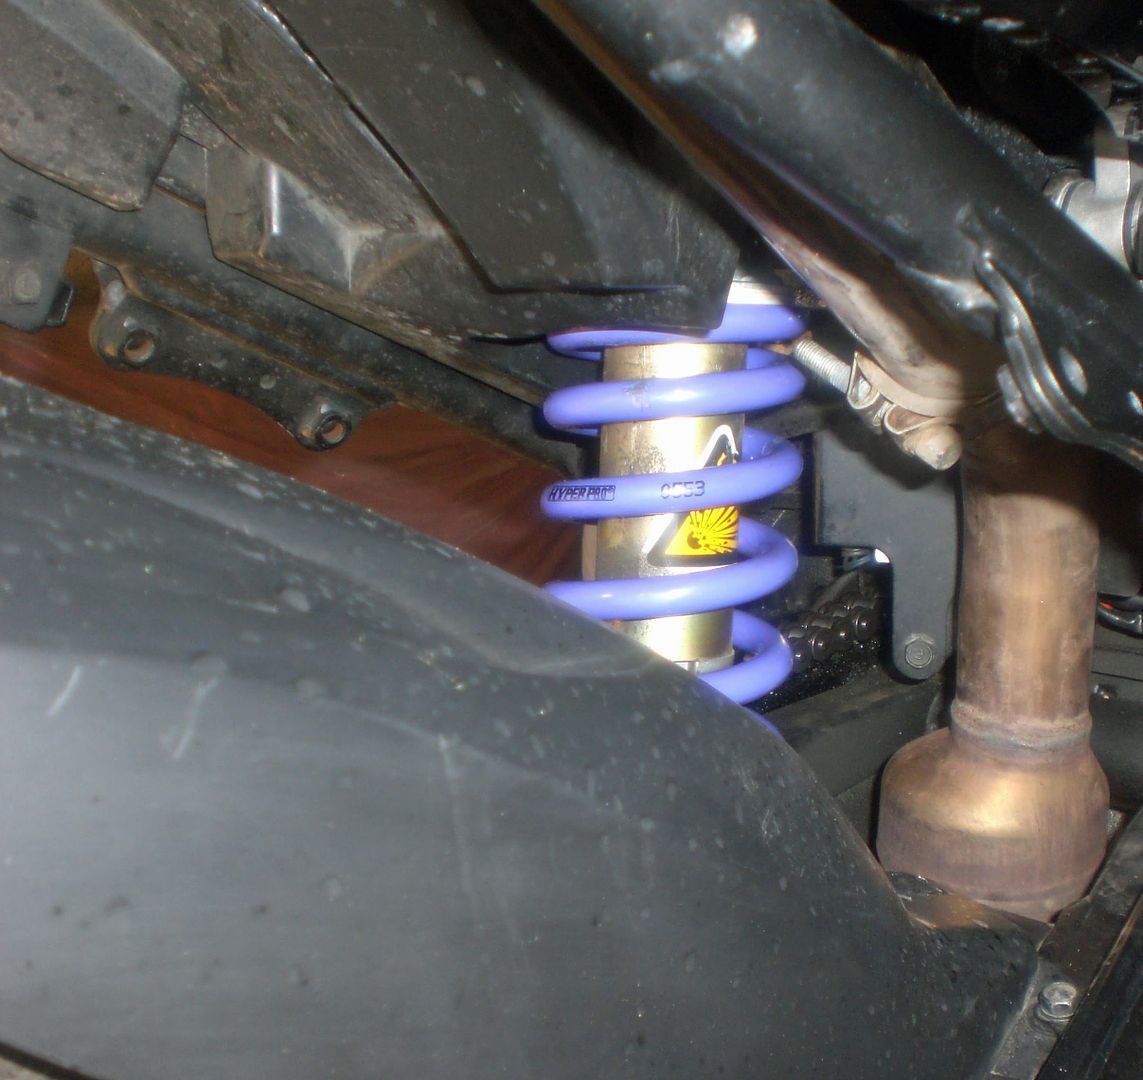
I ordered a nice shock cover on ebay to protect and hide the ugly purple rear spring:-

It just joins up using velcro:-

It's waterproof and strong:-

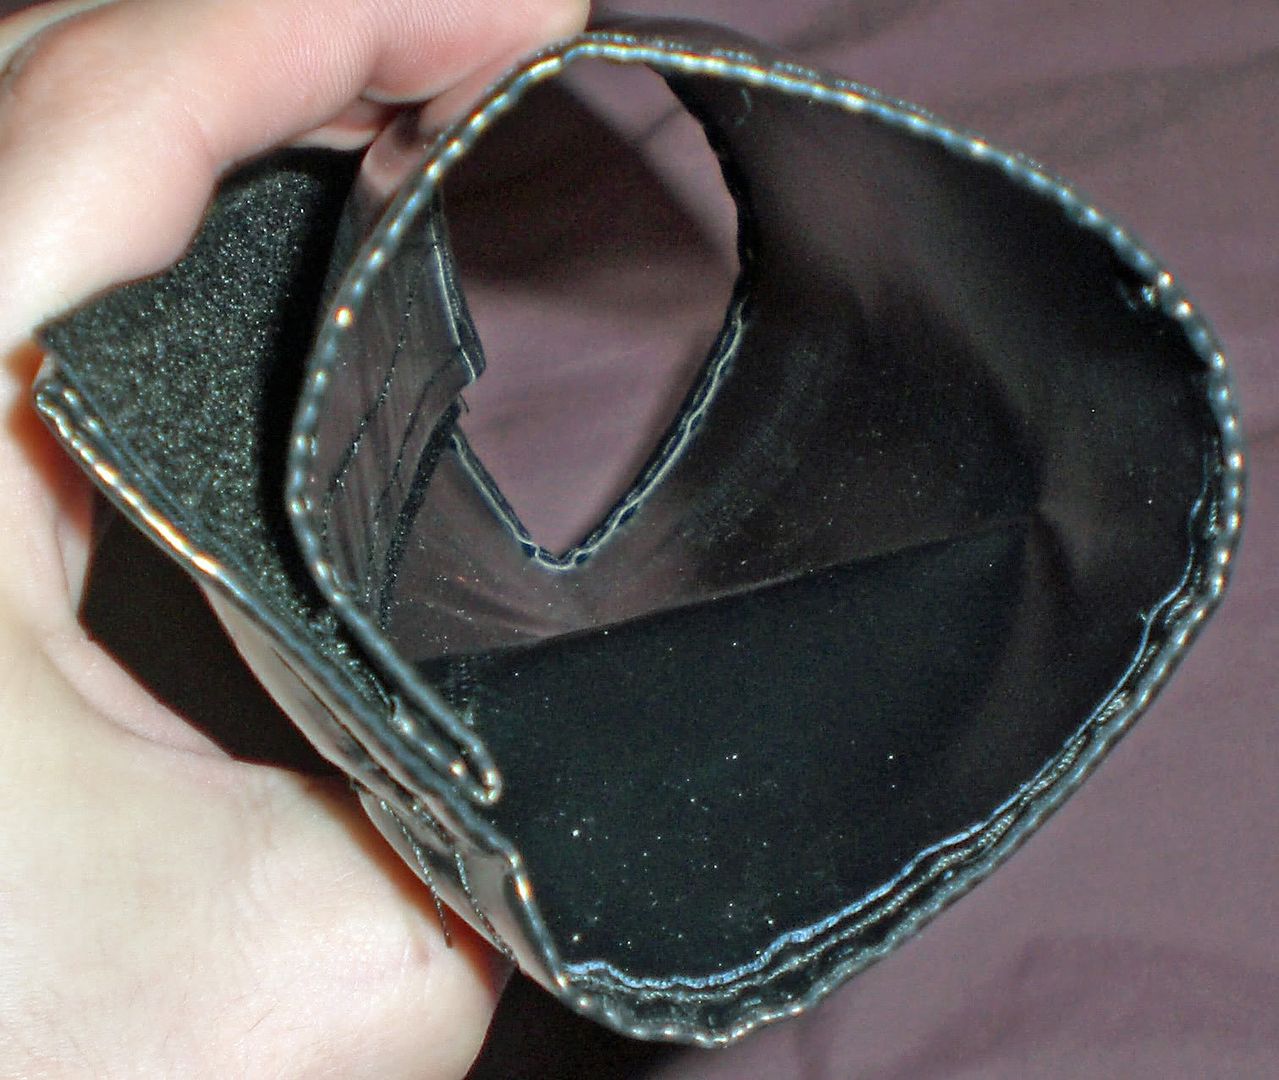
It's designed for a spring circumference of 25cm and fits on the spring fine:-

Here it is installed over the new spring:-

And from another angle:-

And here you can see what it's hiding:-

First of all, I thought I would list all the other stuff on the web about these springs and get it out of the way first:-
- There is a post about the install process from Noodle here that goes into quiet a lot of detail.
- There is lots of detail about solving the biggest problem with this install here.
- There are a few useful pics of them posted in a forsale thread here.
- The official Hyperpro page on the springs is here.
- The first part of the install manual is here and the second part is here. The second part includes excellent descriptions of sag etc and how to set it in general.
I didn't take any pictures during the install, but it was pretty easy to do following my Haynes manual and the Hyperpro instructions. The rear spring presents the only major obstacle. It was eventually too much effort for me as for many others! The dumb Yamaha engineers don't seem to lube the bushing that goes through the swingarm and the bottom shock mount and it seizes completely. Because the bushing is round and strong, it is very hard to get a grip on and pull out. There seem to two ways to do it - one is to dremel the bushing so you get flat surfaces to grip on (which means a new bushing is needed afterwards) the other is to use heat and elbow-grease.
The method I tried and gave up on is to heat up the suspension arm around the bush until it expands enough to very slowly pull out the bushing with vice grips. I tried this for 20 mins or so with no luck. I didn't want to get it too hot in case i damaged it. Afterwards, I found that it's very hard to damage the bearings etc with heat. I would probably just have needed to replace the grease.
In the end, I took it to a Yamaha dealership and they charged me for two hours labour to get off the rear wheel, get the bush out, compress the existing spring, put the new spring on, put the shock back on the bike and put the rear wheel back on. I didn't really have the tools or experience to do it myself, I'm just annoyed it cost me so much!
The front springs are easy. The steps are:-
- Take off the front wheel
- loosen the top bolts on the forks
- loosen the pinch bolts on one fork
- take off the fork
- Take the top off the fork
- take out the washer, spacer and stock spring
- empty out the manky stock fork oil
- push down the fork
- pour in the new 15w oil
- pump the fork to get out the air
- top up the oil until it's 12cm below the top of the fork
- put the new spring in with the tighter coils at the top
- put in the original spacer, then washer
- put the top back on the fork and tighten as much as you can by hand
- put the fork back on the bike raised 5mm from the stock position
- tighten the pinch bolts using a wrench
- repeat with the other fork
- put the front wheel back on
I had to make up a tool to remove the front wheel. It's similar to one already shown on here. basically it was a bolt, a nut and two locking nuts. I then used a normal wrench on this to get off the front wheel. I had to stand on the wrench to get it loose though. This is the hardest bit really!
After all this messing around, I was wondering if it would be worth it. It totally is. There are a couple of negatives, which I will go into later, but basically the bike is just better now. Not just for short people like me either. It's a better bike all over.
Before, pushing it around was awkward - especially backwards or up and incline, now it's easy. I can flat-foot without even having to bend my legs! Before I was only able to get the front half of my foot down.
The ride is improved because the centre of gravity of the bike is lower. It just feels better this way, it's easier to control, makes me a more confident rider and doesn't feel top-heavy like it used to. This is nothing to do with me being able to touch the ground, it's just the bike needed to be close to the ground!
There are two negatives with this though, I was warned about both beforehand anyway. The bike is a bit too upright on the side-stand now. It stands up, but I'm not as confident about it as I was and it will only work on a flat or sloping down. I'm going to get it shortened a cm or two and welded later on. The second is a problem with progressive rear springs: it just feels too bouncy and uncertain! I used to have the stock spring set to a preload of 4, which was perfect for normal street riding and also knee-dragging. I was told in the Hyperpro instructions to reduce the preload by 2. I tried this and it was far too bouncy and mushy. I've upped the preload to 3 now and it's still not perfect. Progressive rear springs are great for absorbing bumps etc for comfort - but they aren't great for aggressive riding.
Despite the negatives and the cost of £170 for the springs and for the 2 hours of labour I had to pay for the rear spring changeover I would totally do this again! It makes the bike even more my own and a better ride. I wish I'd spent more time heating and working on the rear shock myself instead of having to pay someone else to do it.
I ordered a nice shock cover on ebay to protect and hide the ugly purple rear spring:-
It just joins up using velcro:-
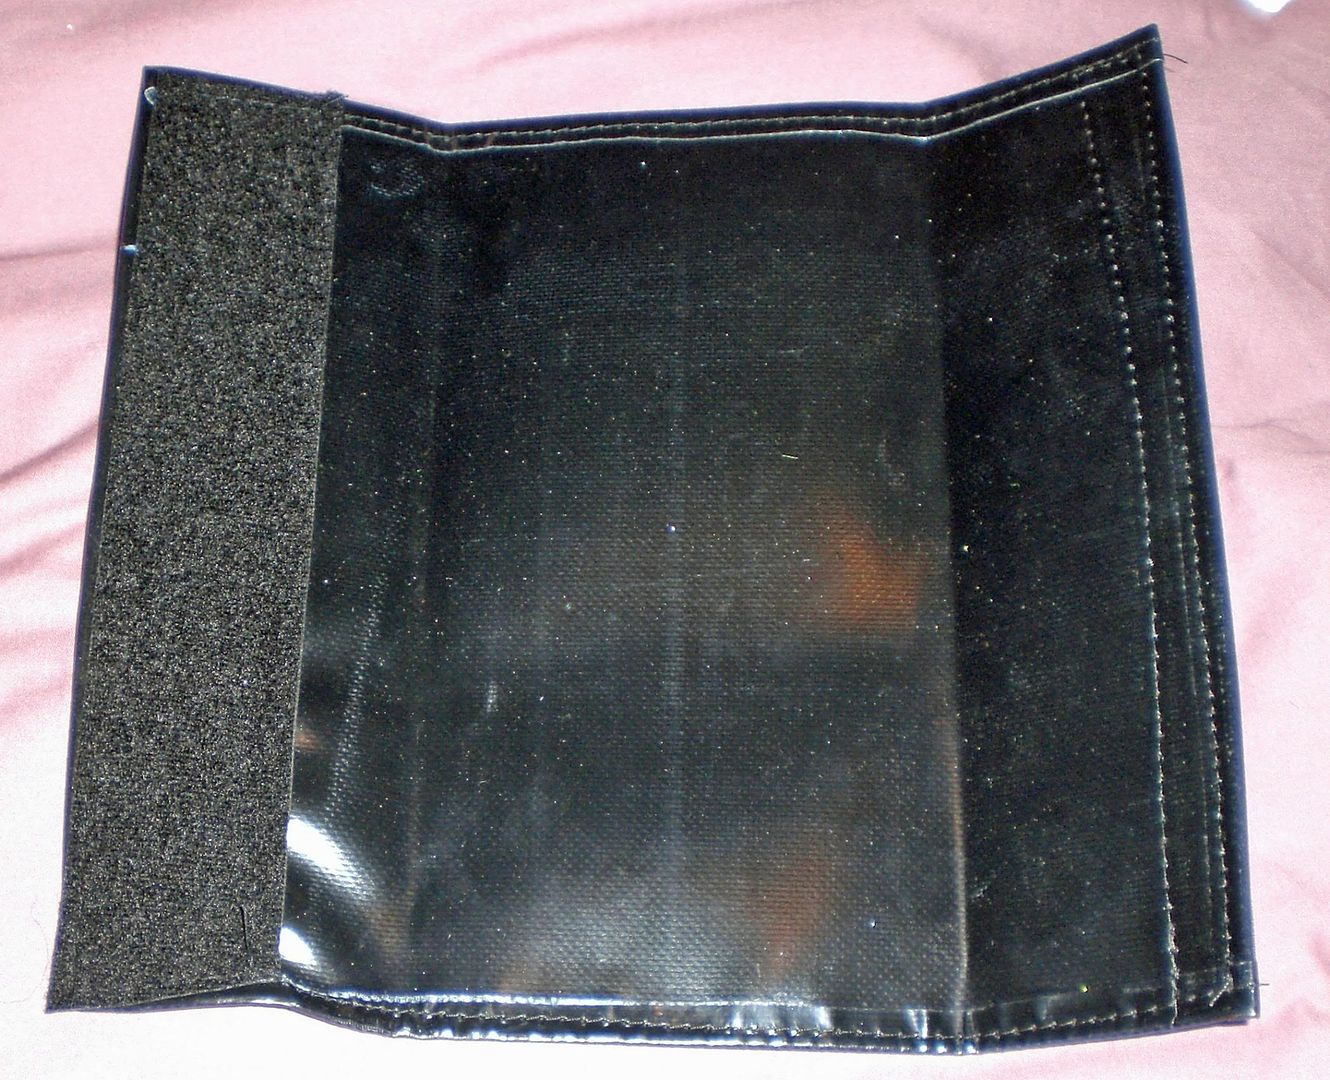
It's waterproof and strong:-

It's designed for a spring circumference of 25cm and fits on the spring fine:-
Here it is installed over the new spring:-
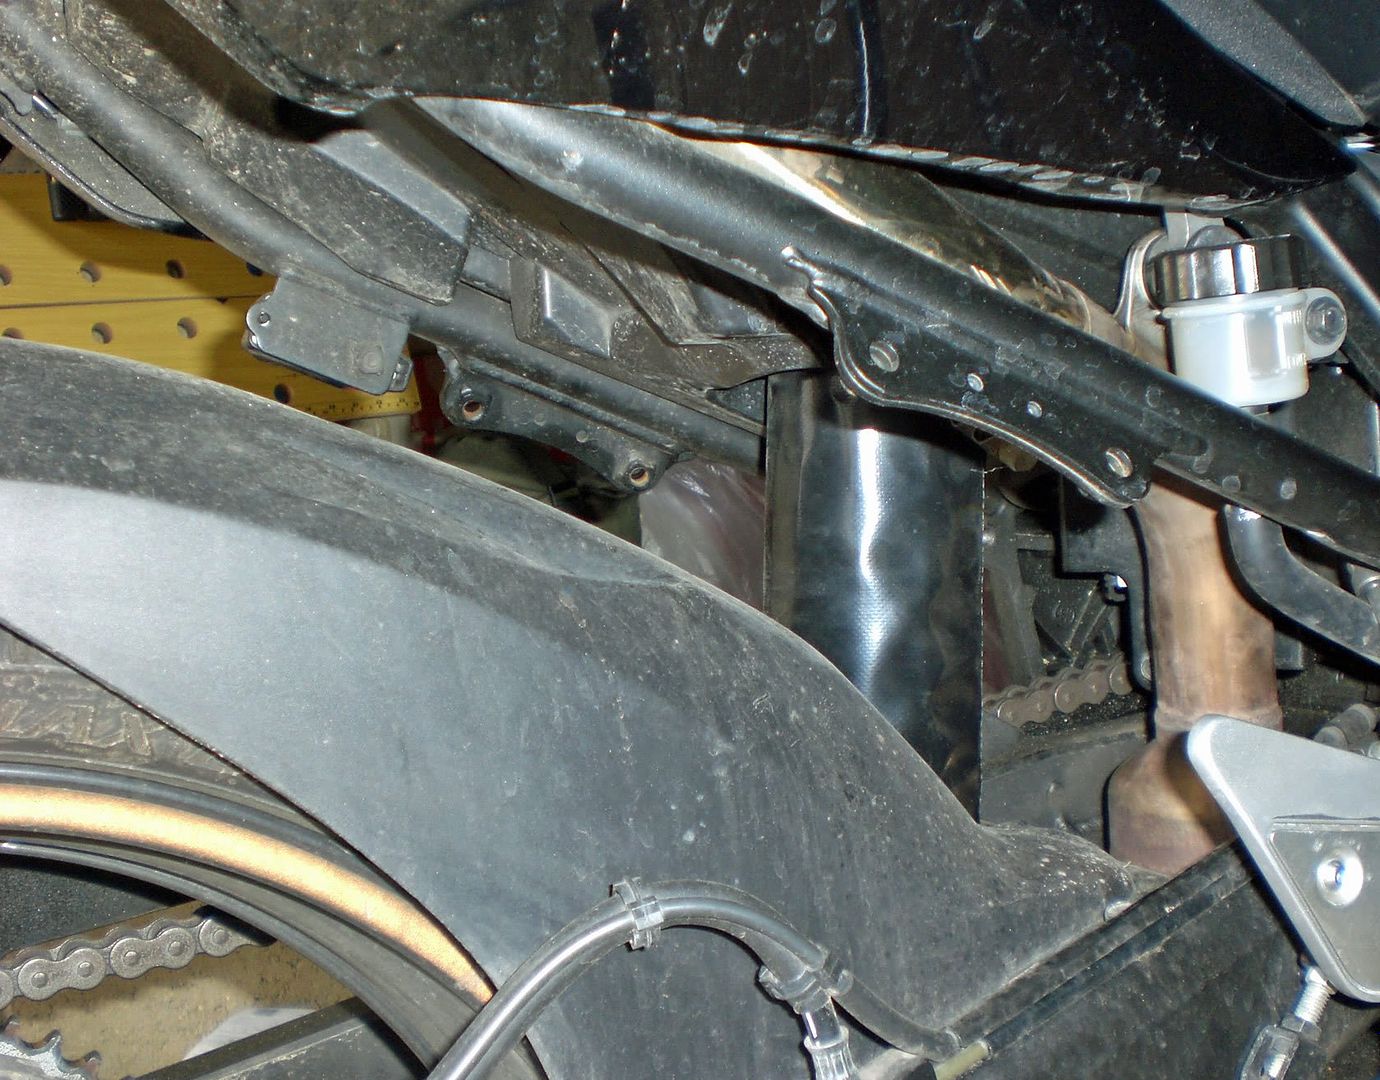
And from another angle:-

And here you can see what it's hiding:-


 :spank: