SANGER_A2
Super Member
This was a damn hard mod for me. It's taken me more than many of the previous ones put together and has caused much swearing, bitching and drinking of beer! It's not one for the faint-hearted at all. There is lots of squashing, pushing, pulling and also some cutting and sawing! As well as buying lots of new bolts and washers!
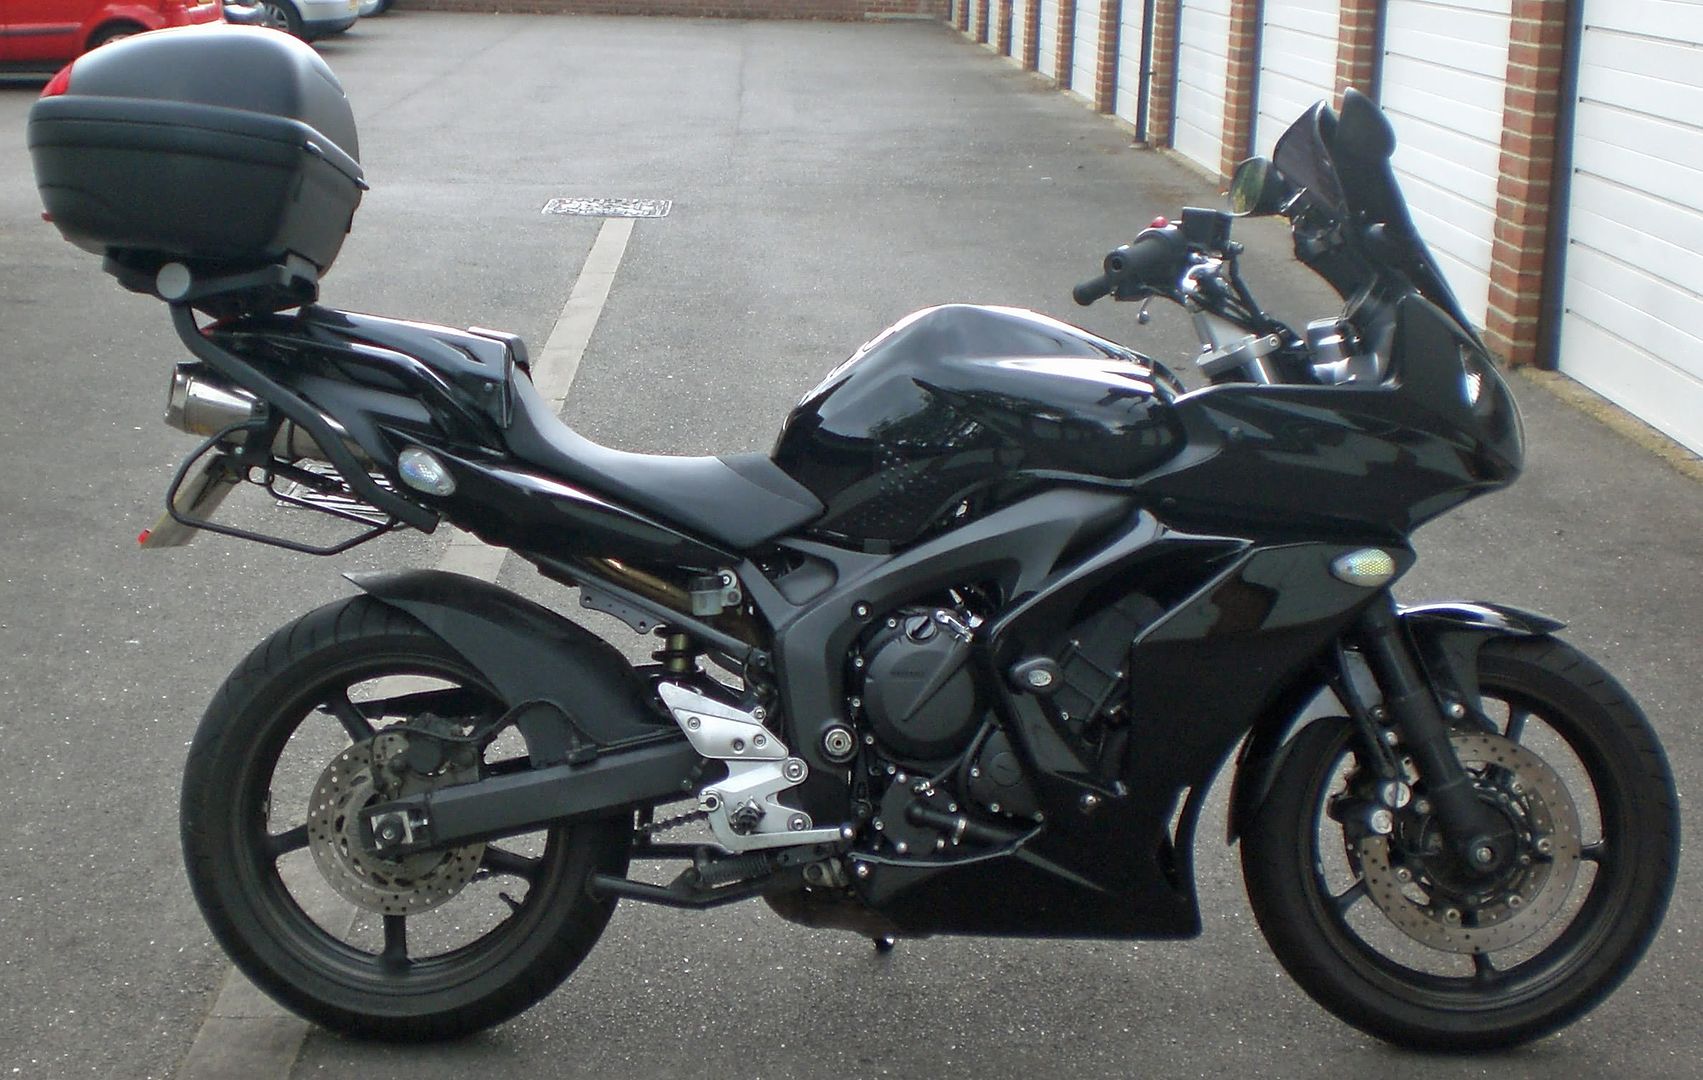
I have the Scorpion oval end cans. I love them. However, they are too wide to fit a Givi rack easily. I wanted a Givi as it's a bit more stable-looking than the Yamaha and also I got the whole lot - with soft-pannier side brackets for less than the whole Yamaha set. Then I can keep the top-plate and box if I upgrade bikes and sell the arms separately. Also, I may upgrade to hard-panniers sometime and bodge them to fit the racks I've installed.
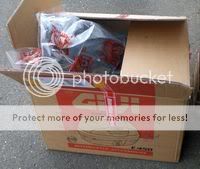
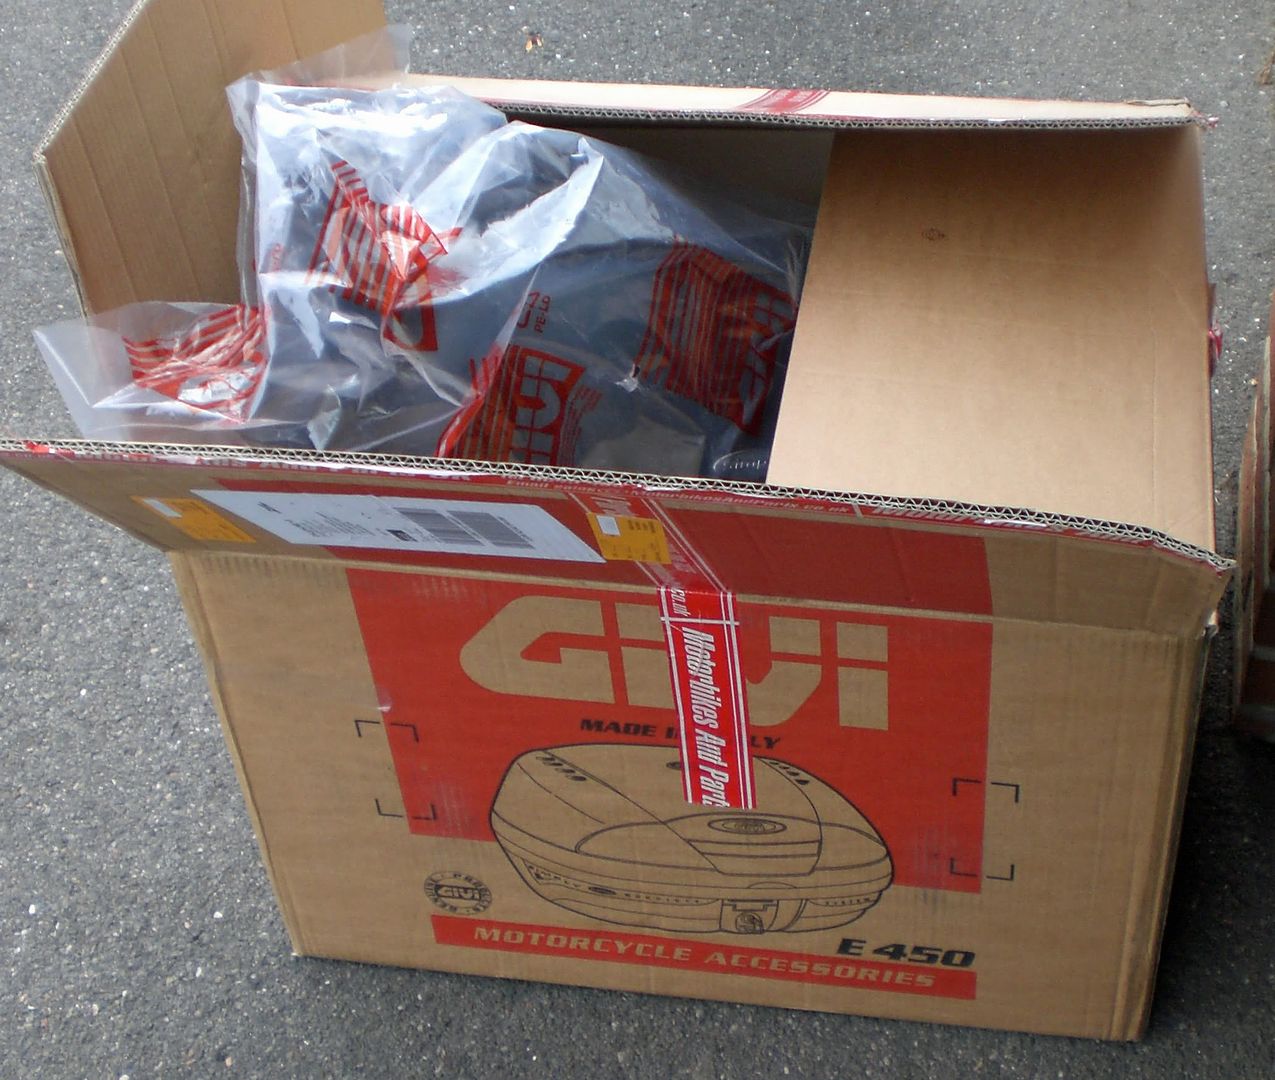
I bought the E450 topbox for £73, the FZ351 Givi rack with Monolock plate for £79 (it was on offer) and also the Givi T351 soft luggage pannier rack for £24. I debated about the pannier rack, but just the tubing I would need to build my own would cost £20 so it seems like a good deal. The actual Monolock plate had the Kappa logo on the side - but I was planning to paint it black anyway so wasn't bothered! It came to a total of £161 after I found a voucher code for 10% off online. Bargain!
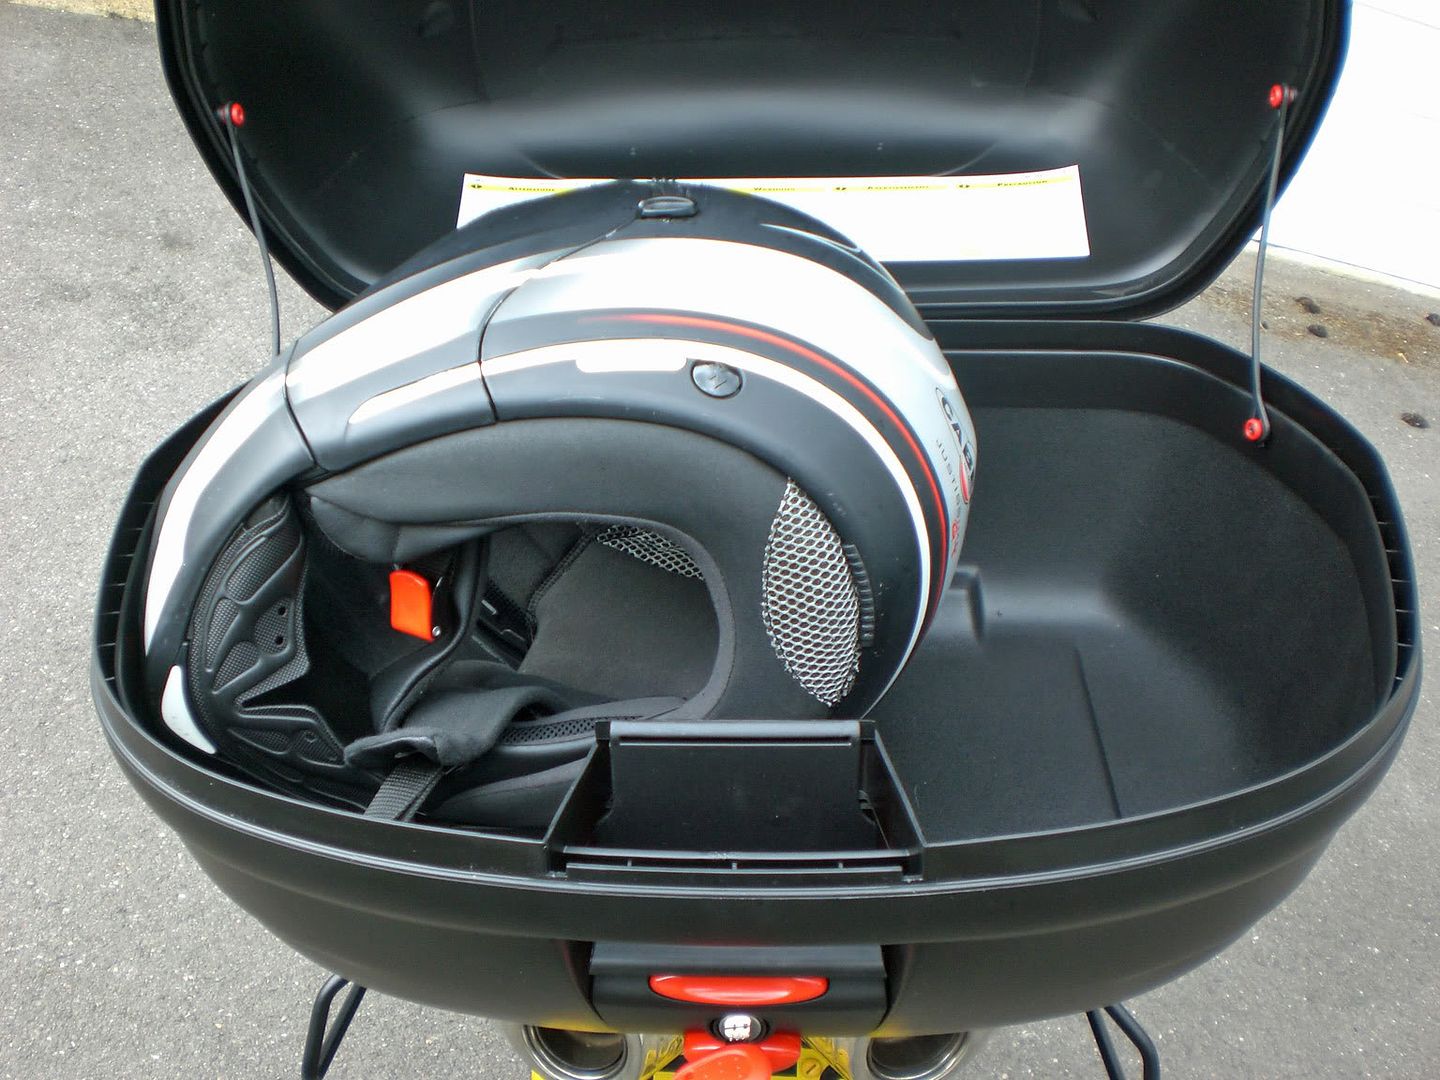
Here you can see the giant box it came in. I thought this was overkill - but actually it was pretty full. The topbox is huuuuuge:-
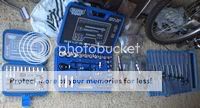
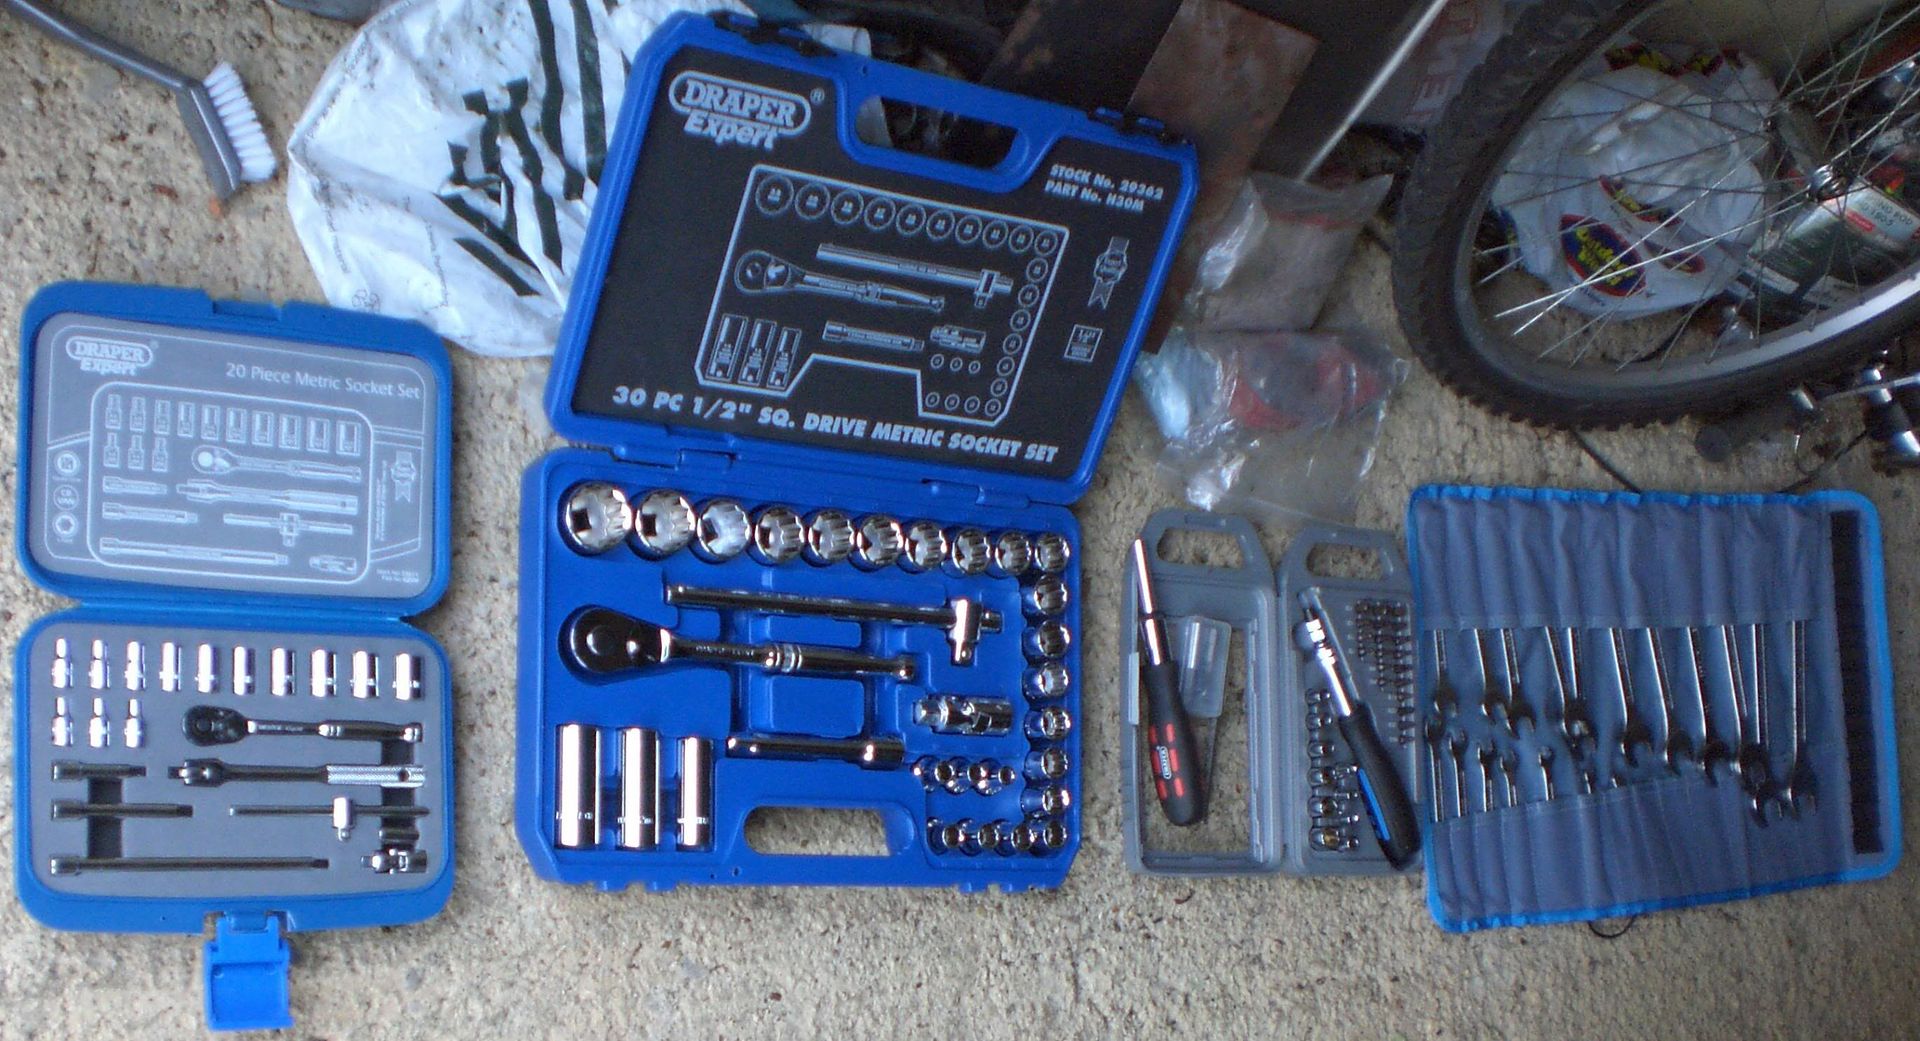
Don't even bother attempting this if you don't have a decent set of tools - and lots of them! Mine are all Draper Expert and they performed brilliantly. I actually ended up using stuff from each set shown as well as other stuff later on:-
I also had the Givi instructions and also some excellent ones that Goker put up here as PDFs. The first 20 pages of these were very useful and I printed them out and used them more than the Givi ones. I also referred to my Haines manual a couple of times. Also a must-have when taking your bike to bits! I'd also recommend some soothing/cheerful music when doing this for the time (it WILL happen) when something goes wrong and you want to kick your bike! I used a combination of the Monkees and Donovan!!! :rockon:
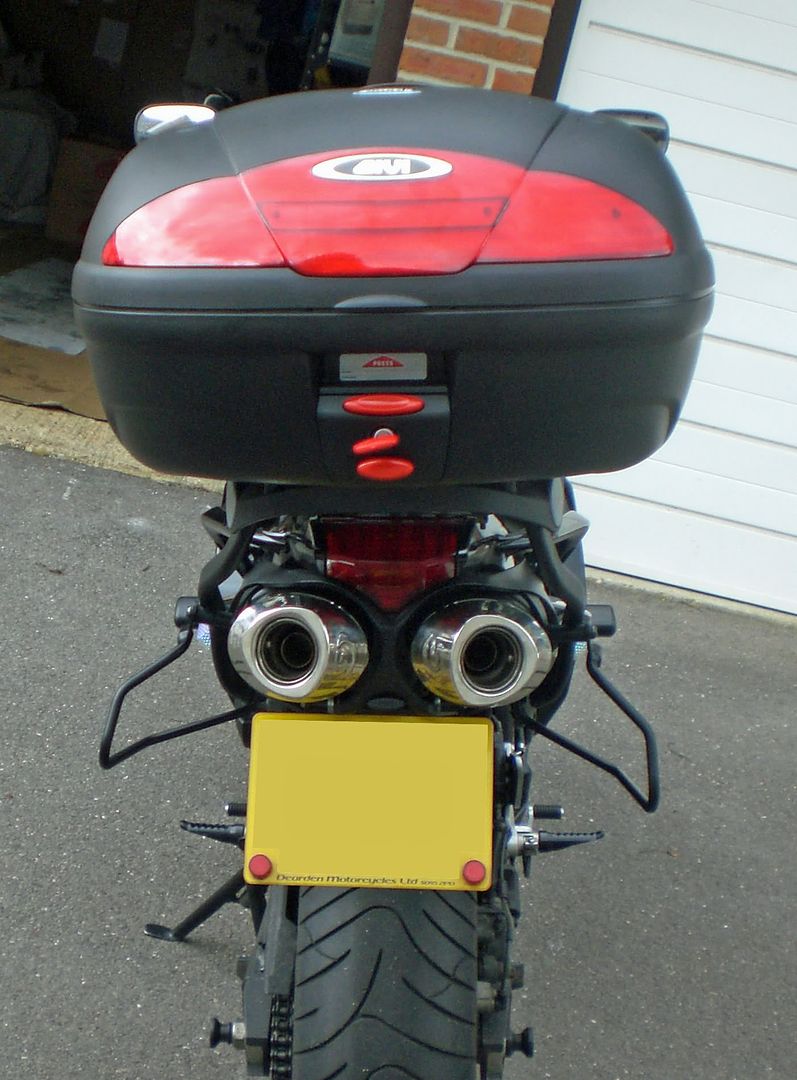
The first step it to take off the side pods and grab rails from the bike. I've done this loads of times before and can't be bothered to document it here. It'll be on the forum somewhere. I then started to fit the Givi bands that go over the exhausts...
All the steps below are in the order in which someone wishing to do this would do them. This is NOT the order in which I did them. I did this over two days, 6 or 7 beers and 8 hours! I must have nearly fitted the rack 4 times in total before getting it right and discovering all the changes needed to make it fit!
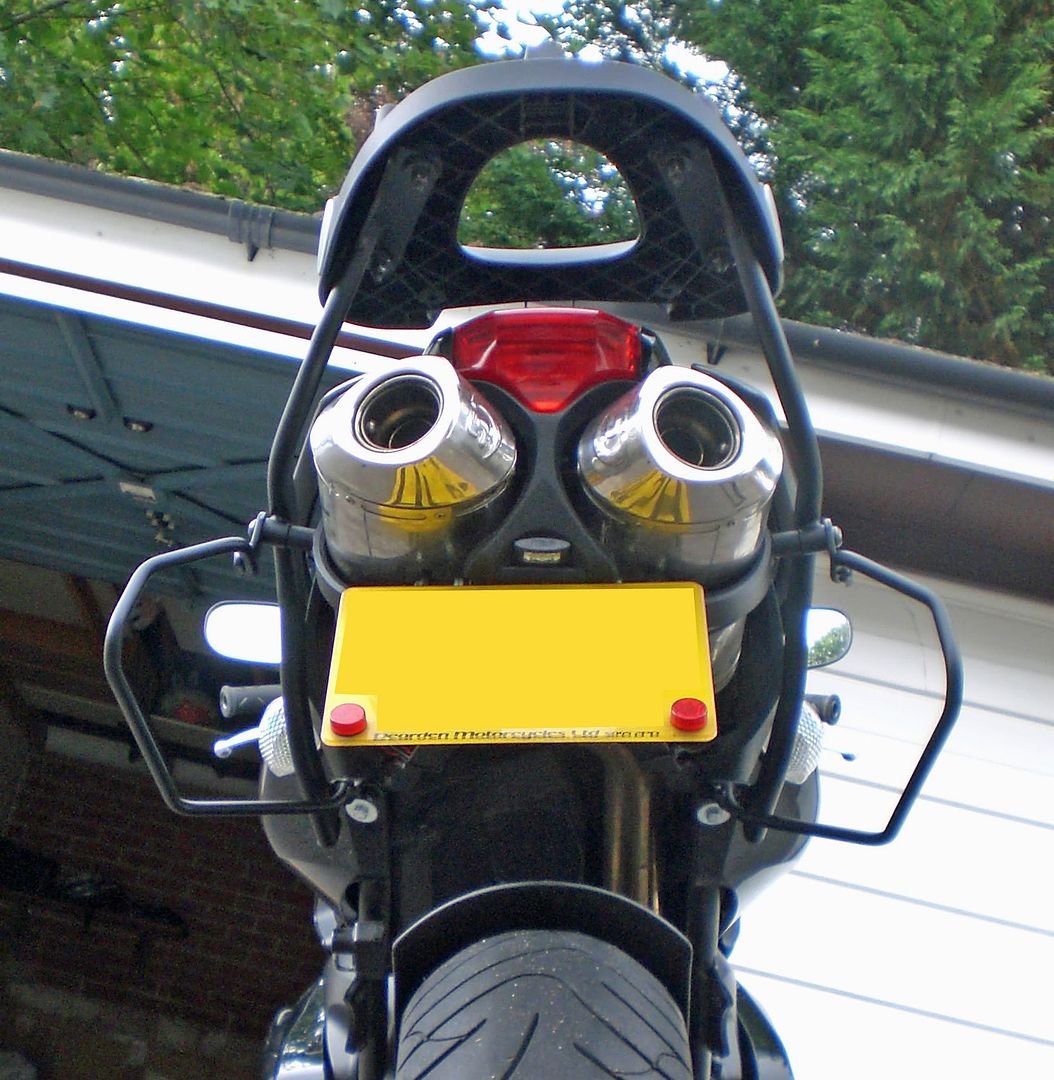
The first problem I ran into was that the exhausts were just too wide for the side arms of the rack to fit onto the bands that go over the exhausts. I expected to have to use extra spacers where it meets the number-plate bracket at the bottom - but there was no way it was all going to fit together even with that.
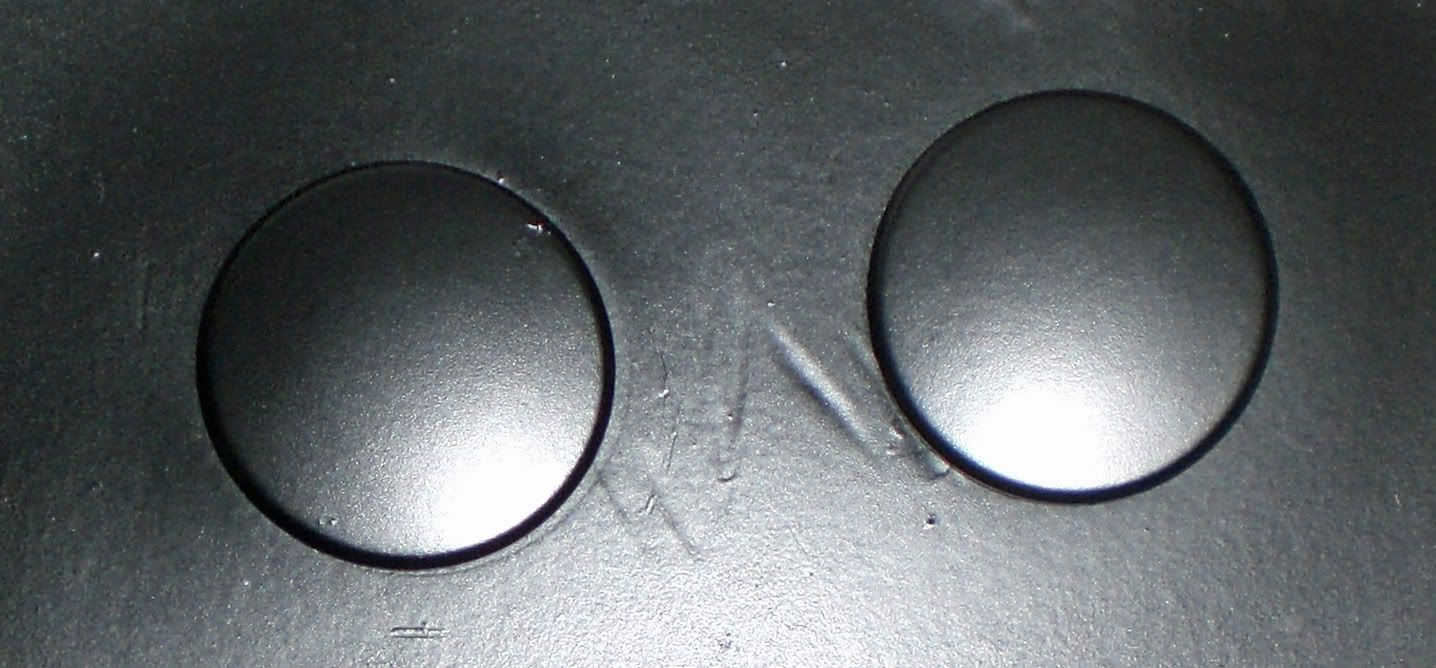
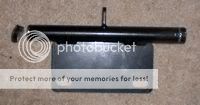
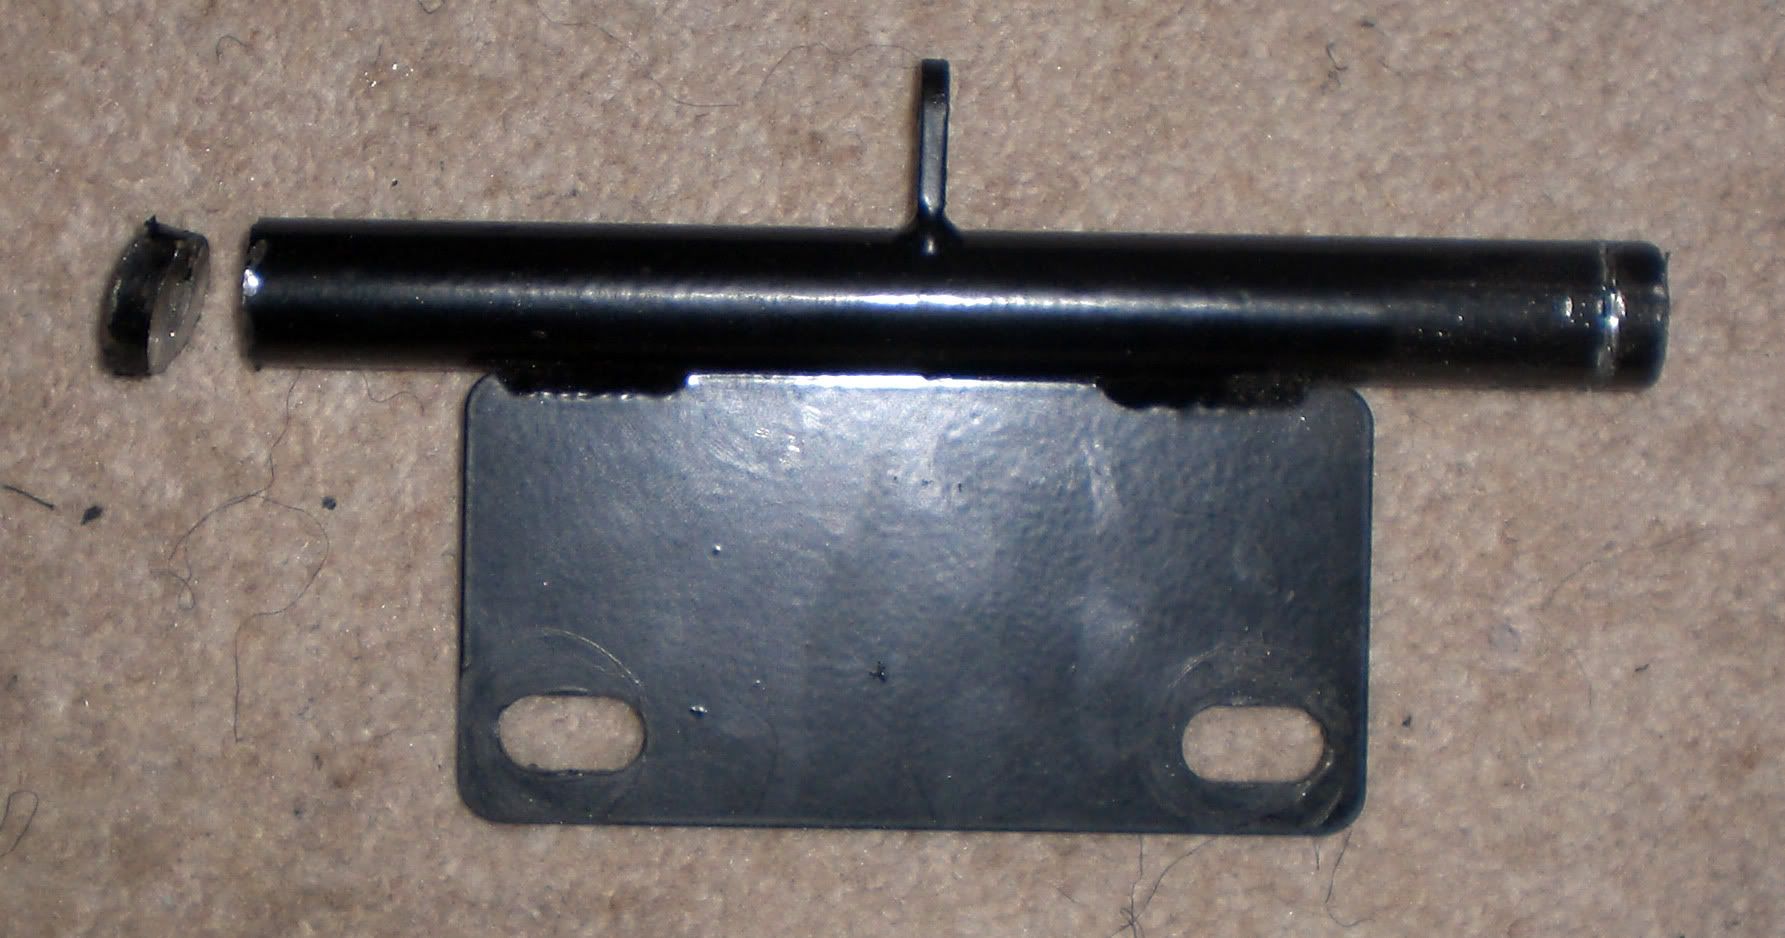
The solution was to saw off half a cm from each side of the bracket the Scorpions hang from on the bike:-
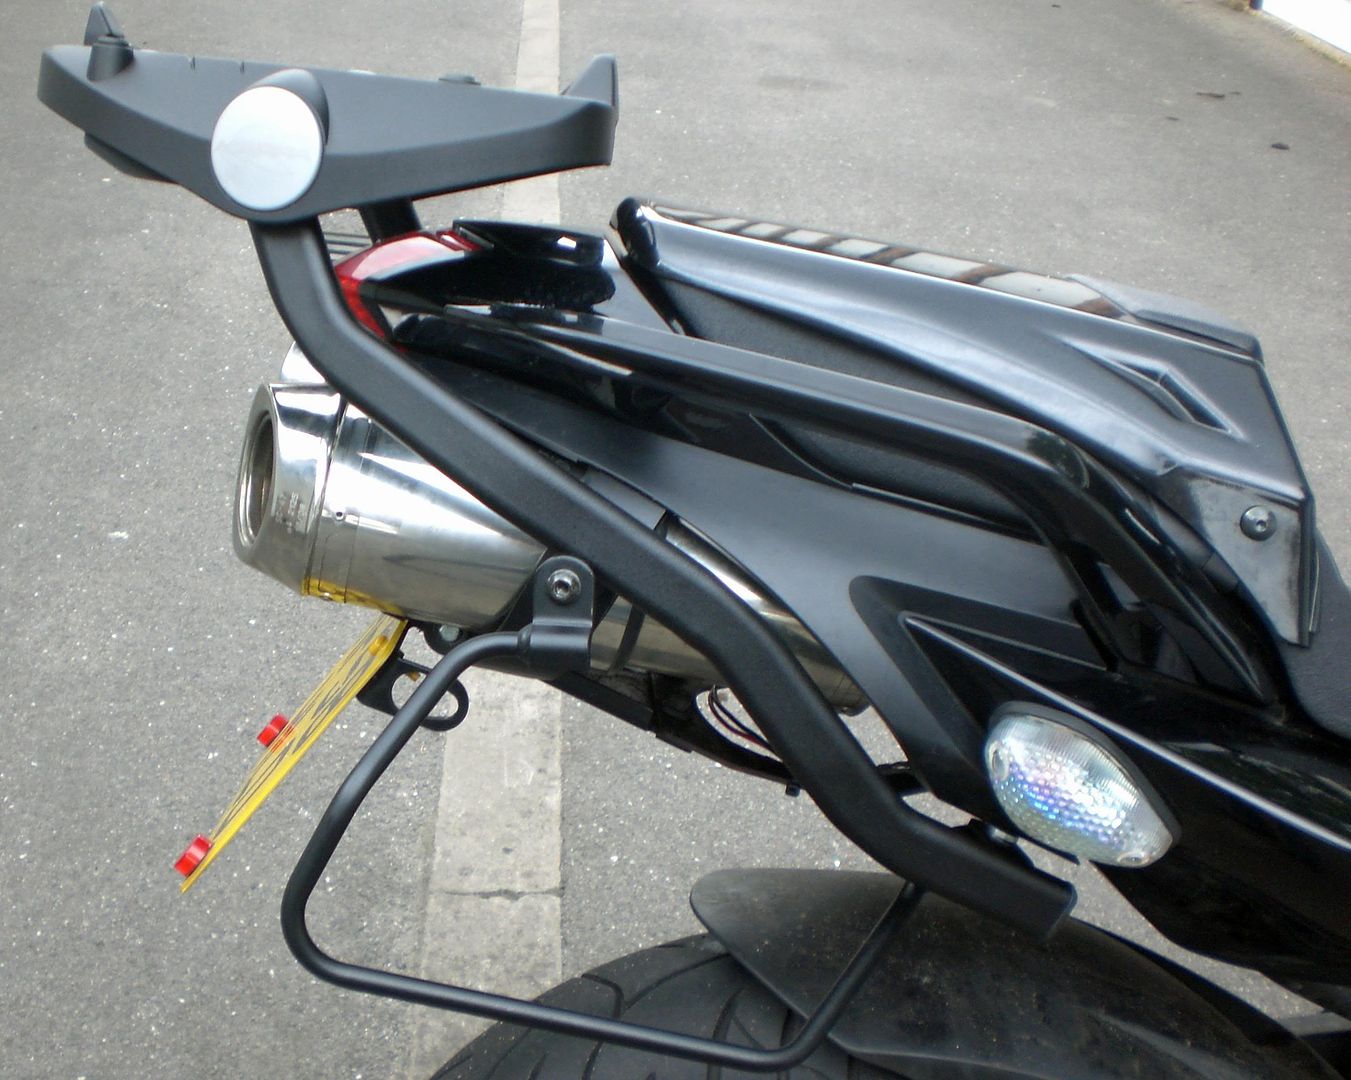
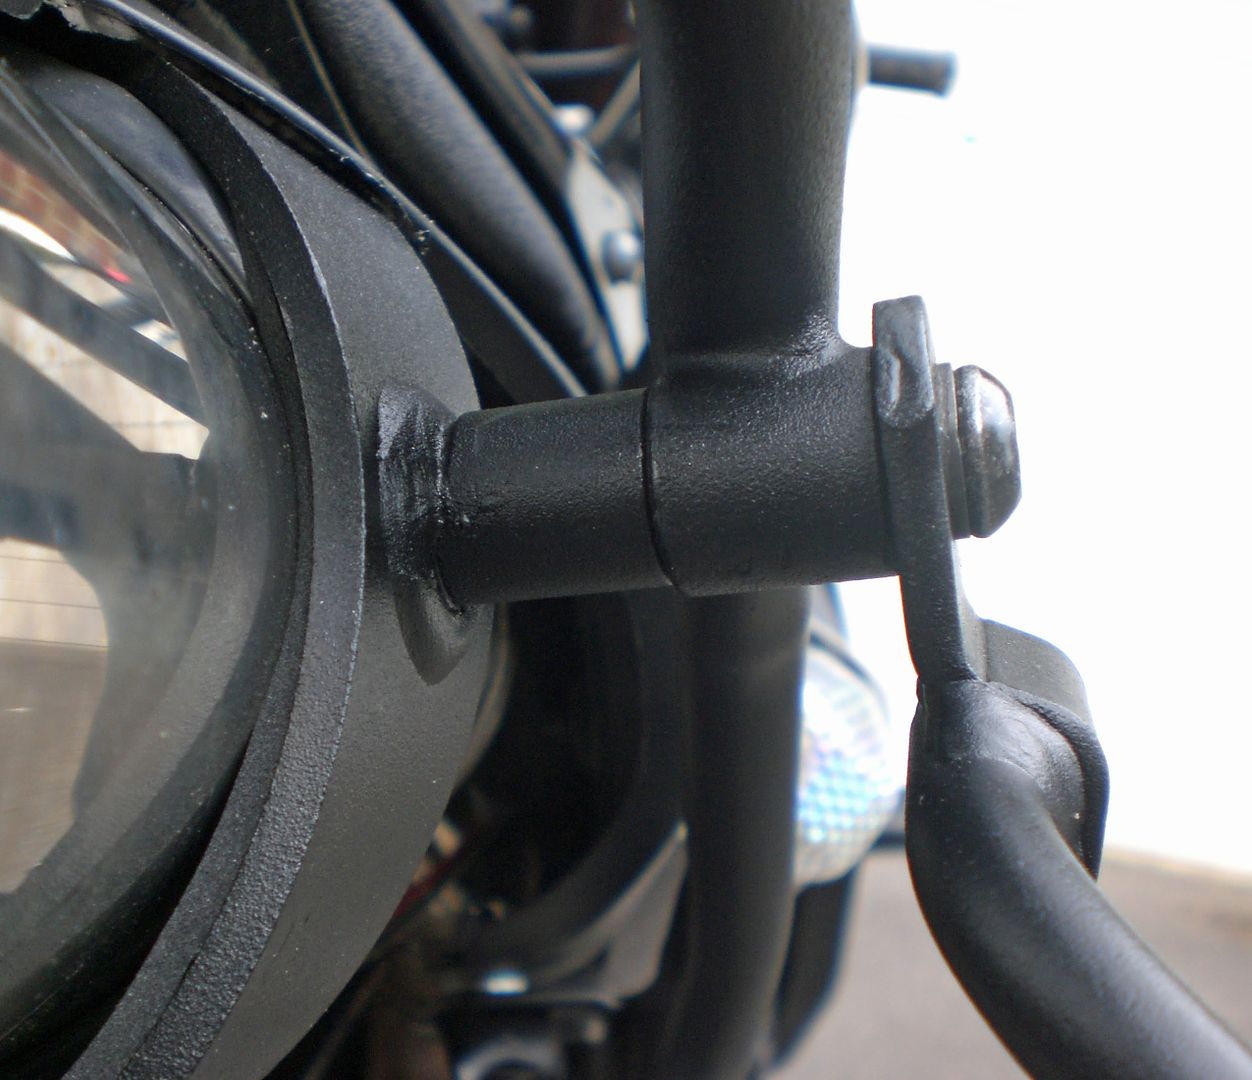
Once I had the exhausts fixed back onto the bike, I fixed the bands into the frame at the top and into the number plate bracket as shown below. I had to use a longer bolt than the ones Givi provided along with the spacer that came in the soft-luggage rack and two thick M6 washers. At some point, I will remove these bolts etc and paint them all black for looks and protection:-

Once I had fitted the bands, I put the grab rails etc back onto the bike. Make sure you have done up tightly the bolts that hold these bands on the bike - this is the ones holding it into the frame at the top and also those holding it onto the number-plate rack at the bottom. I secured all the grab rail bolts tightly except for the bolts that the Givi arms fit into (the ones you attach the matt black plastic part to from underneath. There are pics of this later. I also plugged in the brake light and numberplate light.
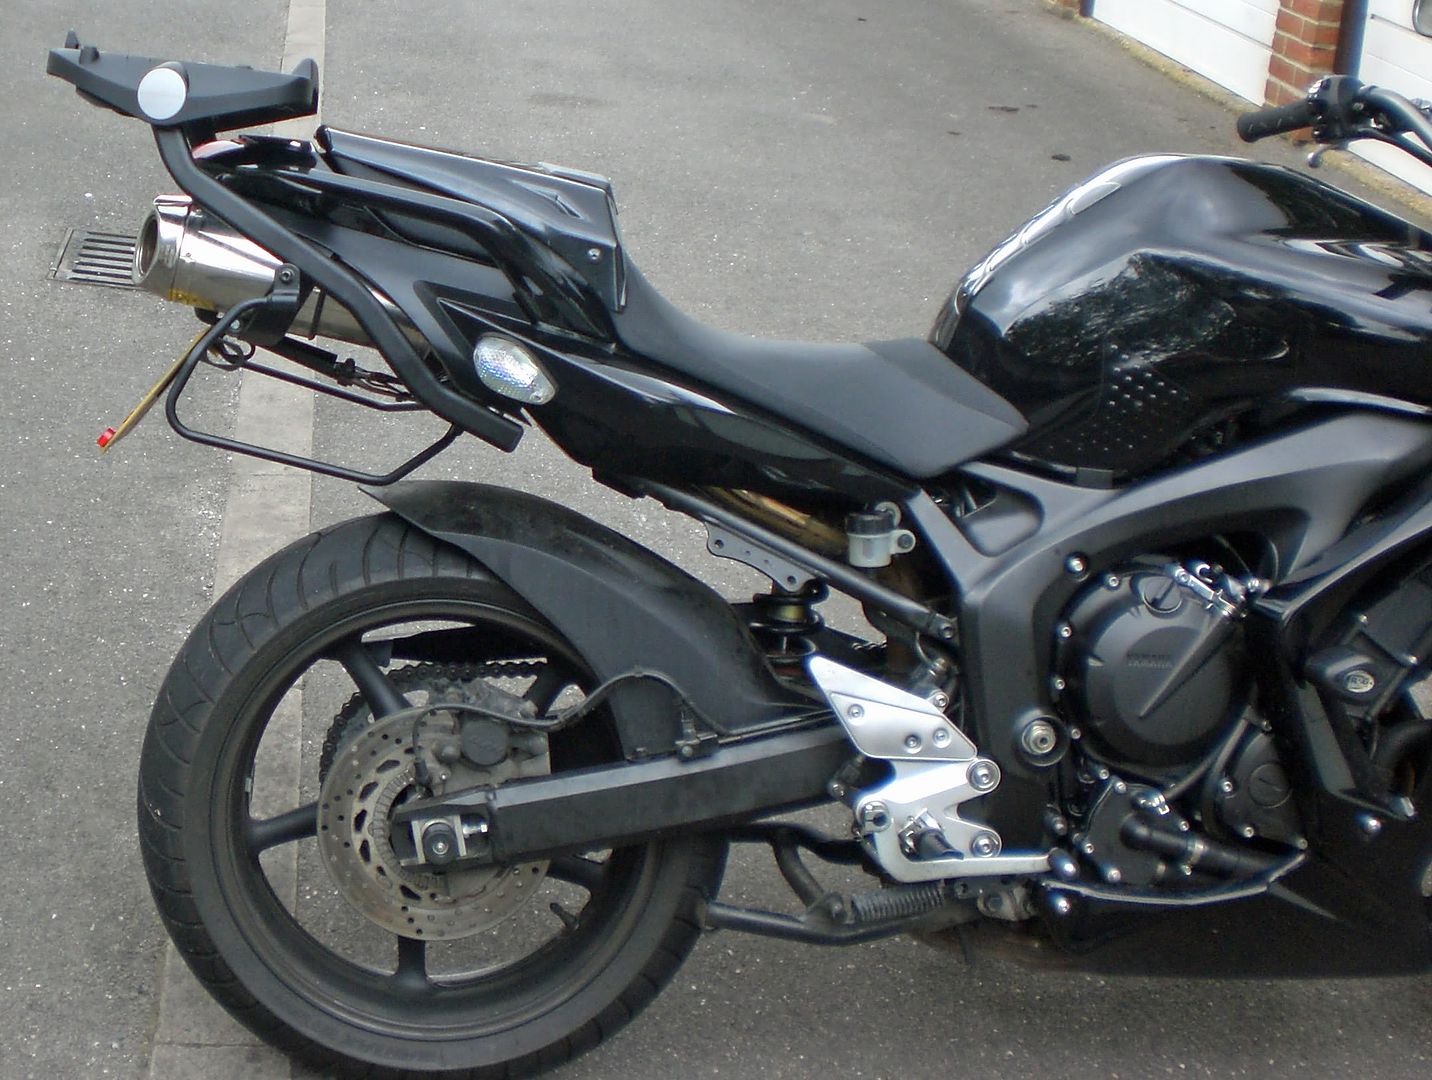
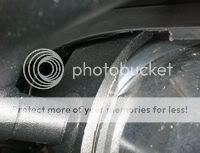
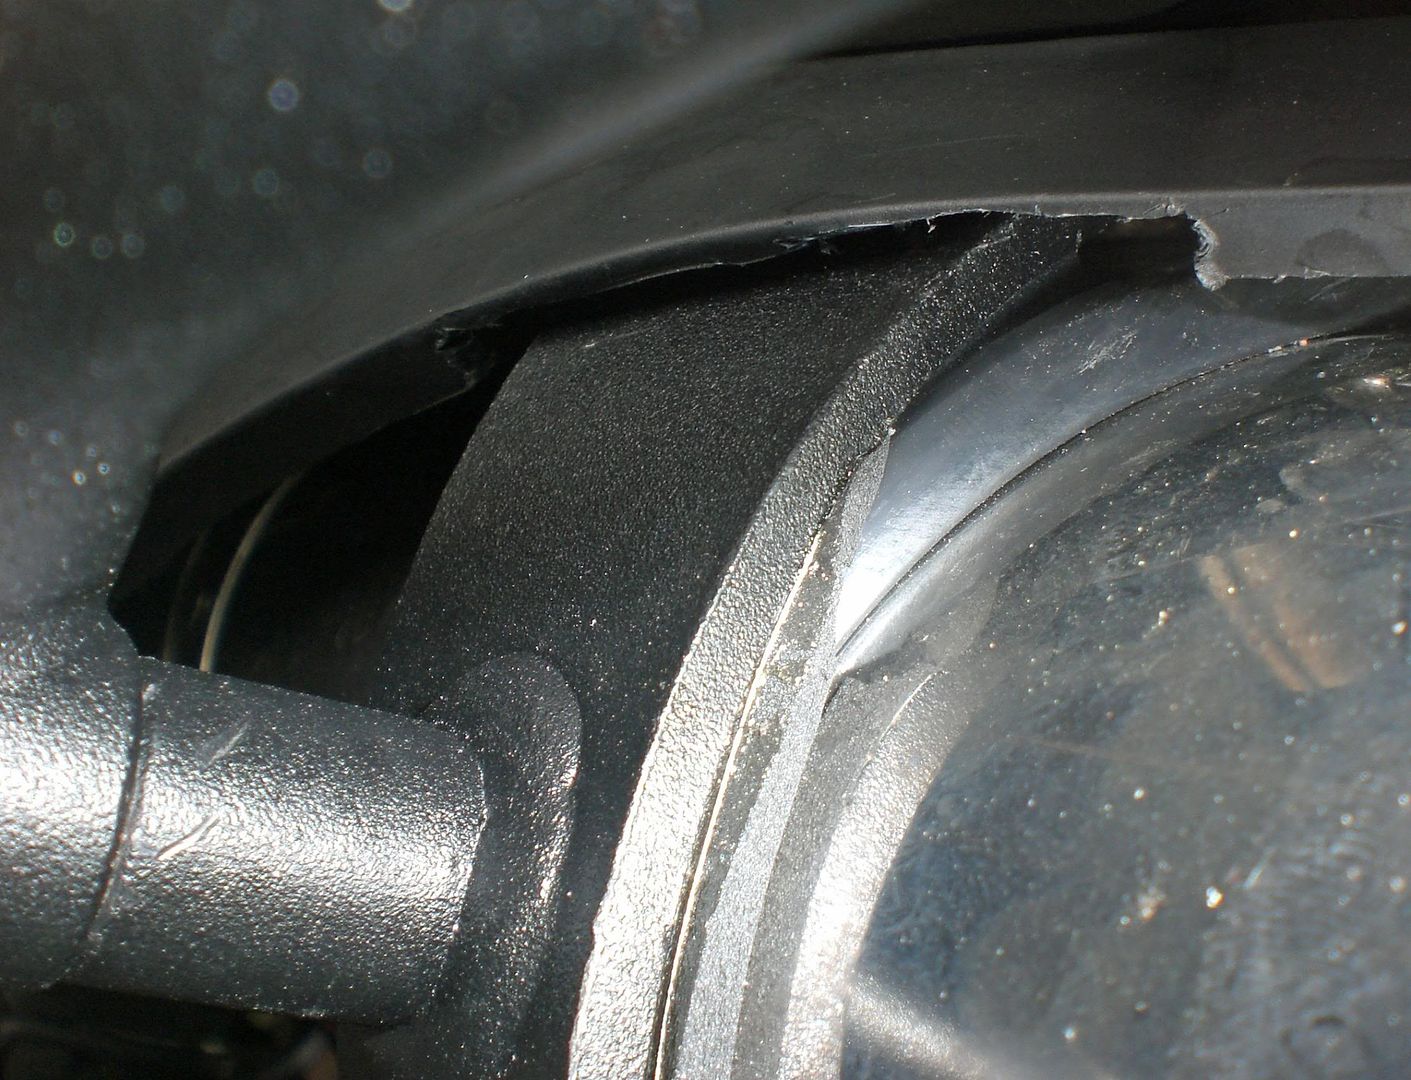
The next part of the bike that needs destroying to get the rack to fit is the matt black plastic exhaust cover thingy. I had to cut just the edge that folds over where it met with the Scorpion bands and the Givi bands as shown below:-
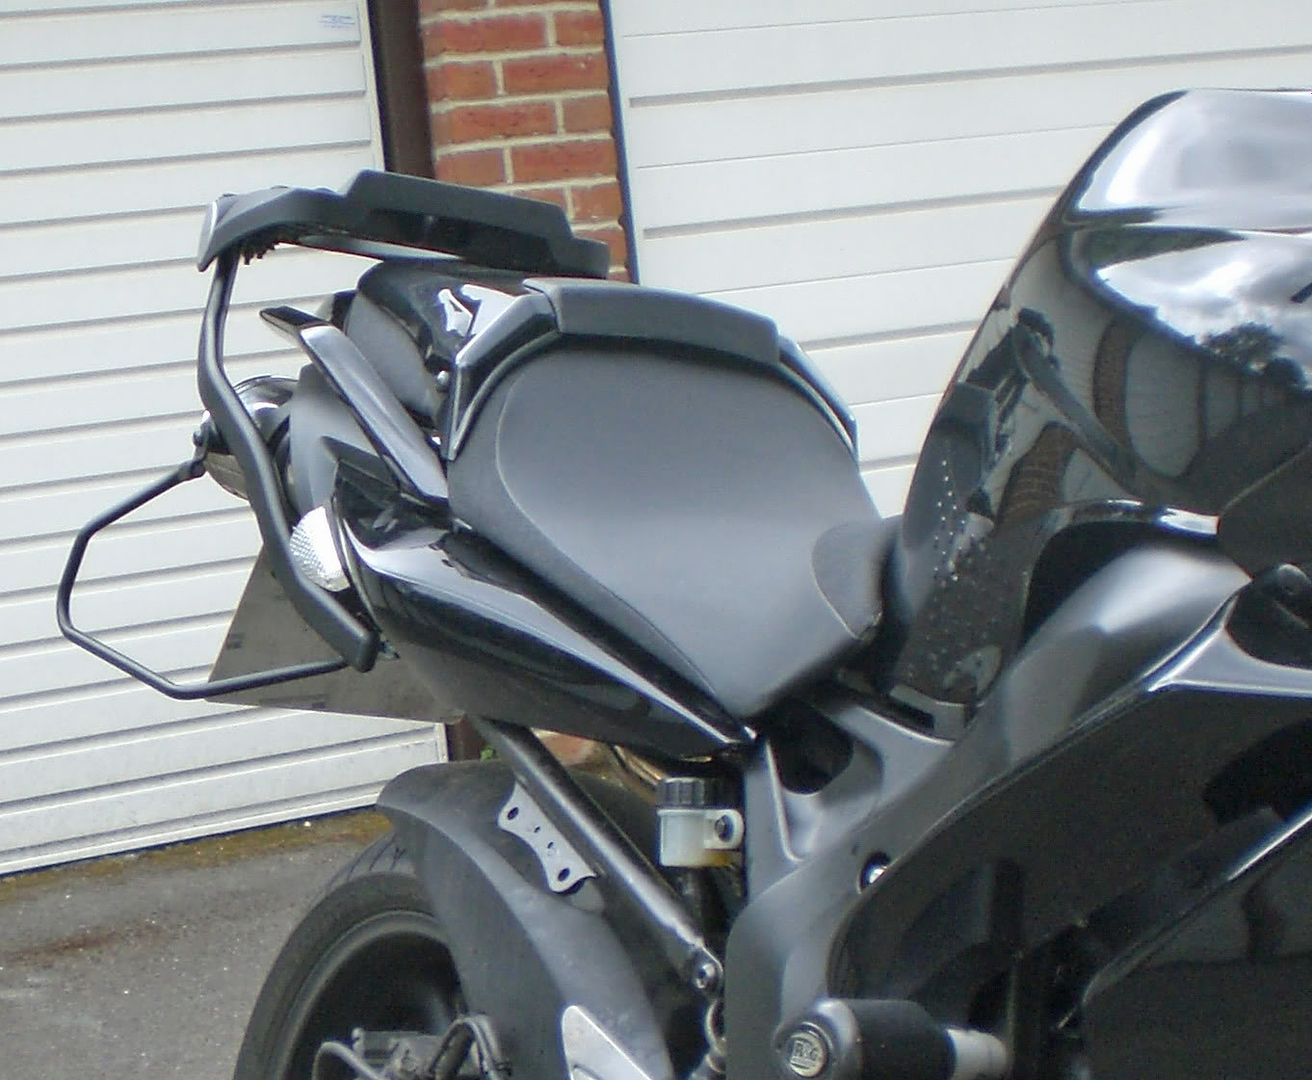
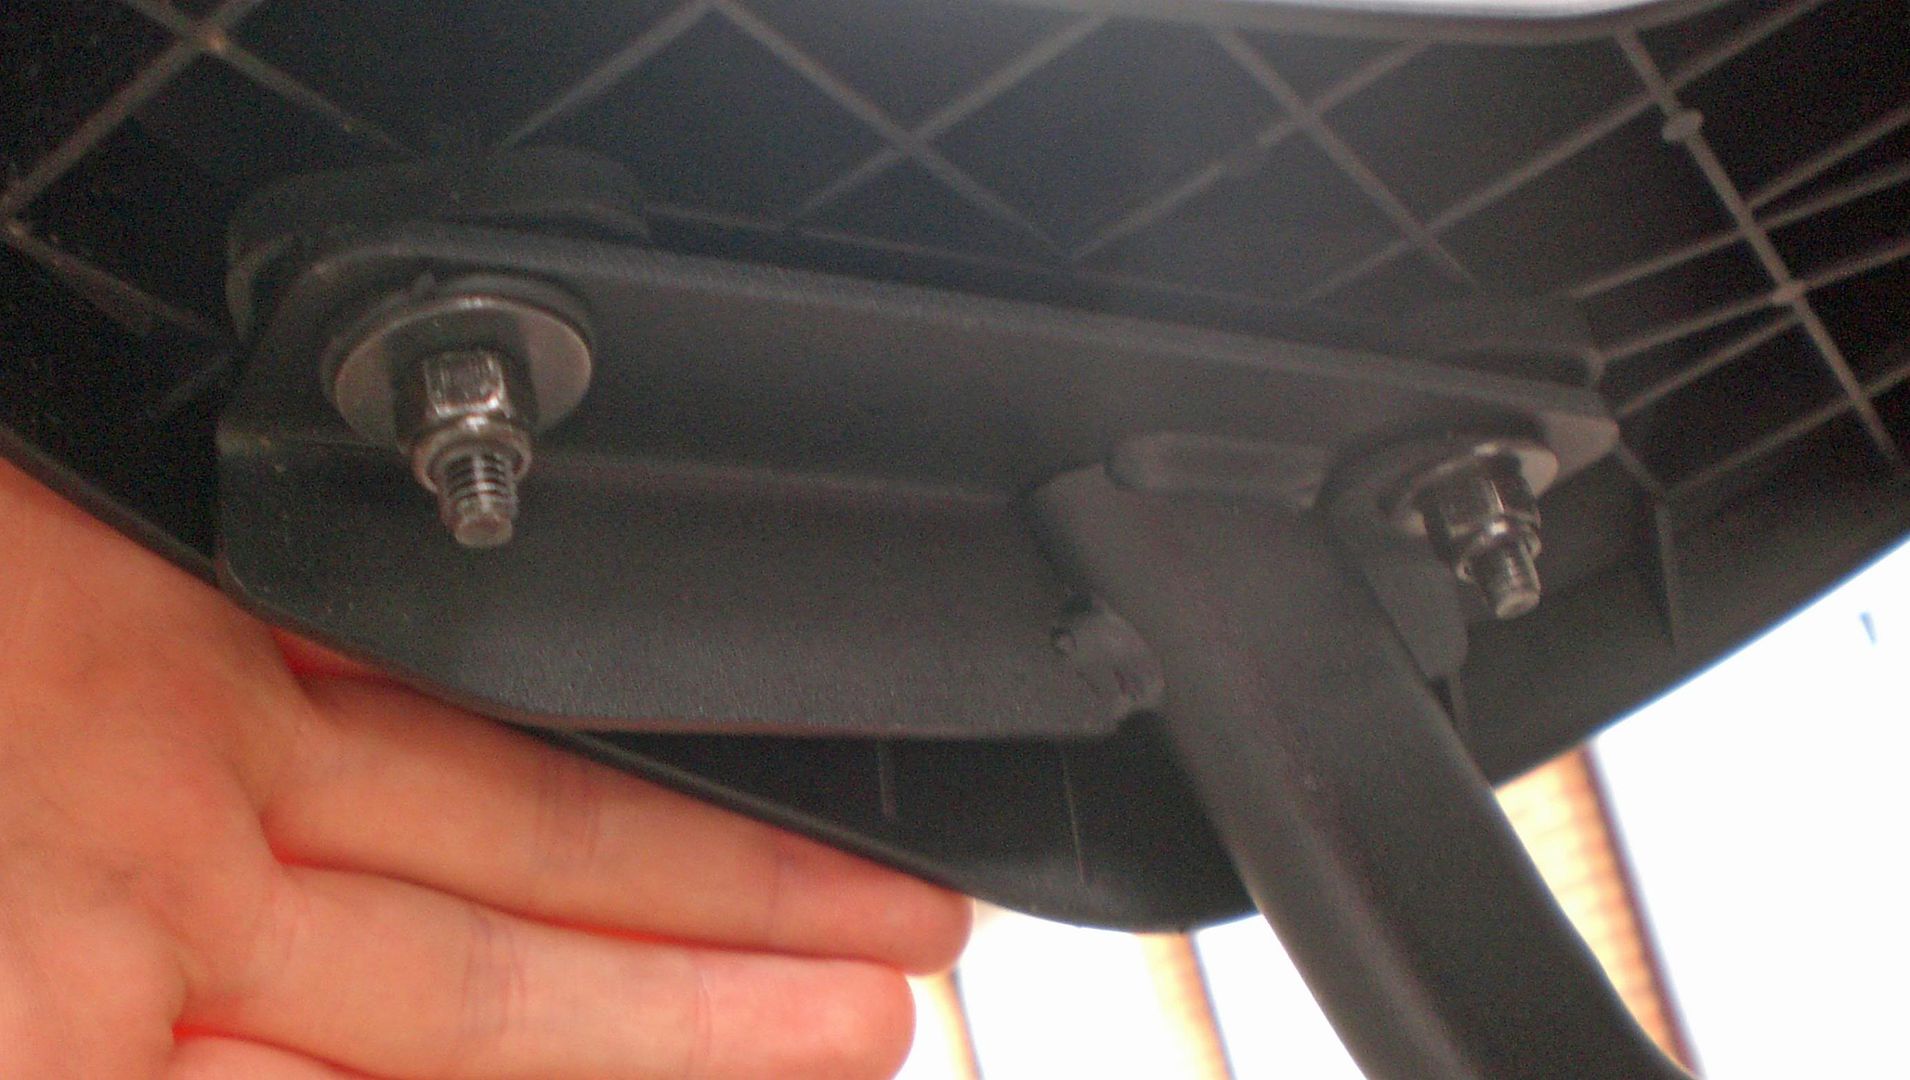
The first part to put together is to screw the arms and pannier racks into the bolts shown below, just do this loosely enough to hold it while it can swing etc lots:-
Then, VERY loosely, fit the plate onto the top of the arms. Be careful here that you follow the Givi instructions and don't miss any parts. The spacers fit inside the rectangular rubber things by the way. This isn't obvious from the instructions:-

I have the Scorpion oval end cans. I love them. However, they are too wide to fit a Givi rack easily. I wanted a Givi as it's a bit more stable-looking than the Yamaha and also I got the whole lot - with soft-pannier side brackets for less than the whole Yamaha set. Then I can keep the top-plate and box if I upgrade bikes and sell the arms separately. Also, I may upgrade to hard-panniers sometime and bodge them to fit the racks I've installed.
I bought the E450 topbox for £73, the FZ351 Givi rack with Monolock plate for £79 (it was on offer) and also the Givi T351 soft luggage pannier rack for £24. I debated about the pannier rack, but just the tubing I would need to build my own would cost £20 so it seems like a good deal. The actual Monolock plate had the Kappa logo on the side - but I was planning to paint it black anyway so wasn't bothered! It came to a total of £161 after I found a voucher code for 10% off online. Bargain!
Here you can see the giant box it came in. I thought this was overkill - but actually it was pretty full. The topbox is huuuuuge:-
Don't even bother attempting this if you don't have a decent set of tools - and lots of them! Mine are all Draper Expert and they performed brilliantly. I actually ended up using stuff from each set shown as well as other stuff later on:-
I also had the Givi instructions and also some excellent ones that Goker put up here as PDFs. The first 20 pages of these were very useful and I printed them out and used them more than the Givi ones. I also referred to my Haines manual a couple of times. Also a must-have when taking your bike to bits! I'd also recommend some soothing/cheerful music when doing this for the time (it WILL happen) when something goes wrong and you want to kick your bike! I used a combination of the Monkees and Donovan!!! :rockon:
The first step it to take off the side pods and grab rails from the bike. I've done this loads of times before and can't be bothered to document it here. It'll be on the forum somewhere. I then started to fit the Givi bands that go over the exhausts...
All the steps below are in the order in which someone wishing to do this would do them. This is NOT the order in which I did them. I did this over two days, 6 or 7 beers and 8 hours! I must have nearly fitted the rack 4 times in total before getting it right and discovering all the changes needed to make it fit!
The first problem I ran into was that the exhausts were just too wide for the side arms of the rack to fit onto the bands that go over the exhausts. I expected to have to use extra spacers where it meets the number-plate bracket at the bottom - but there was no way it was all going to fit together even with that.
The solution was to saw off half a cm from each side of the bracket the Scorpions hang from on the bike:-
Once I had the exhausts fixed back onto the bike, I fixed the bands into the frame at the top and into the number plate bracket as shown below. I had to use a longer bolt than the ones Givi provided along with the spacer that came in the soft-luggage rack and two thick M6 washers. At some point, I will remove these bolts etc and paint them all black for looks and protection:-

Once I had fitted the bands, I put the grab rails etc back onto the bike. Make sure you have done up tightly the bolts that hold these bands on the bike - this is the ones holding it into the frame at the top and also those holding it onto the number-plate rack at the bottom. I secured all the grab rail bolts tightly except for the bolts that the Givi arms fit into (the ones you attach the matt black plastic part to from underneath. There are pics of this later. I also plugged in the brake light and numberplate light.
The next part of the bike that needs destroying to get the rack to fit is the matt black plastic exhaust cover thingy. I had to cut just the edge that folds over where it met with the Scorpion bands and the Givi bands as shown below:-
The first part to put together is to screw the arms and pannier racks into the bolts shown below, just do this loosely enough to hold it while it can swing etc lots:-
Then, VERY loosely, fit the plate onto the top of the arms. Be careful here that you follow the Givi instructions and don't miss any parts. The spacers fit inside the rectangular rubber things by the way. This isn't obvious from the instructions:-
Last edited: