fazil
Junior Member
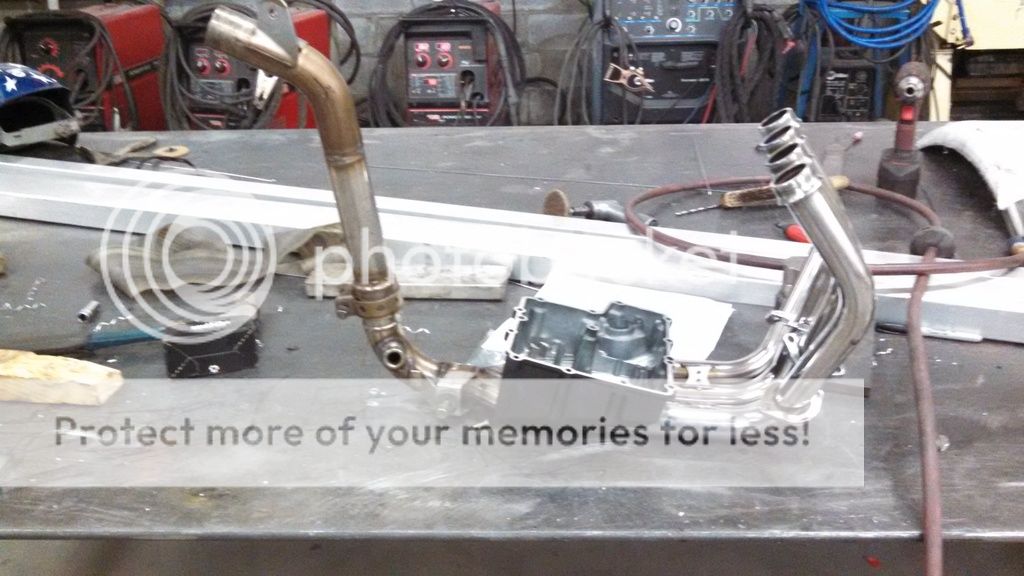
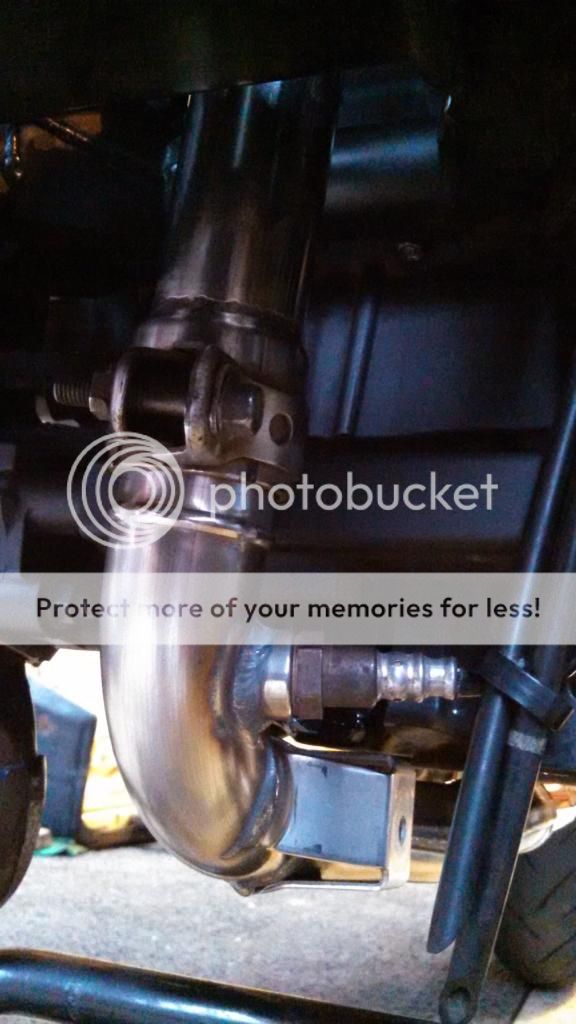
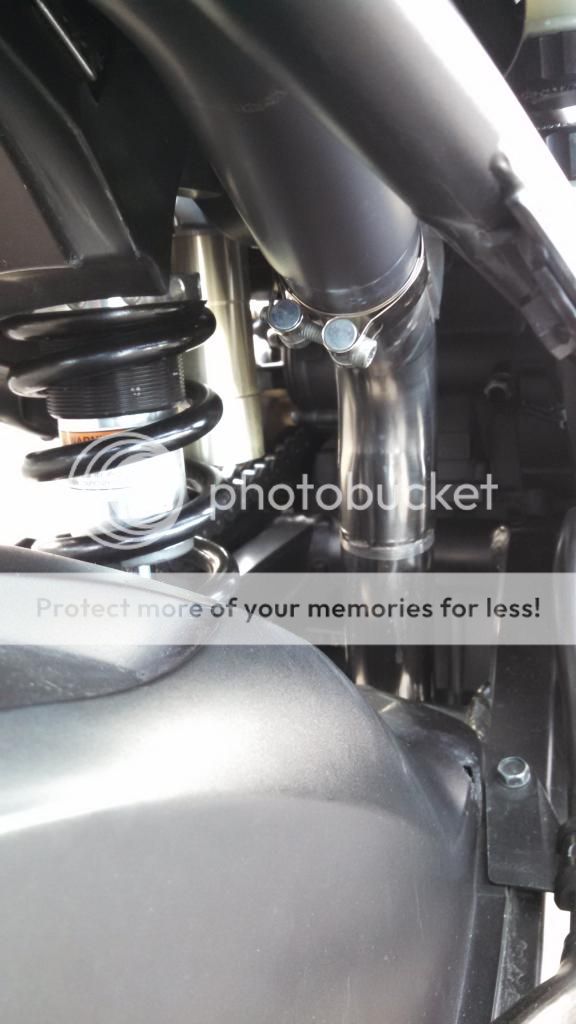
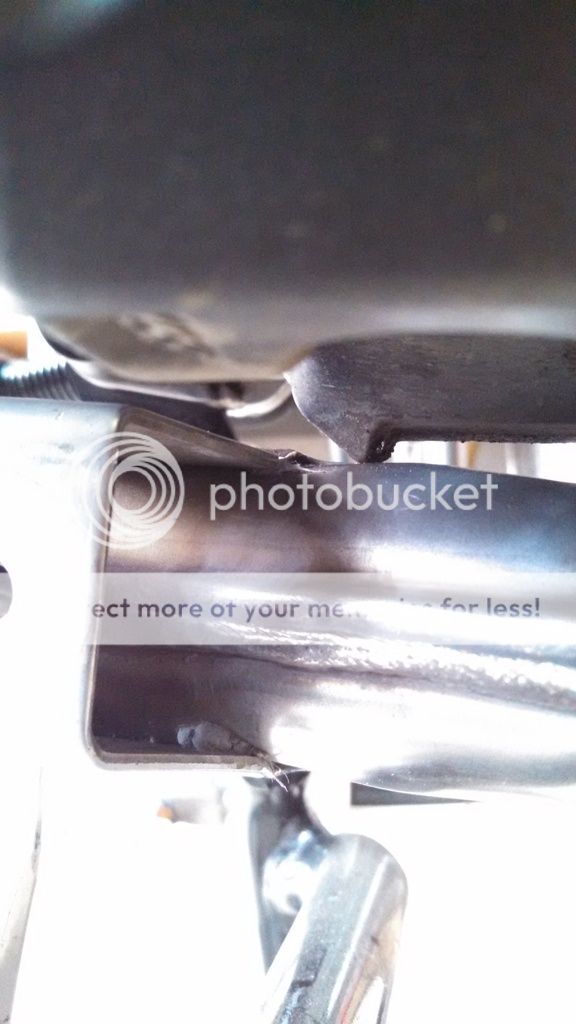
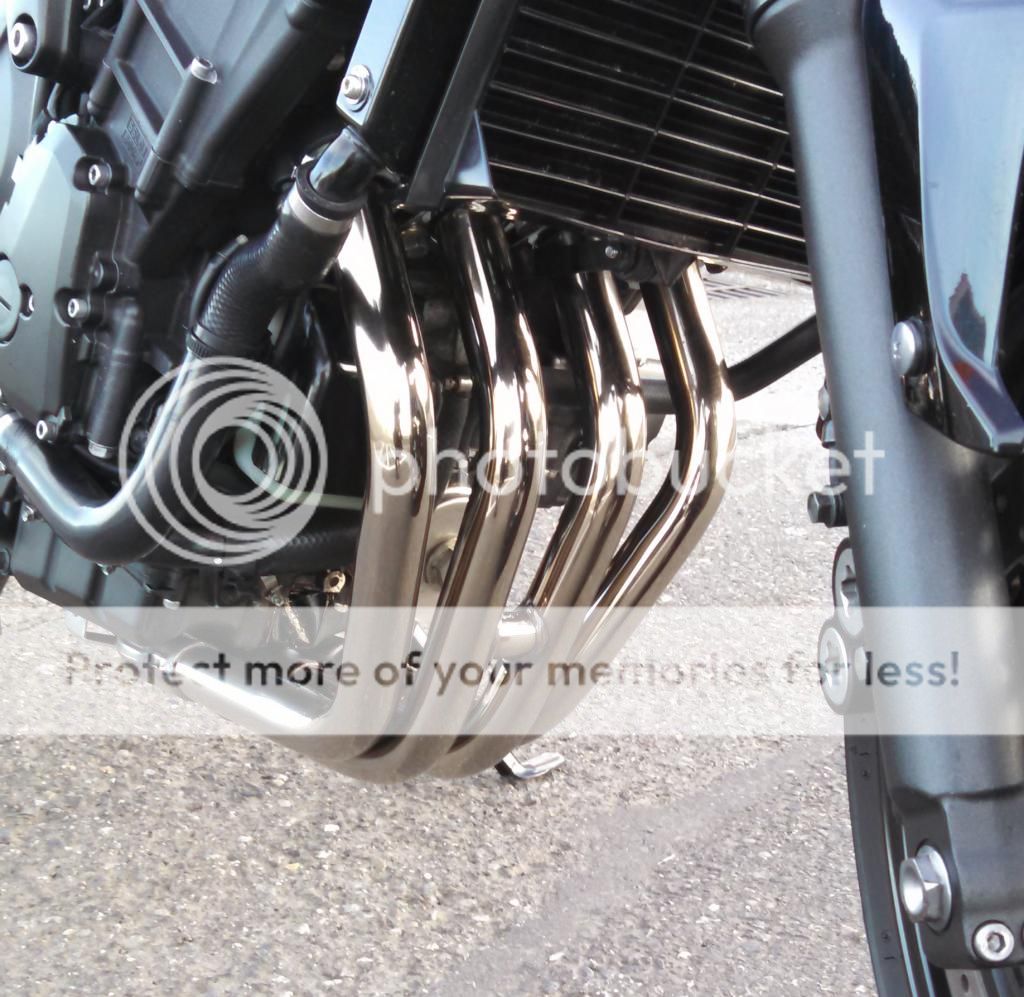
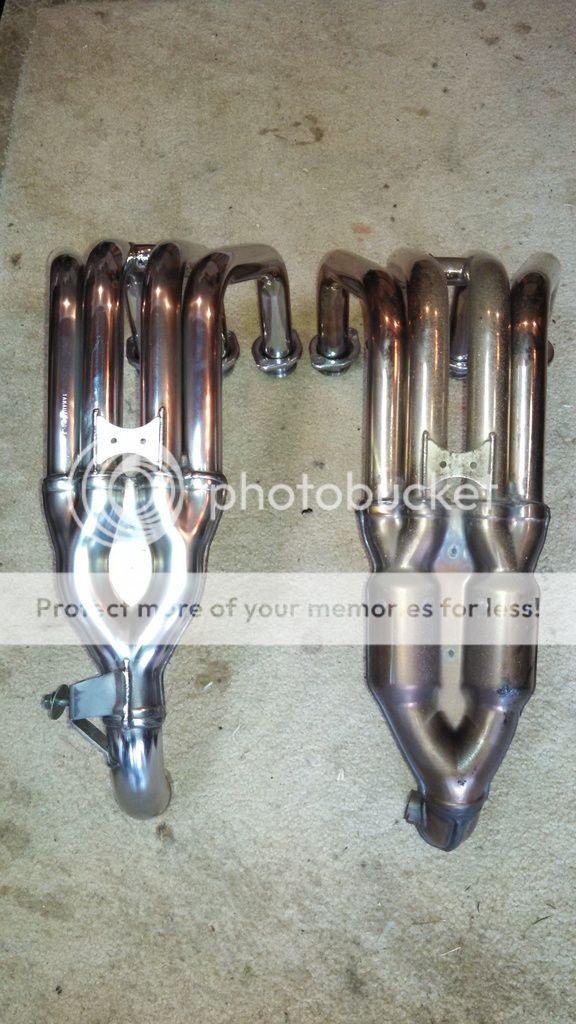
You swapped s2 header with s1. Is this just because of S2 header pipe had an 90 degrees turn ?
I know nothing about headers, 2 into 1, 4 into 2 etc.
Can someone explain the function of these pipe routes ?
I know nothing about headers, 2 into 1, 4 into 2 etc.
Can someone explain the function of these pipe routes ?
Last edited:
")