Gsxr Mirrors on 09' FZ6???

arsity

Junior Member
Joined
Nov 21, 2011
Messages
119
Reaction score
0
Points
0
Location
Michigan
Visit site
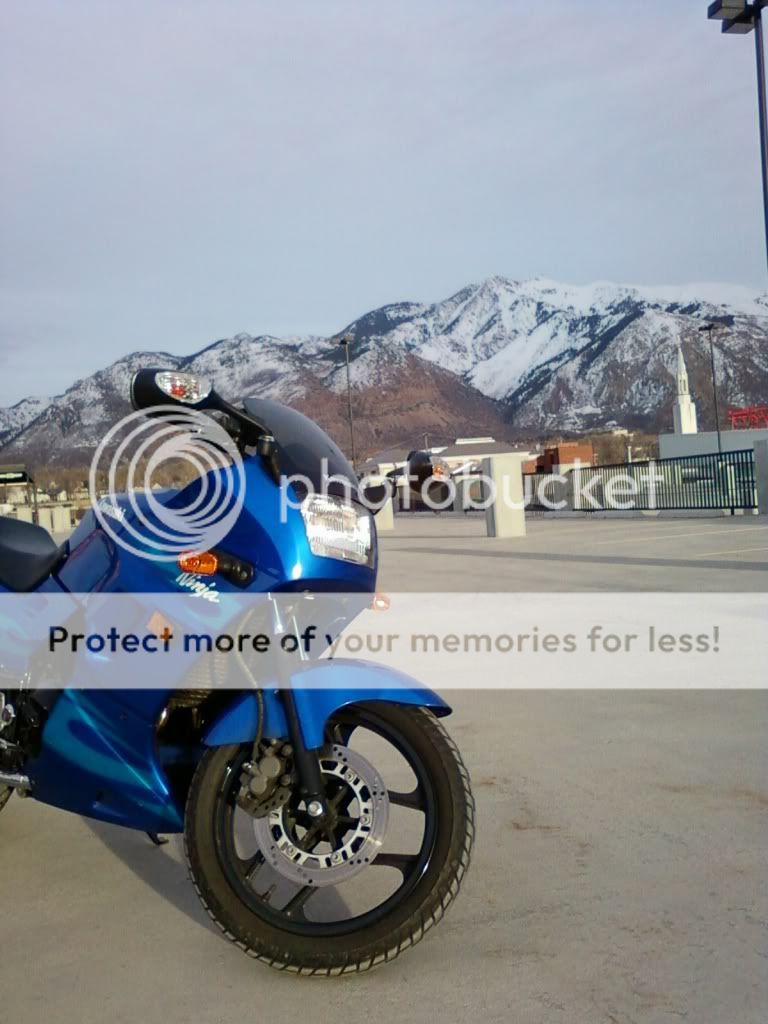
I've been doing a lot of searching around for an alternative to the stock turn signals/indicators. The reason being is that the inside part of the fairing where the bracket secures to is broken. It's been like this since November. It happened after my bike got tired and took a rest on its side (lol), and it's been held together with super glue :(
I forgot about the whole thing until I washed my bike a few weeks ago and ended up knocking it off again. It's back on but I'm afraid it's gonna get knocked off again.

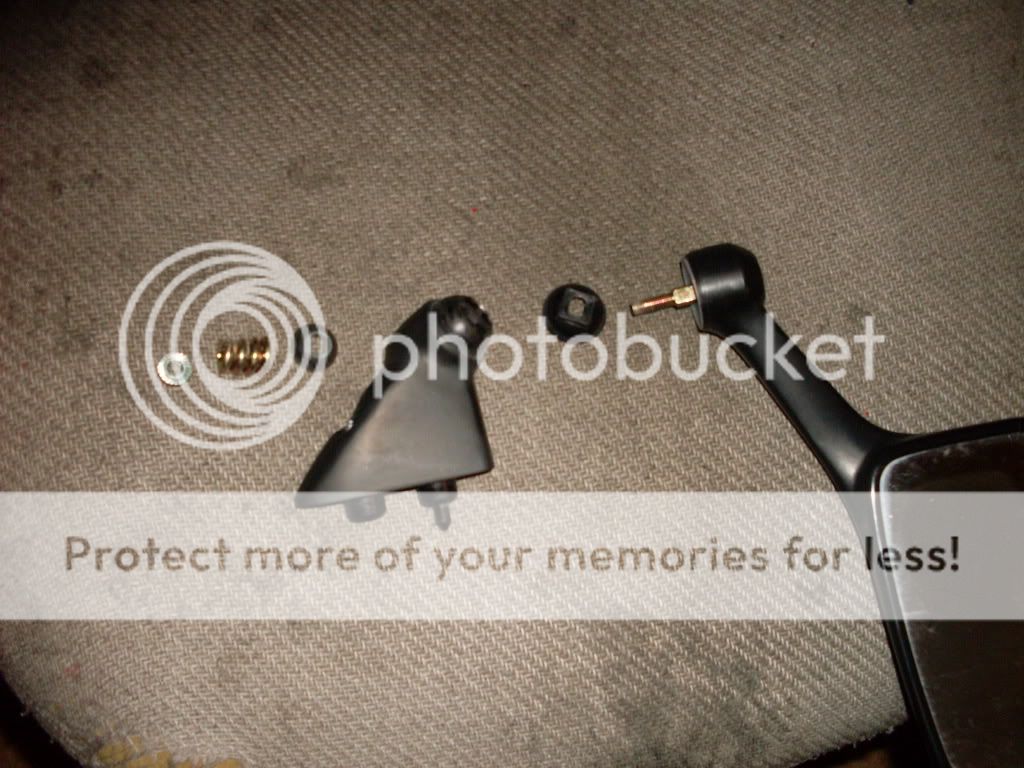
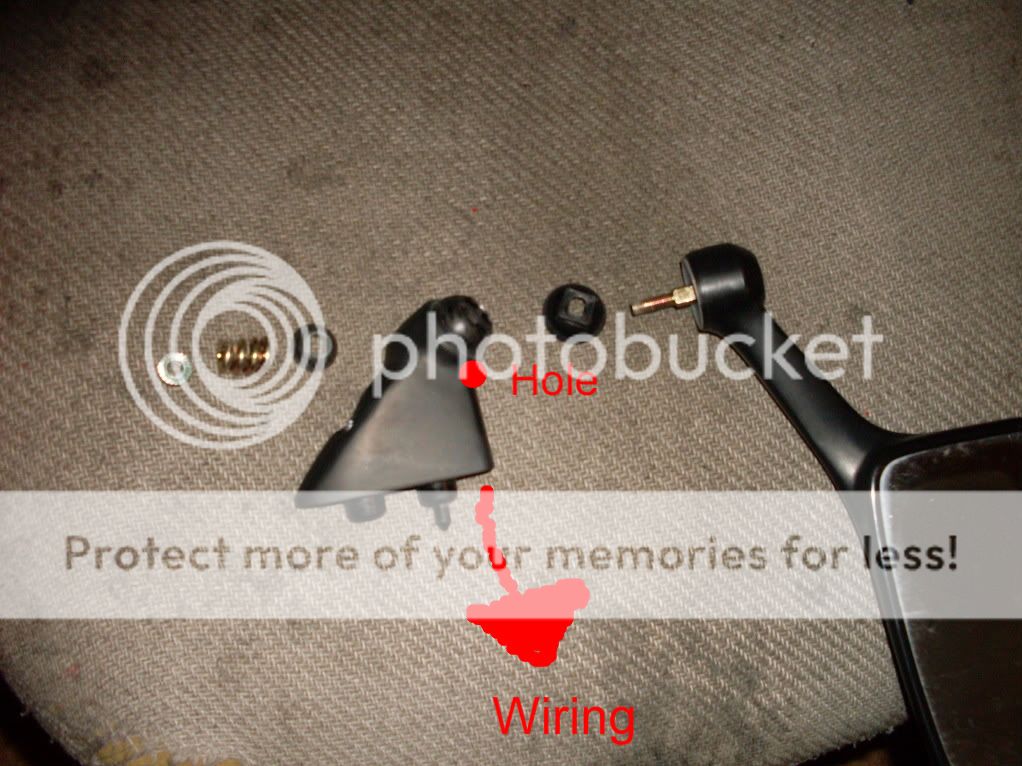
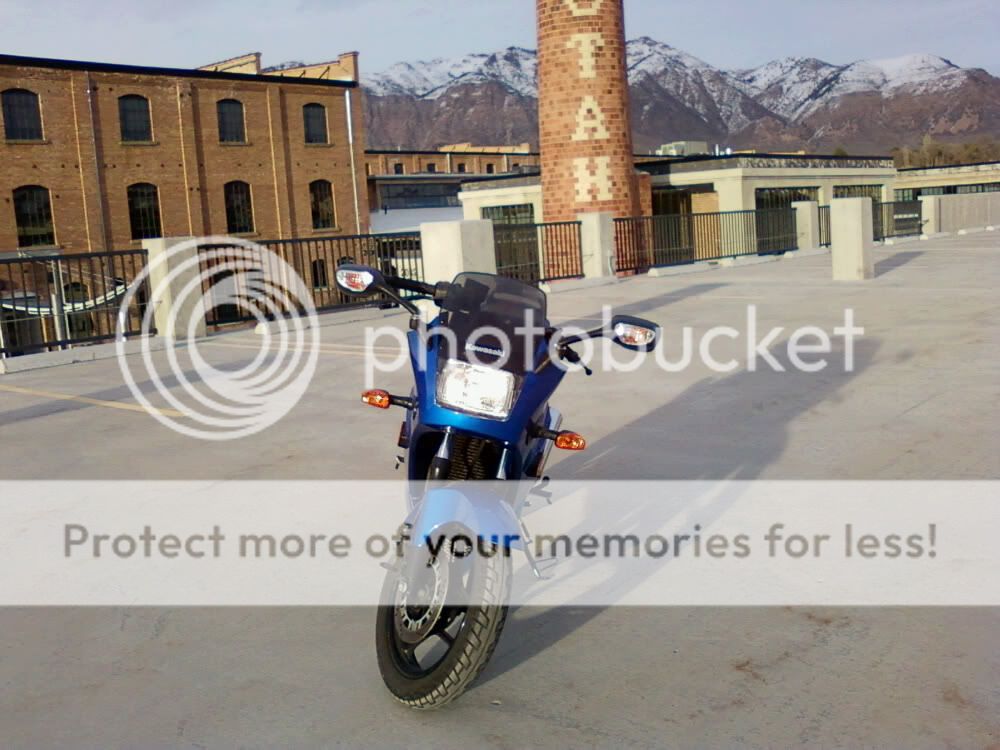
I like the idea of having Gsxr Mirrors to eliminate the stock signals. I have seen other forums that mention this mod, but have not come across any completed projects, pictures or the level of difficulty this would be. I dont feel comfortable cutting away and drilling holes into the bike without really knowing what I'm doing. But if it is easy, I would give it a try.

Has anyone done this? Seen pictures/videos? Positive or negative outcome?

I did a quick edit in Photoshop to see what the bike would possibly look like with Gsxr mirros. lol
 

Timon

Junior Member
Joined
May 5, 2012
Messages
47
Reaction score
1
Points
0
Location
Northern Utah
Visit site
I was able to retrofit them onto my Ninja 250 before, and I've debated trying to come up with a way to mount a set on my FZ6, but I just haven't had time to look into the mod.

In theory with a little work they should fit though. I modified the ones for my 250 to work with the stock mounting bracket for the 250 so I didn't have to worry about drilling into the fairings at all. I've posted my original write-up on doing it for the 250, but I haven't examined the bracket for the FZ6 to determine if this is an option or not.

Timon said:
Well after only owning the bike for a few short weeks and riding it very few times due to the current weather I decided the first things to do would be fender eliminator (done), and new signals.

I ordered, and am still awaiting, flush mount turn signals to replace the terrible looking probes protruding from the front of the bike. Before ordering them I was reading a lot of controversy over visibility, which being a new rider is important to me. In addition to this, I hated to stock mirrors and started looking at integrated mirrors (turn signals built in).

I ran across the article I hate these mirrors - Ninja250Wiki, in which people were using R1 mirrors. Looking into R1 mirrors, I found out the R1 guys are using GSXR mirrors. In theory if R1 mirrors fit on the Ninja, why shouldn't the GSXR?

Unfortunately it wasn't so simple after ordering them. The angle was terrible and the GSXR mirrors have no stem adjustments at all. All of their adjustments are what little the mirror itself moves. Still, I set out to retrofit them to my bike.

After a little bit of trial and error I do think I've finished the mounting portion (wiring will wait until the flush mounts come in). I did test fit one on the bike prior to painting and the difference was amazing.

Basically the idea is to retain the swivel ability of the stock Ninja mirrors, combined with the adjustments and larger mirror face of the GSXR mirrors, all topped off with integrated turn signals to hopefully make the most ideal retro fit mirrors for the 250.

DIY

Items you'll need:
(2)Stock Ninja Mirrors
(2)GSXR Mirrors
(2)6mm Bolts x 40mm long
(2)6mm Lock Washers
(2)Suction Cup Housings or similar item (you'll see)
(2)8mm Washers

Tools Needed:
Dremel + Cutting Discs and Sanding Wheels (May substitute Drill + 5/16" to 1/2" bits)
Drill + Bits ranging from ~1/8" to 3/8"
Ninja Tool Bag (For allen keys to remove stock mirrors)
2x 10mm Ratchets (Or Ratchet + Wrench)
Small/Medium Flathead Screwdriver

Optional Tools:
Vice
Hammer
Phillips Screwdriver

Optional Painting Supplies:
320 Grit Sandpaper
Metal Primer (optional)
Black Paint
Clear Coat (optional)


First, remove the cap over the GSXR mirrors using your flathead screwdriver.

SDC11587.jpg


Next you'll want to turn the mirror over and secure it. To remove the bracket you must break the rivet. There are two ways of doing this. One way is using a drill bit large enough to drill it out. I tried this route and it didn't work (drill bit got stuck inside the rivet and just continued to spin and heat up the mirror stem). I decided to take the dremel route which worked much better. Dremel the edges of the rivet as shown in the picture below. Make sure to take it all the way down to make it flush with the washers surrounding it.

SDC11588.jpg


The bracket should basically fall off at this point along with the washers and rivet.

SDC11590.jpg


Now you're going to be left with the bottom of the GSXR mirror which will have some bumps in it where the GSXR bracket was.

SDC11591.jpg


This is where your dremel and sanding discs come in. Sand this all down - nice and smooth.

SDC11592.jpg


This is going to be the intuitive portion for this DIY. I was able to locate suction cups at my local hardware store that met the requirements for this portion, but you can substitute this for a similar item.

SDC11607.jpg


These happened to have an outer shell that was perfect for this mod. I broke off the tabs holding the suction cup to the outer shell and removed the soft rubber portion. I used a 3/8" drill bit here to expand the existing hole to allow room for the bolt to swivel around a bit.

Next you'll be taking apart your stock Ninja mirrors. This is done using the allen key from your Ninja tool bag mentioned earlier. Once removed from the bike you'll disassemble them using the 10mm ratchet. This is the layout of the stock mirror.

SDC11595.jpg


A quick note here, if you look at the item directly left of the mirror you'll see what the suction cup is replacing.

Continuing on, you'll be reusing all of the hardware from the stock Ninja mirror, minus the one mentioned above (you could "try" to use this, however the second mirror I did ended up cracking it down the side - but it did work on the first mirror without any problems).

The stock Ninja bracket will need to be slightly modified to allow the wiring to go through. This can be somewhat difficult without a vice, but I assure you it can be done.

This is where you'll want the wiring to come through.

SDC11595-1.jpg


Find something to steady the bracket (I held it between my knees). This is where your optional tools come into play. To make it easier to drill, locate a spot on the stock bracket, hold your screwdriver over it, and smack it with your hammer to put an indent in the bracket. This indent should help stabilize your drill bit.

This is a picture from the bottom of the bracket showing where you're drilling into. Once done it will allow you wiring to run through with no problems. Remember to start with a small size and work your way up to prevent breaking your bits. This will require up to ~1/4th to allow the wiring with the shrink wrap to go through easily. Optionally you can remove the shrink wrap and nearly cut this size in half if you choose to do so.

SDC11597.jpg


Here you can see the wiring running through the passage you just made.

SDC11609.jpg


Now onto the hardware setup (excuse my lack of pictures regarding this portion). This is the hardware all bolted together with no bracket/mirror)

SDC11605.jpg


Top to bottom you have: stock locking bolt, stock spring, stock inside swivel washer, stock bracket, 8mm washer (sits inside the suction cup), suction cup, GSXR mirror, 6mm lock washer, 6mm bolt.

At this time painting may be needed to help clean it up a little bit, but of course isn't required (but highly recommended). Paint prep should be pretty standard. Sand the bracket stems (stems only, not the plastic mirror), and the stock Ninja brackets. Clean them off, lay down primer, base paint, and clear - follow instructions on the cans for more details on layers, dry times, etc.

Note: My other alternative to painting is bedliner, which is actually how I did mine - though this is more of a flat black than a shiny black, but it only requires lightly scuffing the surface.

The fun part of this is going to be drilling into your fairing! Don't worry it's a small hole under where the bracket goes. Run your wiring through the bracket as shown above, go out to the bike and mark where you'd prefer the wires to run through. Drill a 1/4" hole to allow the wiring to pass through the fairing.

Loosely tighten everything up and mount the mirror to the bike. Make the majority of your mirror adjustments and then proceed to use both 10mm ratchets (one on top and one on bottom) to finish tightening the mirror to the bracket. Keep in mind your intuitive device (suction cup in my case), may not be as strong as metal, so try not to over tighten it. I swiveled mine up to the position I needed, and tightened them down enough that I can still force them left/right as needed, but the up/down movement is pretty much locked unless I loosen the bolts.

Review:
Tested at 75 MPH (for a short time) and had no movement in either mirror. My first tests showed quite a bit of vibration in the mirrors, however, I resolved this by using the mirror adjustment by itself and pulling it away from the edges. I'm now able to see behind me much easier due to the increased mirror face, adjustment angles, and slightly longer stem. There is still a blind spot, that can probably be taken care of pretty easily with a spotter mirror, though I always recommend still turning your head prior to merging lanes. The wiring sticking out is one thing I tried to avoid, but the effort required would be much, much greater and isn't worth the time involved (ask me how I know).

Overall it's an excellent upgrade, and I'll soon be wiring these up with Asian Cycle Flush Mount Turn Signals in the front, along with swapping the bulbs out for "stealthies" to remove the yoke effect (stealth bulbs are a chrome mirror finish on the outside with a lighting color of your choice - in this case amber).

I use stealth bulbs in my WRX tail lights for the turn signals and reverse lights. I have to say I absolutely love them.

SDC11262.jpg


Anyway here is the final product mounted on the bike!

Photo0141.jpg


Photo0142.jpg


Photo0140.jpg
 

Gelvatron

Junior Member
Elite Member
Joined
Apr 9, 2012
Messages
952
Reaction score
8
Points
0
Location
Southern Cali
Visit site
that looks bad ass :thumbup: was gonna do some kawi mirrors on the z6 i like how they come to the side and the sharp angles :p
 

ctrigga

Junior Member
Joined
Mar 8, 2012
Messages
42
Reaction score
0
Points
0
Location
Iowa
Visit site
i think it looks great! Maybe smoke the lenses just a tad as it contrasts a bid weirdly, but looks like a great alternative to the cheap ebay signal mirrors. I had them on the SV650 and they would fold in for aerodynamic effect(unintentionally) at about 75...
 
Top