- Joined
- Aug 24, 2007
- Messages
- 889
- Reaction score
- 79
- Points
- 28
- Location
- Alberta, Canada (GMT-7)
The new season is just upon us and after 12,000km on the bike I thought it was a good time to replace the head bearings as some riders here have experienced worn out bearings after a year of riding. As many have suggested, I order up as set of All Balls 22-1004 as recommended by All Ball's website for my 2007 FZ6.
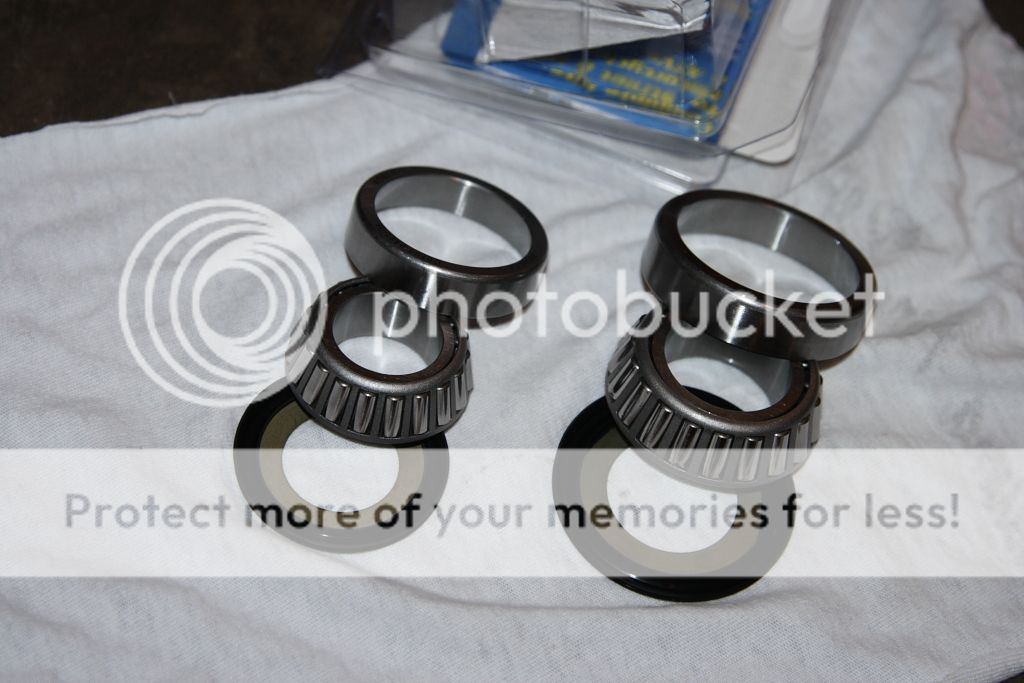
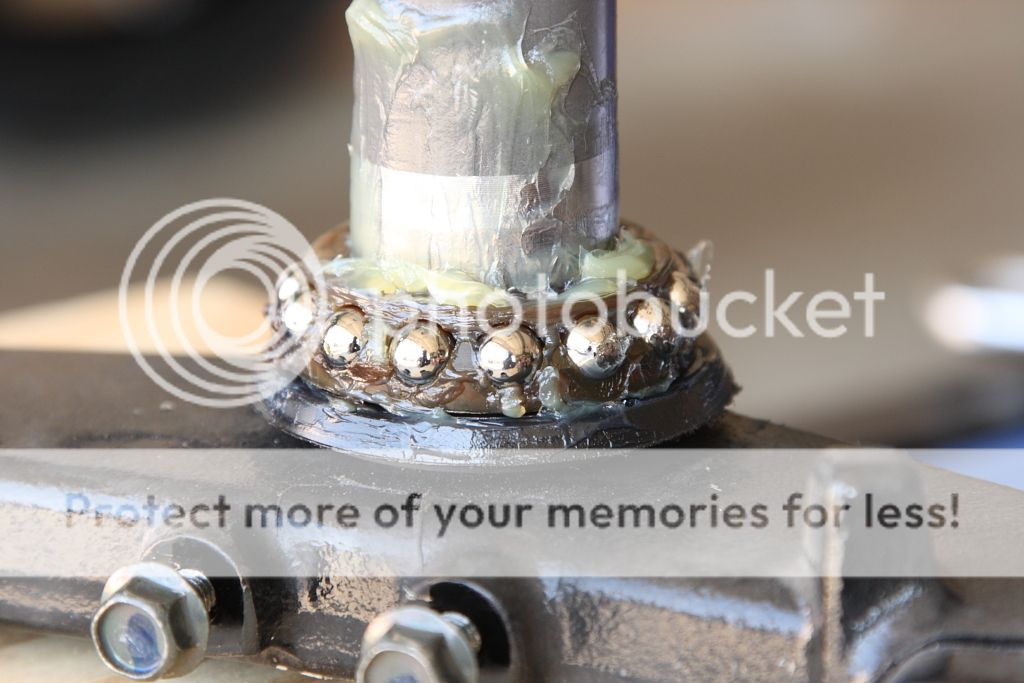
So this is what comes in the package, two sets of seals, upper and lower roller bearings with tapered outer bearing races.
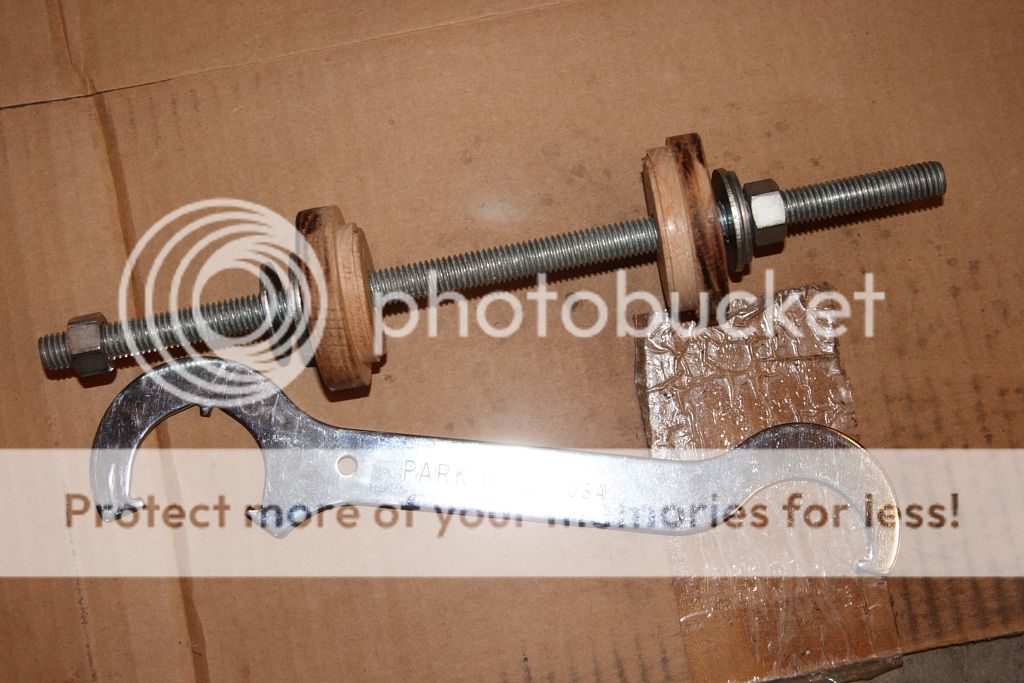
Some things you will need are a drawbolt arrangement and some kind of a spanner wrench. Both of these I aready have because I service and build my mountain bikes, same stuff, bigger on the FZ6.
In preparation of this epic undertaking, you need to remove the fairing to get at the the fork crowns, etc.
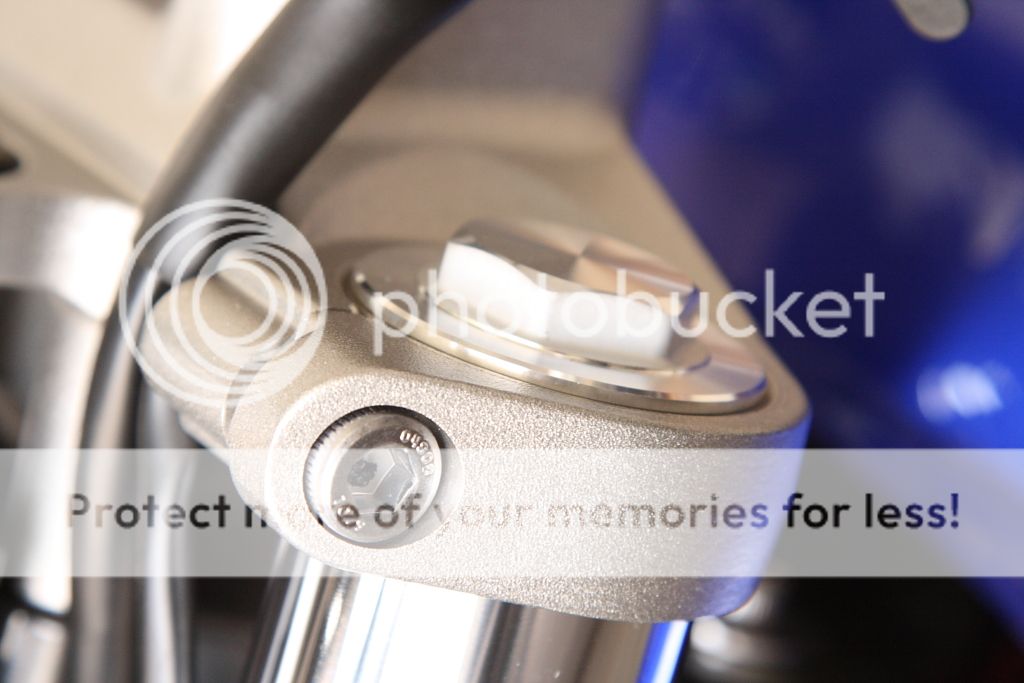
The horn was removed from the brake line mount via a single bolt on the lower crown. Then the brake line mount was removed from the lower crown via 2 bolts.
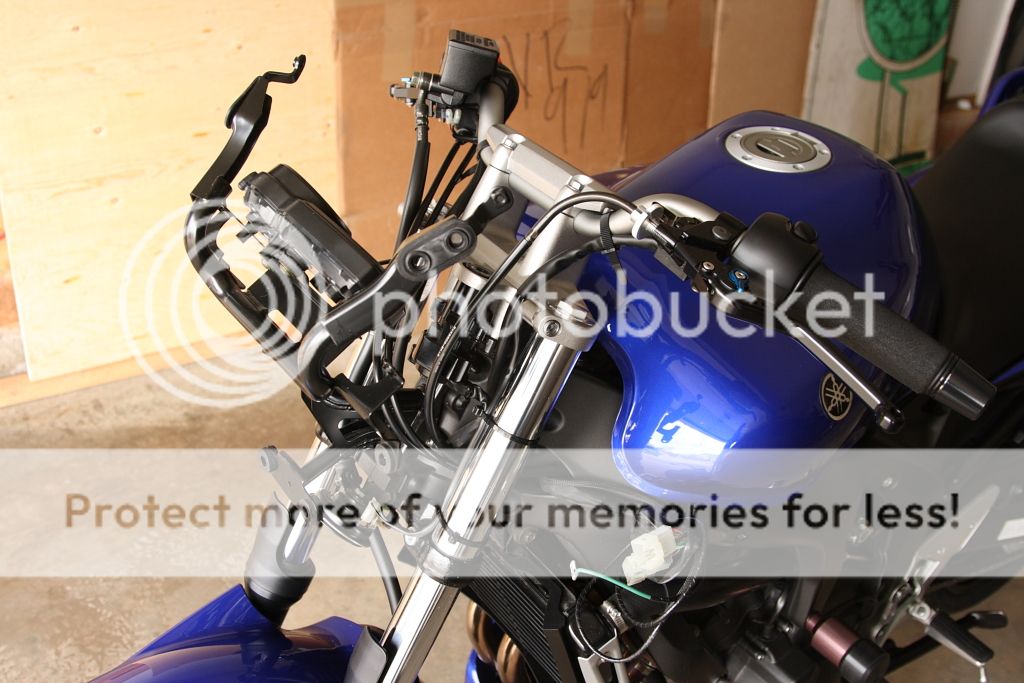
Reference to how the cables and all were tied down from factory so I could put it all back together the same way.
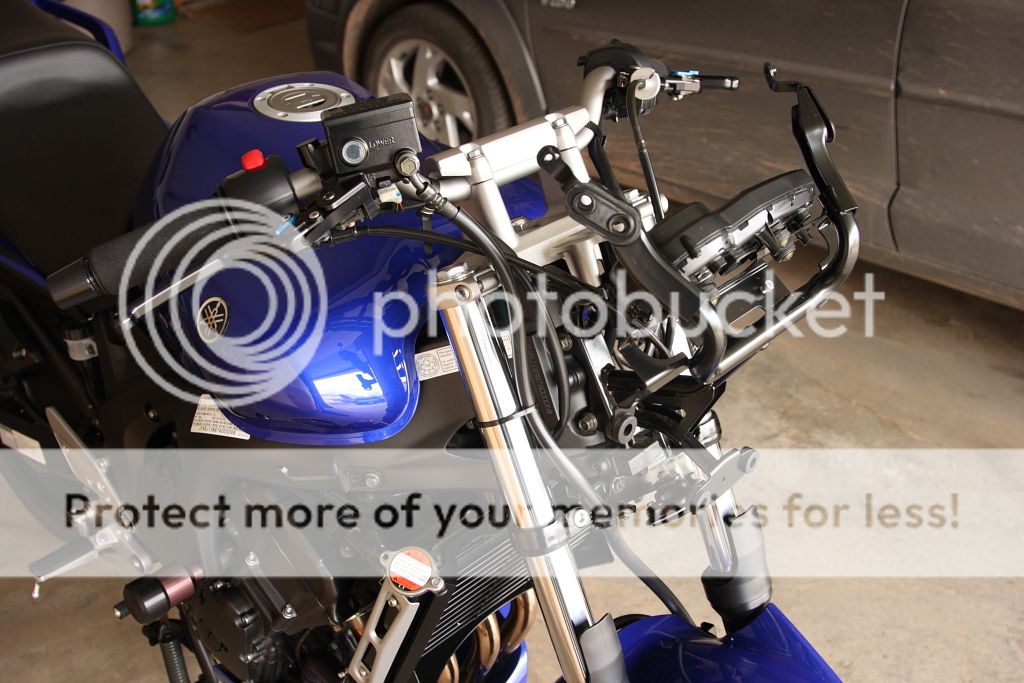
A reference shot on how much of the stanchion leg extends above the top crown before I rip it all apart.
I have both the Haynes and Yamaha Service manuals and can without a doubt say that the Haynes is way more detailed when it comes to this kind of service work. The removal of the steering stem begins on page 5.12 in the Haynes manual so I am not going to go into detail other than to explain some of the problems I encountered and solutions to overcoming them.
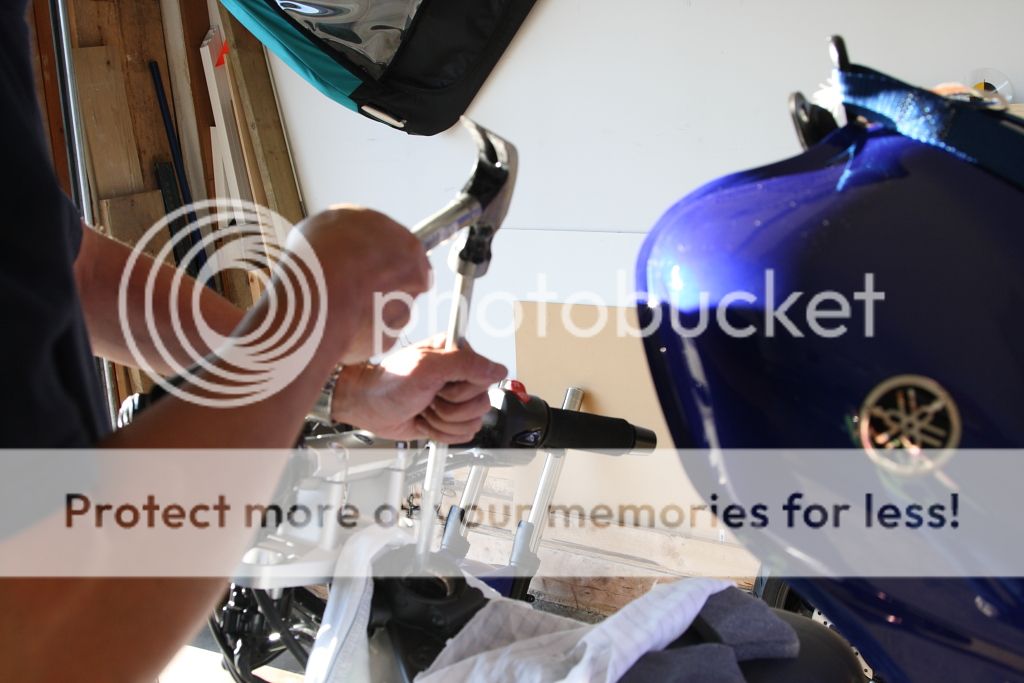
With the handle bar removed to the side, you will need a 27mm or 1-1/16" socket to remove the steering stem nut. At this point I have removed the front brake calipers from the fork legs so that I can remove the front tire. The caliper and lines are unclipped from the front fender and tied off to the frame so there is no stressing on the brake lines. All the tie wraps are cut and the horn and brake line mount is detached from the crown. The pinch bolts are loosened from the upper and lower crown and the forks are slid out from the bottom.
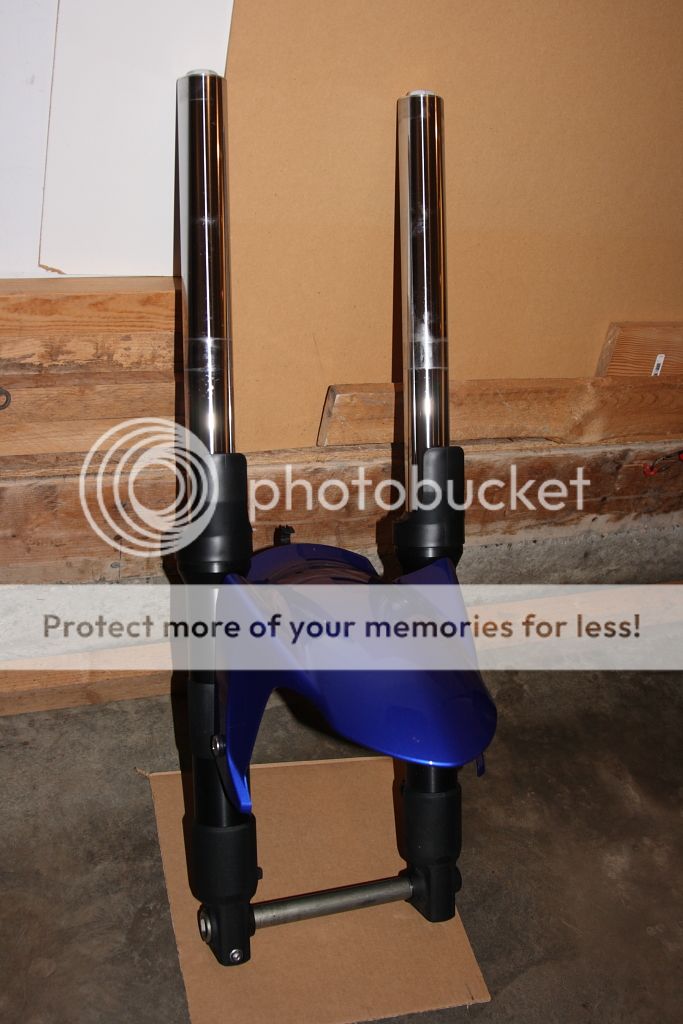
The axle is placed back in and the fork assembly is left off to the side.
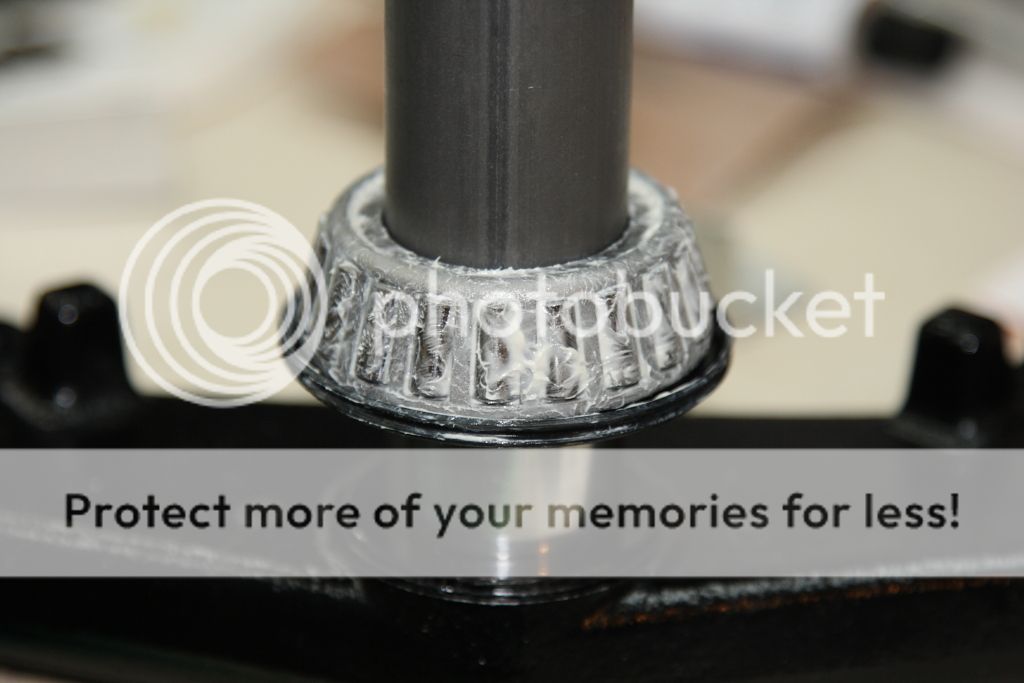
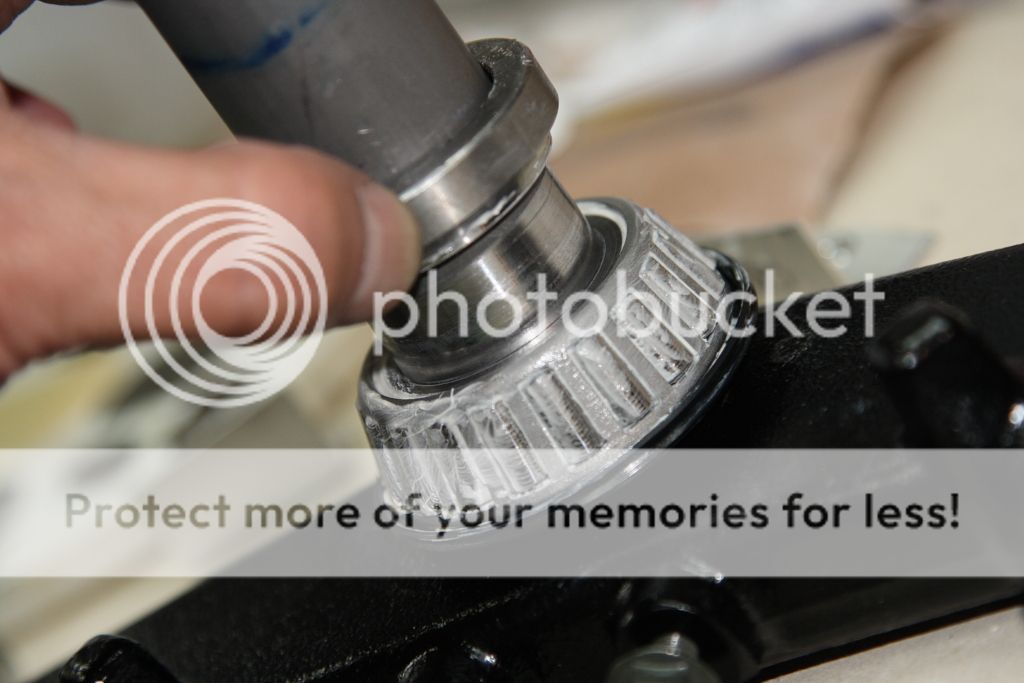
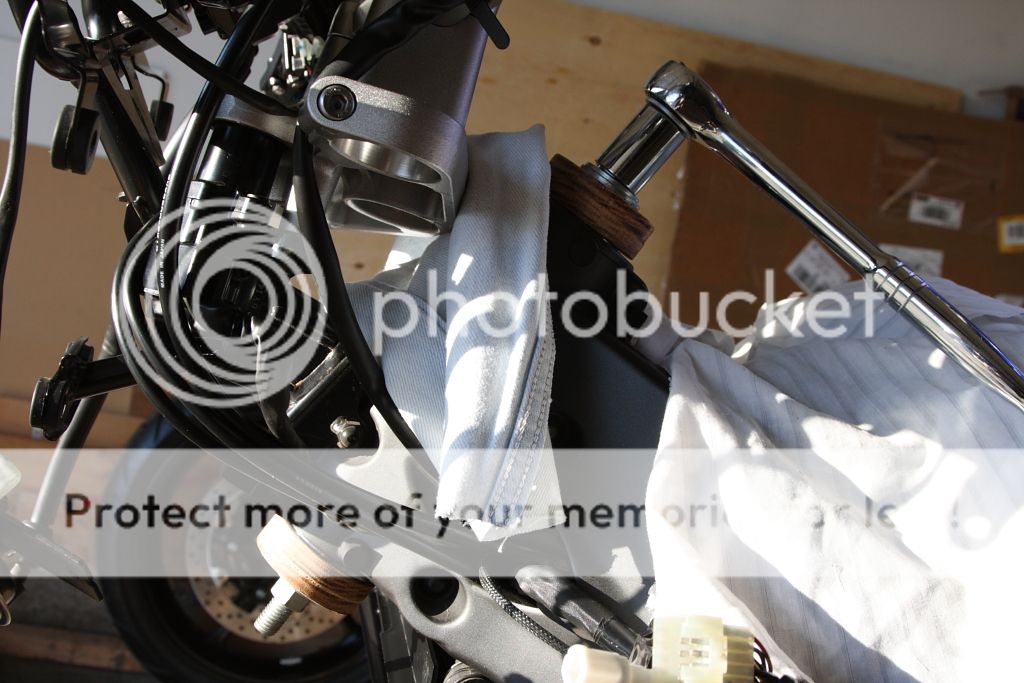
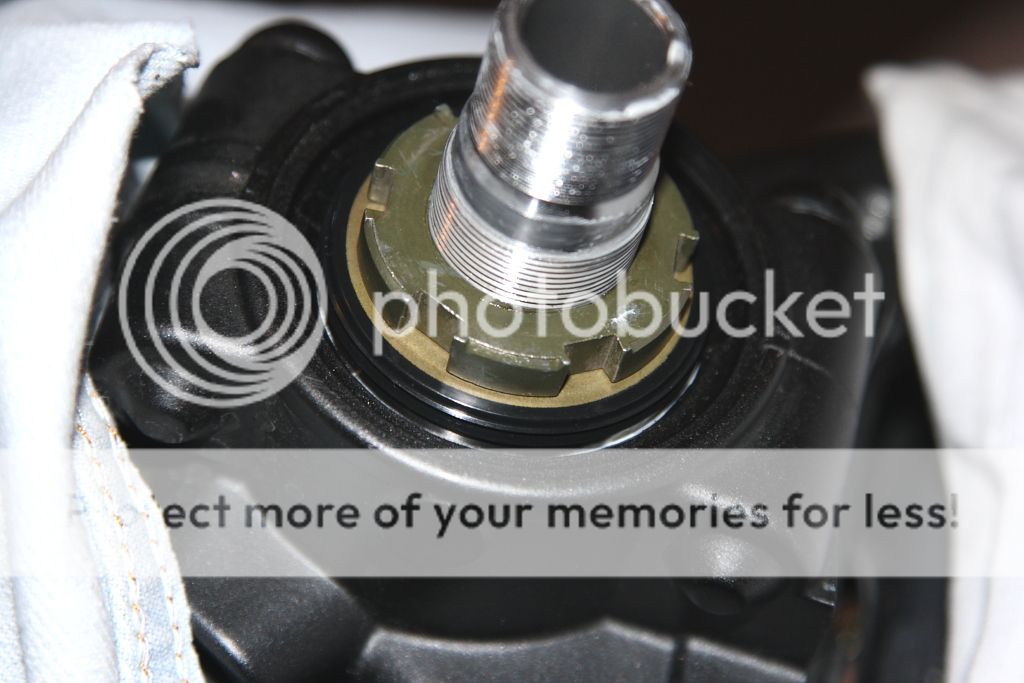
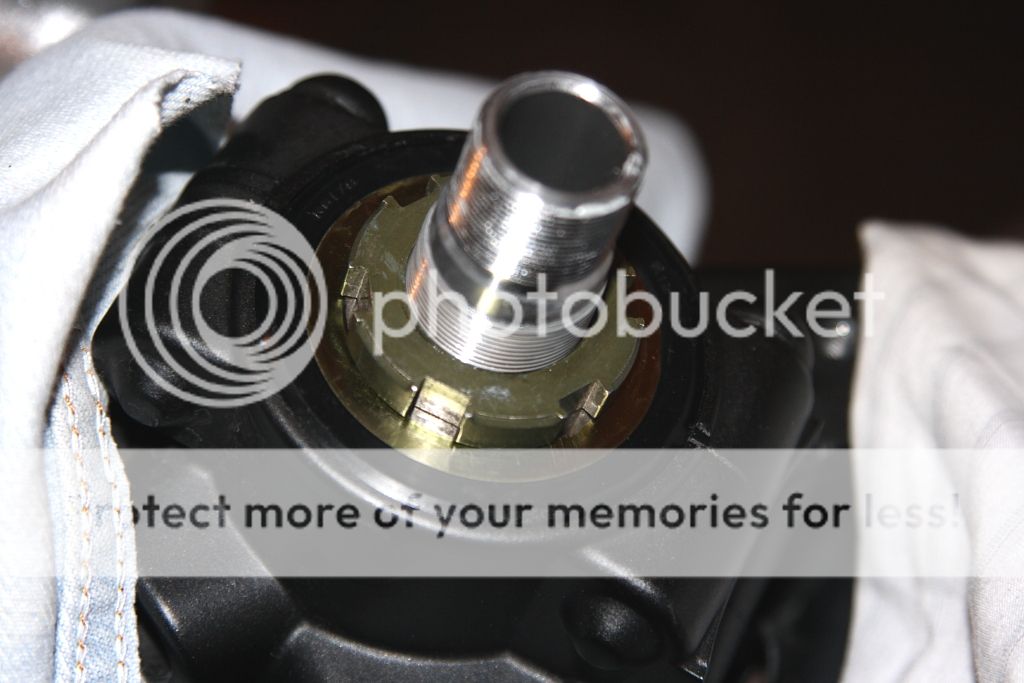
Lifting the upper crown off the steering stem, you can now see the lock washer and adjuster nuts. Remove the lock washer and with the spanner wrench loosen and remove both adjuster nuts. The steering stem will now slide out from the bottom.
So this is what comes in the package, two sets of seals, upper and lower roller bearings with tapered outer bearing races.
Some things you will need are a drawbolt arrangement and some kind of a spanner wrench. Both of these I aready have because I service and build my mountain bikes, same stuff, bigger on the FZ6.
In preparation of this epic undertaking, you need to remove the fairing to get at the the fork crowns, etc.
The horn was removed from the brake line mount via a single bolt on the lower crown. Then the brake line mount was removed from the lower crown via 2 bolts.
Reference to how the cables and all were tied down from factory so I could put it all back together the same way.
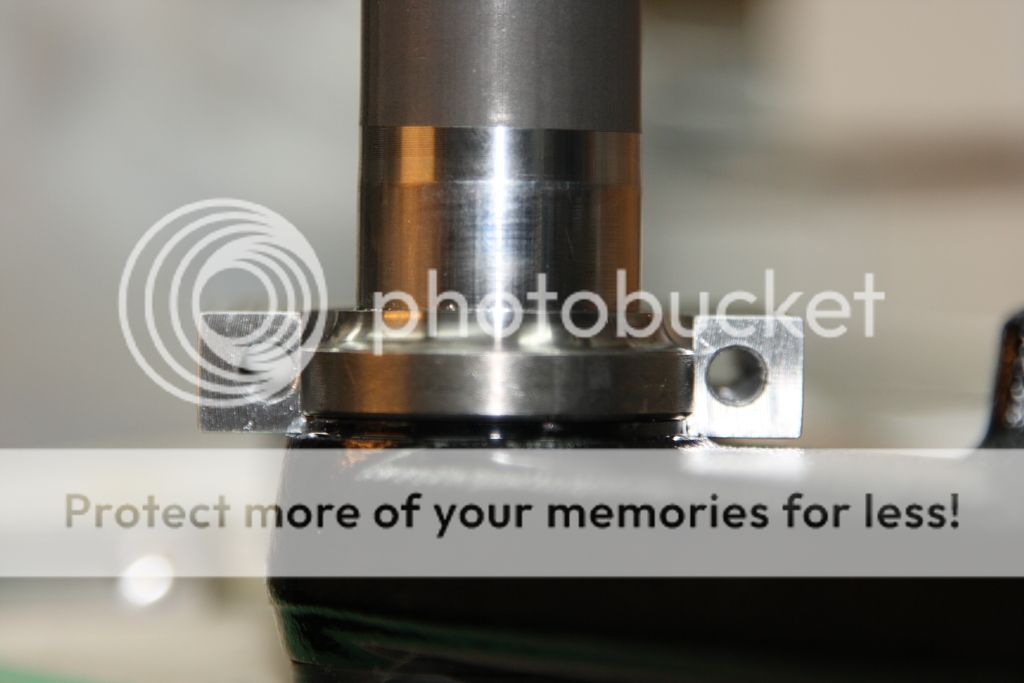
A reference shot on how much of the stanchion leg extends above the top crown before I rip it all apart.
I have both the Haynes and Yamaha Service manuals and can without a doubt say that the Haynes is way more detailed when it comes to this kind of service work. The removal of the steering stem begins on page 5.12 in the Haynes manual so I am not going to go into detail other than to explain some of the problems I encountered and solutions to overcoming them.
With the handle bar removed to the side, you will need a 27mm or 1-1/16" socket to remove the steering stem nut. At this point I have removed the front brake calipers from the fork legs so that I can remove the front tire. The caliper and lines are unclipped from the front fender and tied off to the frame so there is no stressing on the brake lines. All the tie wraps are cut and the horn and brake line mount is detached from the crown. The pinch bolts are loosened from the upper and lower crown and the forks are slid out from the bottom.
The axle is placed back in and the fork assembly is left off to the side.
Lifting the upper crown off the steering stem, you can now see the lock washer and adjuster nuts. Remove the lock washer and with the spanner wrench loosen and remove both adjuster nuts. The steering stem will now slide out from the bottom.
Last edited: