H2vet
Junior Member
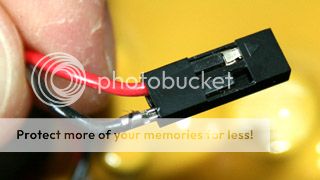
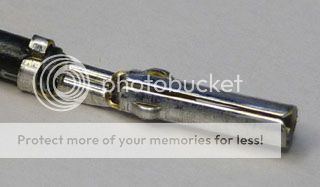
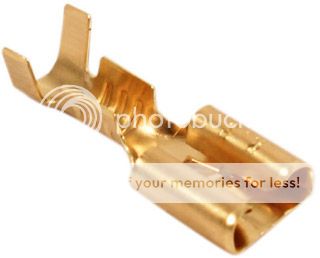
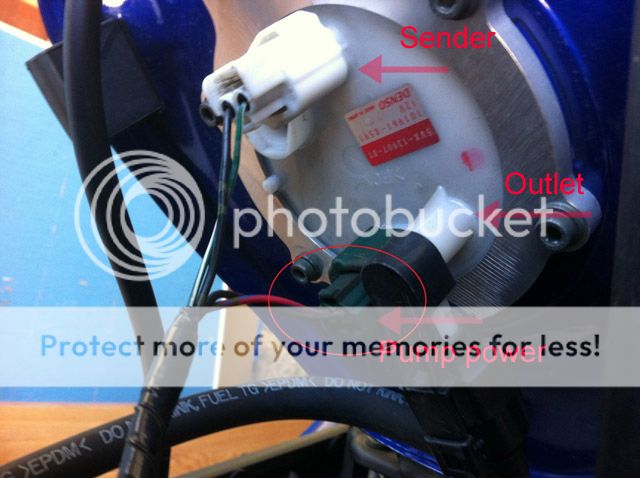
How dumb I feel... It was as simple as pulling the tank too far back and I completely stripped out these green and black wires from the white connector under the tank.
Is there any easy way to get these back in or have i just made a costly mistake?

Is there any easy way to get these back in or have i just made a costly mistake?