
fazil
Junior Member
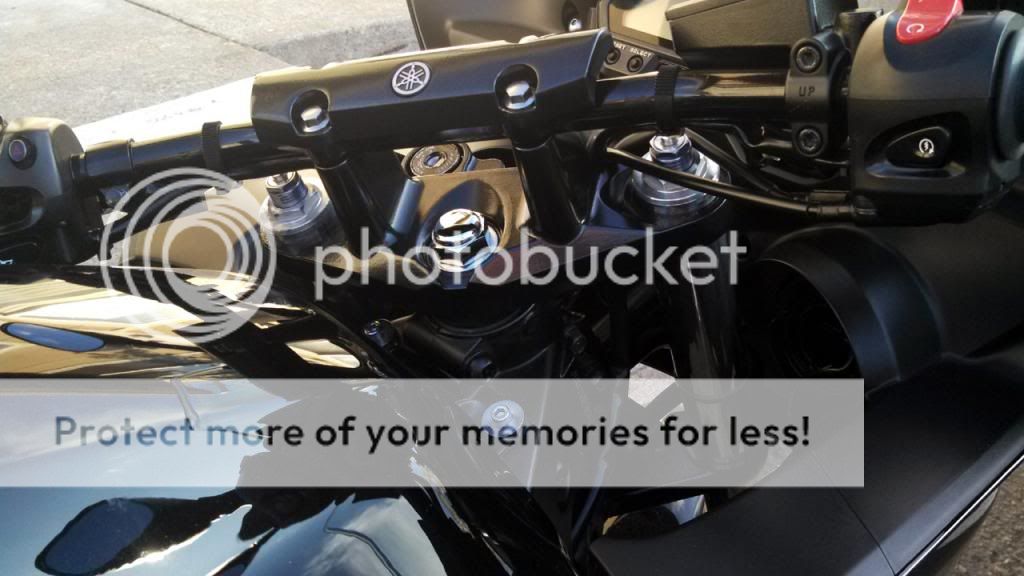
Do you think plasti dipping is ok for the top yoke?
I've painted mine with a regular paint but after a while the paint got bad because of the ignition key rubbing.
I can try plasti dip or go for a powder coat.

I've painted mine with a regular paint but after a while the paint got bad because of the ignition key rubbing.
I can try plasti dip or go for a powder coat.


") Suspension is important!
Suspension is important!