Bit the bullet after this morning's chilly ride. Thought I'd post a few pics and details.
Packaging is great as is the instructions. The grips are a tad oversize in internal diameter so you can slip them on easily and test your lining up before gluing on. The way I've positioned them is the only way I can see them working whilst clearing everything. I wanted to have the protruding section underneath, but it hits your thumb.
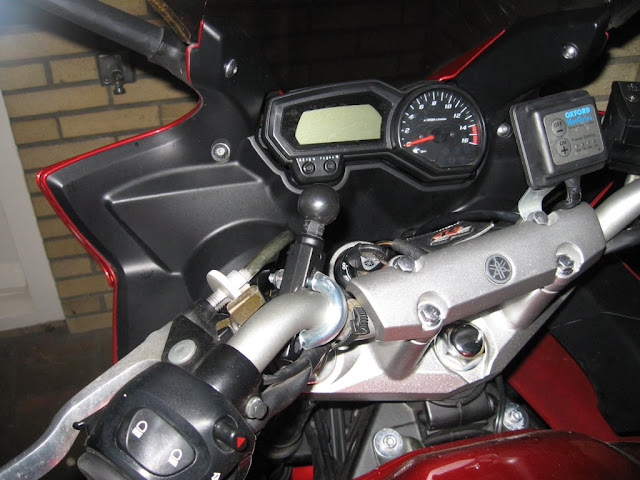
I was impressed with how discreet it looks compared to the older version of these (with the rotary switch).
I've only installed the grips at the moment, just customising the switch mount and installing the relay so should be done tomorrow. Will post more pics then, and a ride review after I give them a workout. Can't wait!
Packaging is great as is the instructions. The grips are a tad oversize in internal diameter so you can slip them on easily and test your lining up before gluing on. The way I've positioned them is the only way I can see them working whilst clearing everything. I wanted to have the protruding section underneath, but it hits your thumb.
I was impressed with how discreet it looks compared to the older version of these (with the rotary switch).
I've only installed the grips at the moment, just customising the switch mount and installing the relay so should be done tomorrow. Will post more pics then, and a ride review after I give them a workout. Can't wait!
Last edited:
")